Macro: The Amazing World all Around Us Part 2 By Adam Jones
Working Distance and Angle of View:
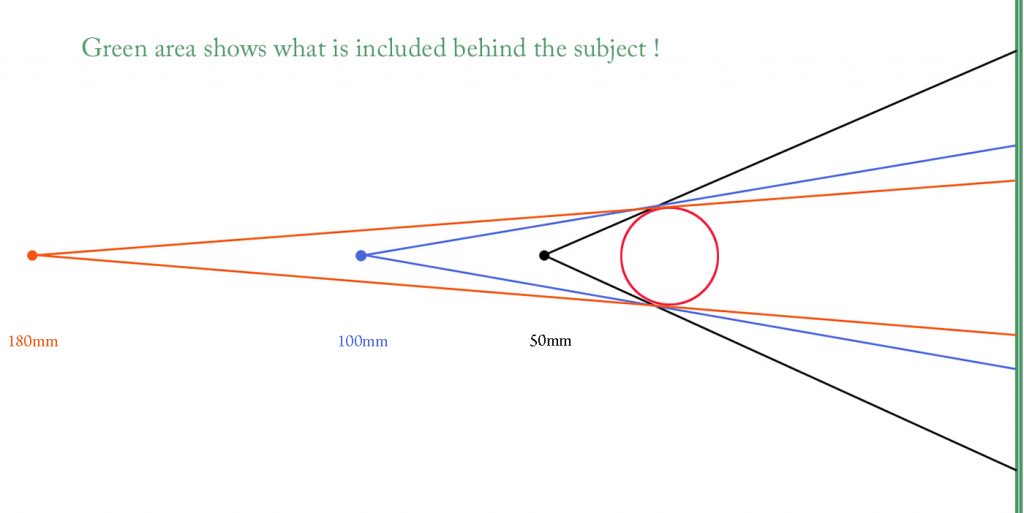
Yes, the 180-200 mm macro lenses do tend to be large, heavy, and expensive, but longer macro lenses have a unique characteristic none of the other macro lenses have. No its not magic pixie dust, but telephoto macro lenses have a narrower angle of view than their shorter counterparts. A narrow angle of view is most useful in eliminating background distractions. A longer lens sees less background behind the subject than a shorter lens. We can certainly exploit this to our advantage, mitigating distracting backgrounds. The illustration below demonstrates how backing up and using a longer lens, actually reduces the amount of background included in the final photograph. The take away is this: to clean up a messy background put on a longer lens and back up. This is where our non-macro 70-200, 100-300, 100-400 is really handy. Working at the longer end of these zoom ranges, add a teleconverter or extension tube as needed to get the desired composition, and let the narrower angle of view help reduce a distracting background. This is a key concept often overlooked when shooting even non macro subjects.
-
50mm -
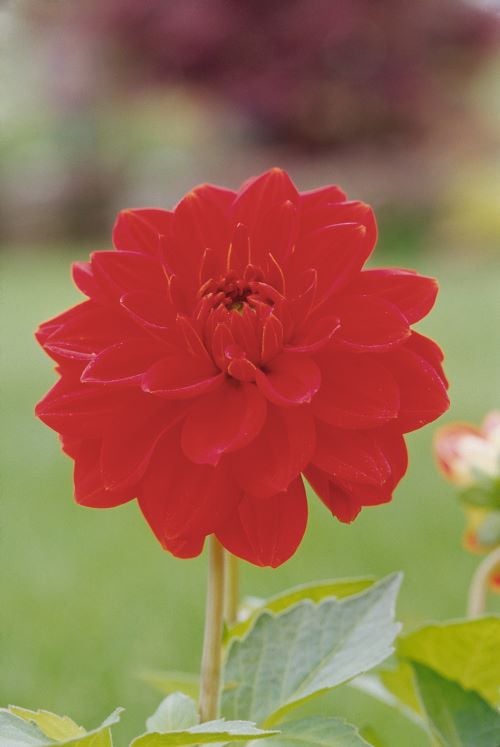
100mm -
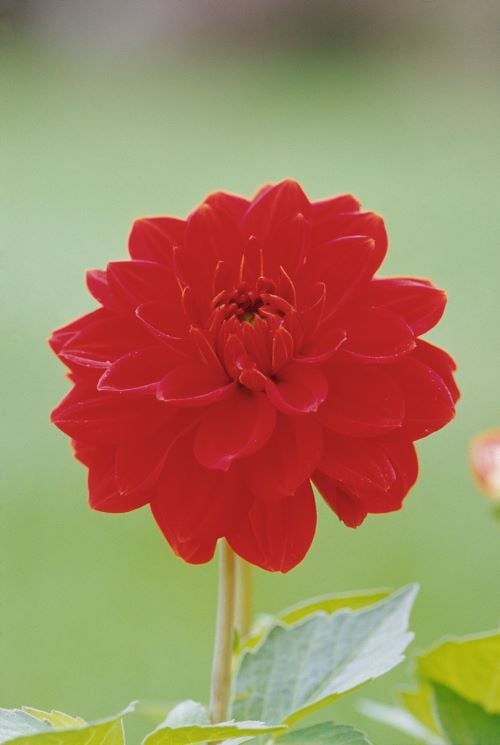
180mm
Finding Subjects:
If you are willing to slow down and really see the close-up world, the possibilities are truly endless. Those that see and appreciate the beauty and wonder in small subjects never run out of interesting subjects to photograph. Small subjects abound nearly everywhere. Exotic travel isn’t needed to find amazing details and beautiful subjects. I read an article years ago describing a photographer who went on safari, and by the end of the summer had made it half way across his yard filming with a macro lens. This is absolutely the key, explore the fields, parks, and woodlots near your home for a dizzying array of possibilities. Insects, bugs, butterflies, spider webs, patterns, plants, abstracts and flowers, are everywhere. It’s up to us to find/create interesting subjects and compositions. Flowers are stunning on their own, however, pieces and parts can also make great compositions. I like to start out including the entire subject first, then moving in closer and closer and changing angles for additional compositions. It often seems my last few shots are the best, after spending time exploring the subject.
In the field, finding the right subject in the right place is just as important as technique. That tiny bee, or butterfly may be beautiful, but if situated in a bad location relative to its surroundings, it’s nearly impossible to make a great photograph. Wait for the bee to move to a better location or move on and look for another subject. Finding the right subject is 80% of getting it right. Keep the background clutter to a minimum; be on the lookout for subjects separated from the surrounding environment. Or find an angle that lets you separate the subject from the surroundings. Of course, there are plenty of exceptions, where you may want everything in focus and included in the final composition. When reviewing images during workshops, students are often guilty of not being selective enough, regarding the main subject in the photo. Take flowers for example: why would you photograph a delicate white flower, with brown dead spots around the edges of a past peak flower? It’s just a matter of getting so wrapped up in the process, we sometimes fail to truly see our subject. Pick a great subject from the very beginning!
Lighting:
When photographing wildlife or landscapes we are nearly always at the mercy of the weather and whatever lighting conditions we encounter. Macro is often weather dependent too, especially if its windy. Thankfully, we can easily modify natural lighting when photographing small subjects in the field. Bright overcast lighting is my favorite for most field work, but it’s not always cloudy. Diffusers are often employed for softening harsh sunlit subjects. This can be a white umbrella or any white material that is translucent enough for the sunlight to pass through. When shading a subject in the field, be sure the subject and entire background is shaded, otherwise you wind up with a blown-out background. There are lots of companies offering fold up diffusers easily carried into the field. I like the 42-inch size: they cast a fairly large soft shadow, and it can also be used to block the wind a bit. Light diffused through one of these light modifiers, takes on a different look depending on how close the diffuser is placed to the subject. Moving the diffuser closer to the subject tends to add a bit more contrast to the small scene, and wraps light around the subject more pleasingly. Conversely, if the diffuser is held high above a small subject, the light looks flat, as if the subject is in a hard shadowed area. I often carry small mirrors and white cardboard reflectors for kicking extra light into an area that needs just a touch more illumination.
Direct sunlight can also be very effective on some macro shots. It’s a matter of finding the proper subjects where the light is enhancing the aesthetics of the photo, not ruining the shot with harsh lighting. There are always exceptions to these general guidelines, some flowers don’t open unless its sunny.
-
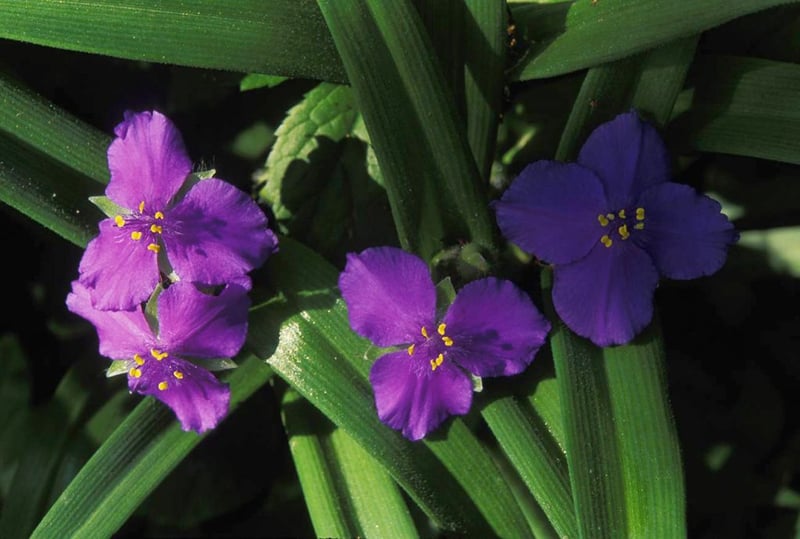
Spiderwort flower with direct morning light, no diffuser. Very uneven lighting and harsh shadows for this subject. -
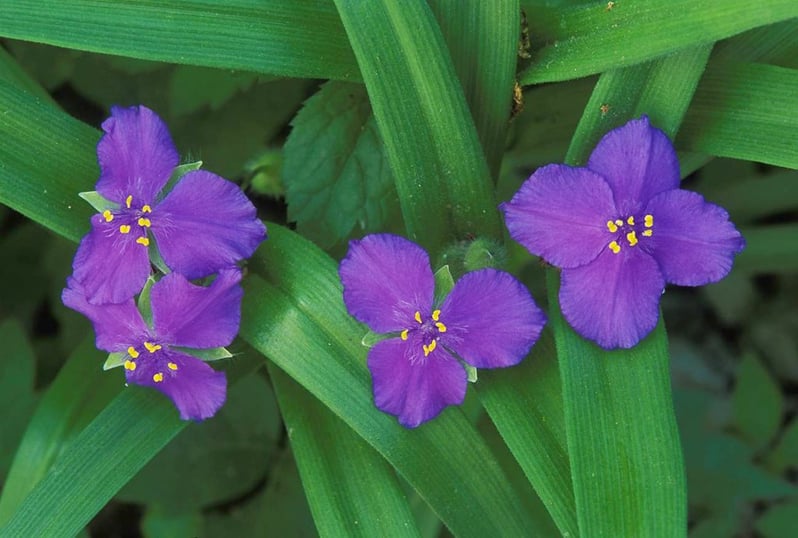
Diffuser placed left of the flowers, diffusing the morning sun, much more even soft lghting.
Background:
You must have three things for any good successful photograph: Subject-Lighting-and Background. If any of these variables are distracting, you can almost bet the final image is not good. Lets face it, we’ve all done it, got all into our subject and failed to see the distracting background behind the main subject. Background distractions are killers. They can be mitigated by using longer lenses, selecting subjects with the least overall distractions, and through selective use of depth of field. Depth of field can be used very creatively, but it only goes so far in separating the subject from the surroundings or tying all the elements together with maximum depth of field.
-
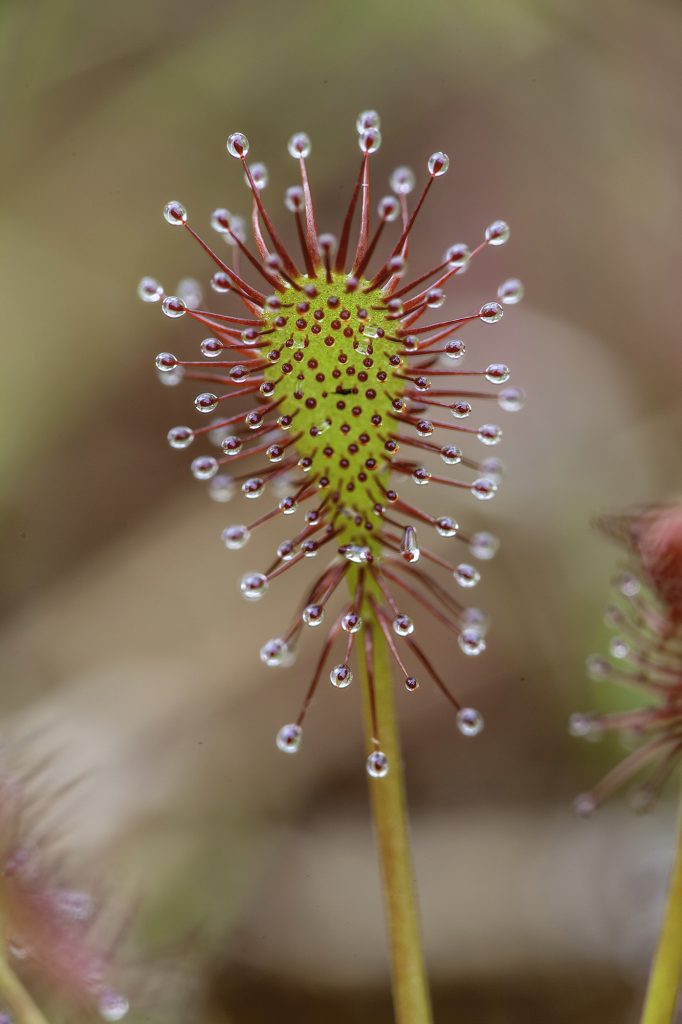
F5.6 -
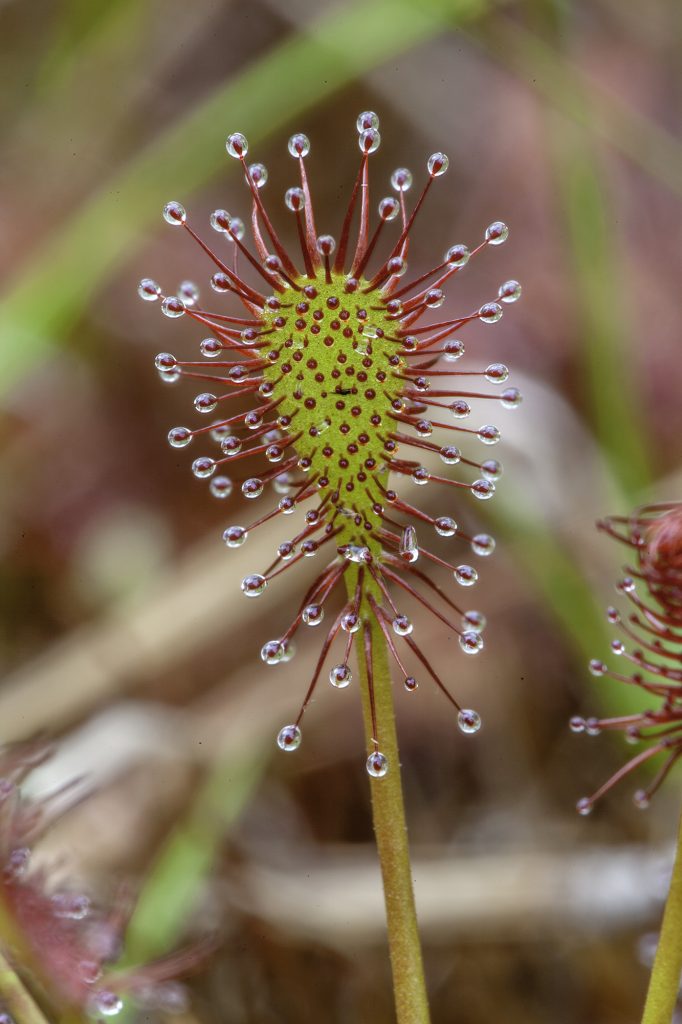
F16 -
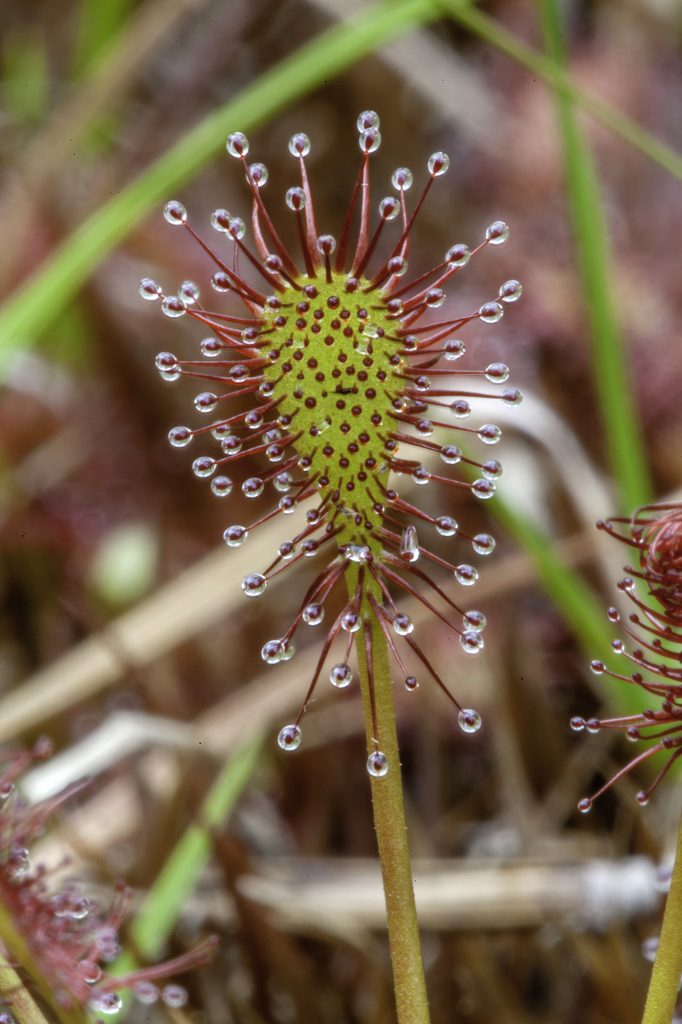
F32
Getting it in Focus:
The hardest thing for most novice’s delving into macro is dealing with limited depth of field: that portion of the image in focus at any given aperture. Or should we say: how little depth of field there really is! There is a basic principal at play here: the closer you get to any subject with any lens, the less depth of field there is. Another way to say this is: the more you magnify the subject the less depth of field there is. It matters not how you get there if you magnify the subject greatly, the depth of field is greatly reduced. A 50mm macro does have more depth of field than a 180mm macro, IF they are both shot from the same distance from the subject, but of course the subject sizes and resulting images are greatly different. The image from the 50mm lens is much smaller, thus has greater depth of field. If you shoot the same subject with a 50mm and a 180mm, keeping the subject size the same, and at the same aperture, the depth of field is the same. In this last scenario, you won’t be shooting from the same distance, but you will be producing the same image size, therefore the depth of field is the same. This has nothing to do with the narrow angles of view discussed earlier, this is all about depth of field.
Ok, so there is precious little depth of field at higher magnifications, so how do we deal with it? First, we need to make sure we position the camera parallel and perpendicular to the most important features of the image. Take butterflies for example. We should set up perpendicular with the upright wings from top to bottom and head end to tail end. If we are not lined up correctly, important areas of the face and wing tips may fall out of focus. Consider a sitting dragonfly: we could approach from the top, where we need to be aligned perpendicular to the wings and body. If our viewpoint is from the side, we need to align along the body and head.
You could easily surmise that F22 is best for nearly everything to maximize depth of field in all cases. Shooting at F22 certainly helps with depth of focus issues, but from a creative, aesthetic standpoint, we often deicide to shoot much wider open, demanding even more critical alignment with important elements of the image. Bracket your depth of field so you have choices when viewing the final image.
-
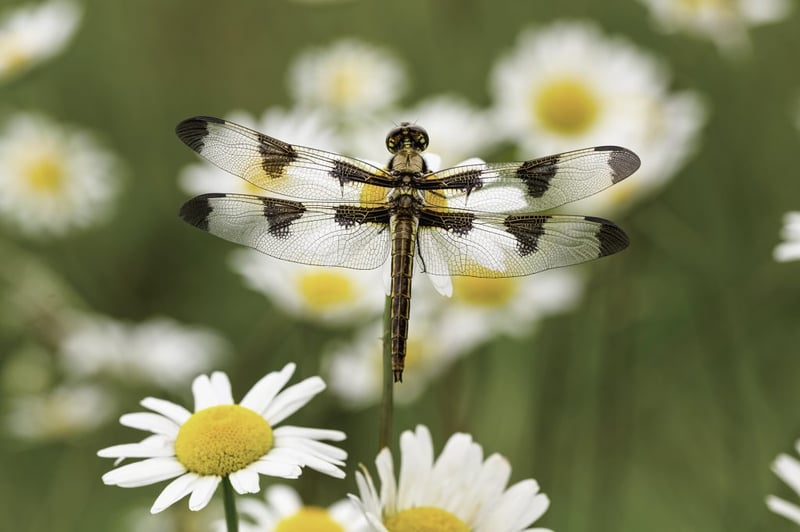
Female Blue Dasher dragonfly on daisy, Pachydiplax longipennis, Kentucky -
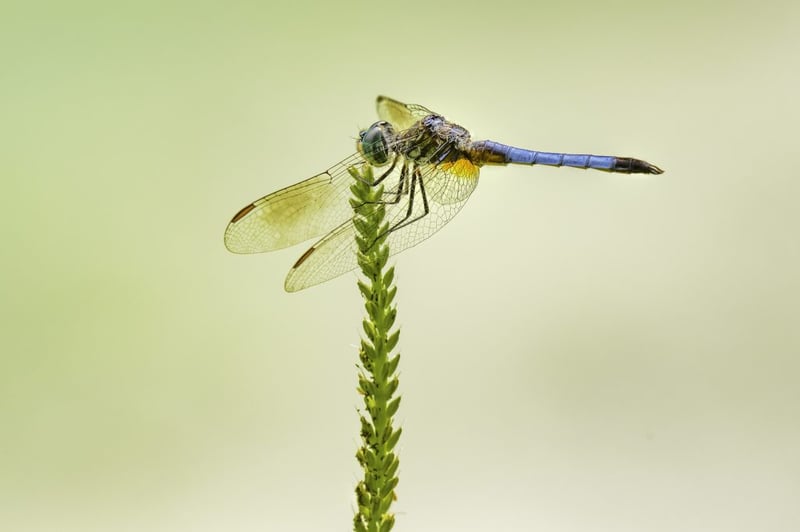
Blue Dasher dragonfly, Pachydiplax longipennis, Creasey Mahan Nature Preserve, Goshen, Kentucky
Image Stacking for Maximum Depth of Focus
There are a ton of compositions we pass up because we know we need nearly unlimited depth of field to get everything in focus. Even at minimum aperture of F22 or F32 there simply isn’t much in focus. Focus Stacking can save the day. In this scenario, we take a series of shots, focusing through the image in small increments from the front of the scene to the rear of the scene, refocusing each narrow section of the scene. It’s like photographing a loaf of bread from one end. Each slice of the loaf is where you refocus the lens each time and take a shot. Obviously, this is best done from a sturdy tripod and with subjects that don’t move. You start with a shot at the near end of the loaf, manually refocus one slice deeper into the loaf and take another shot. You do this repeatedly until you have taken an image of every slice in the loaf. Once this is done the resulting image slices are loaded into a software program that blends the images into one completely in focus image. Using this technique, try working with a medium aperture like F8-F11 for maximum sharpness, not maximum depth of field. The software will stack all the captured images into a single image in focus front to back. Zerene Stacker, Helicon Focus, and Photoshop stack images into a single image with otherwise impossible depth of field. With many macro images our compositional choices are very limited due to a lack of depth of field, but with focus stacking we are free to compose as desired and know we can get the depth of field needed with Focus Stacking.
-
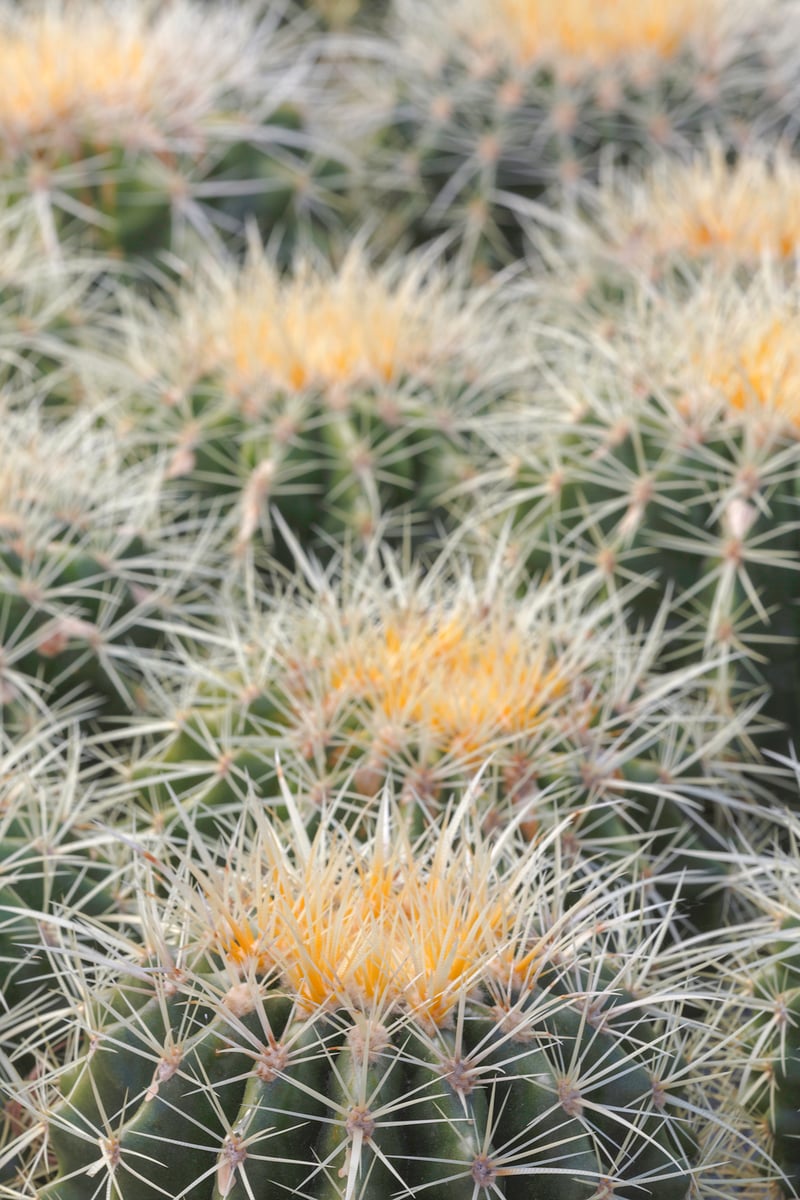
Shot at F22, not enough depth field to cover the scene -
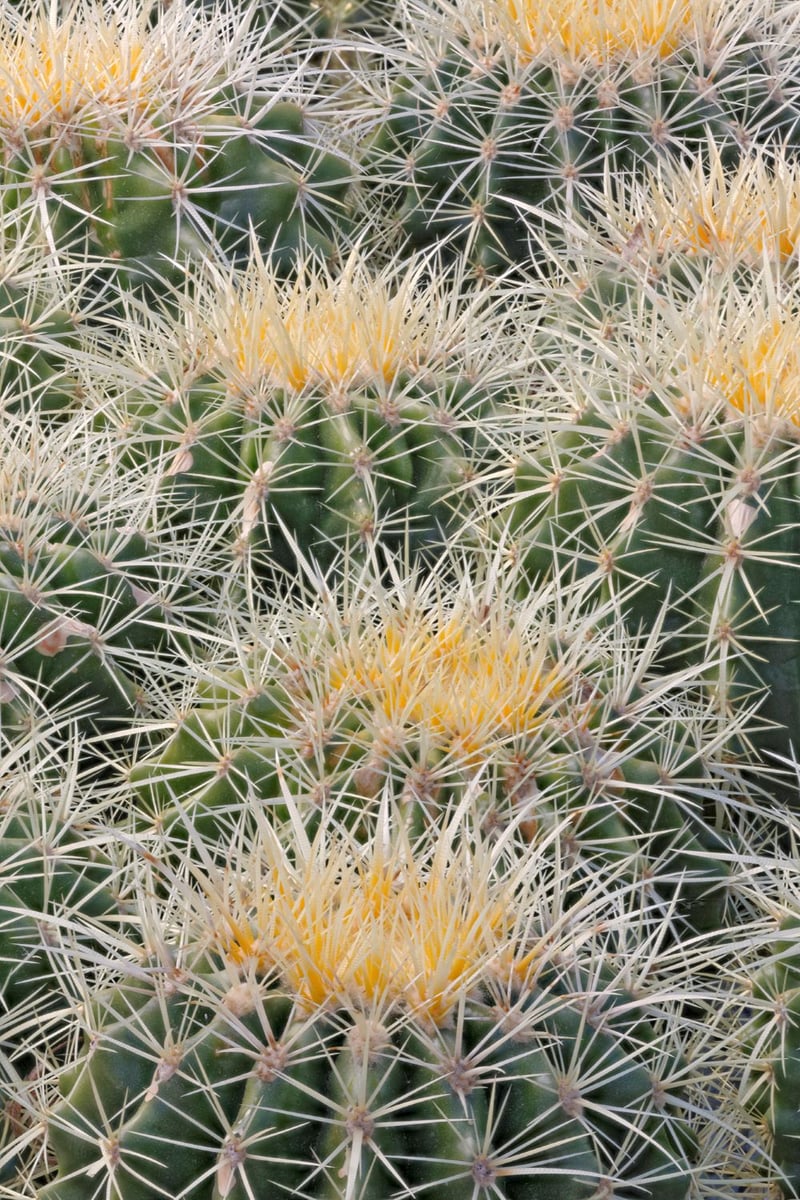
Finished image after stacking 12 shots each at F11, complete depth of field -
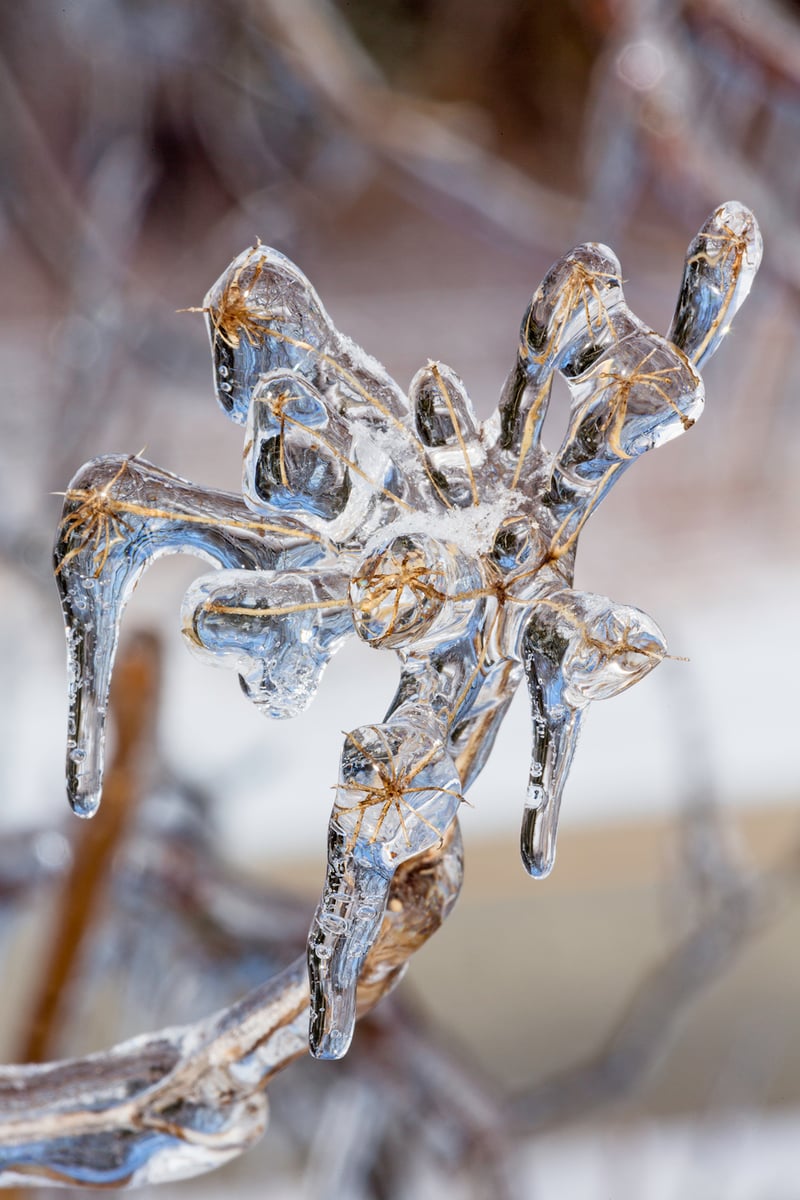
Shot at F32, brought the subject into sharp focus, background is too busy for my taste -
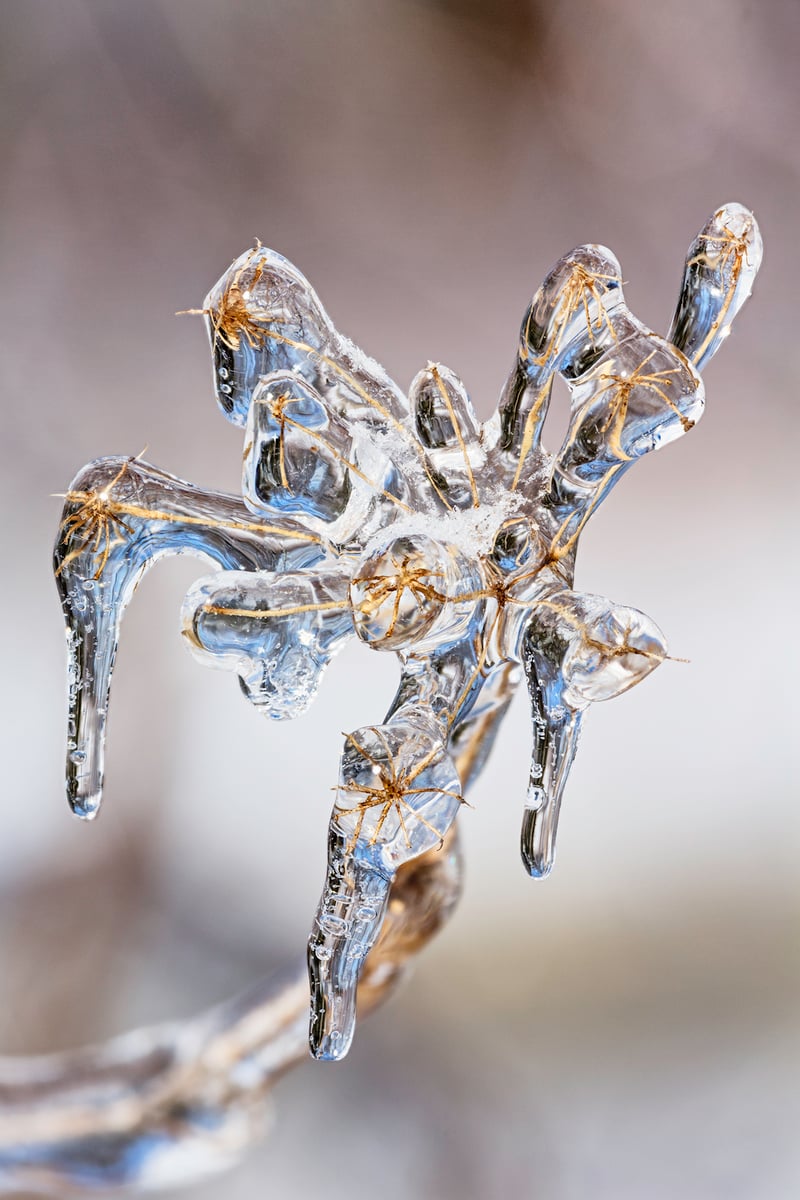
Stacked using 5 shots at F8, with wider open F numbers and smaller slices can achieve the deisred depth of field
Composition:
I don’t remember where I first heard this, but it is so right on the money: good composition is good composition weather it’s a landscape, wildlife, cityscape, or macro subject. Defining good composition abstractly is challenging, but we all know it when we see it. Just because we are magnifying a small subject, does not automatically create a great composition. To create strong compelling images, we need to be aware of and incorporate the basic elements of design: Line-Shape-Pattern-Color-Texture-Form. Composition is all the same, whether it’s a grand landscape or a close-up, we must recognize and use natural design elements and arrange them in the viewfinder in a pleasing manner.
Flash with Macro:
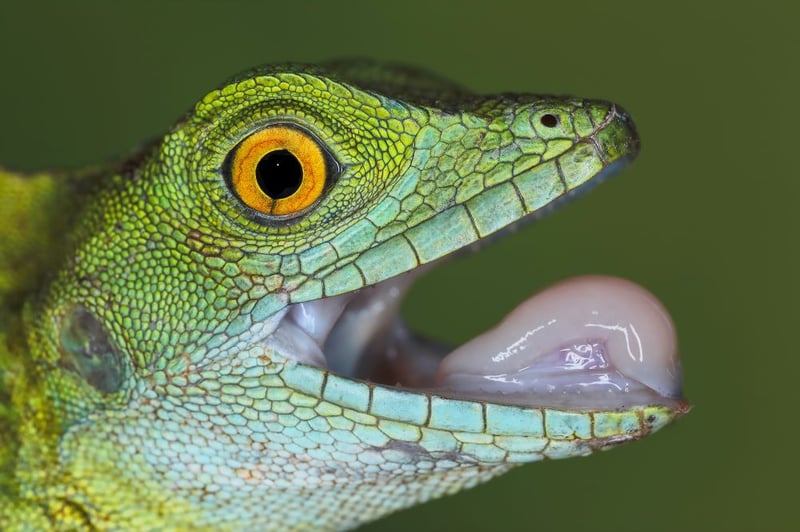
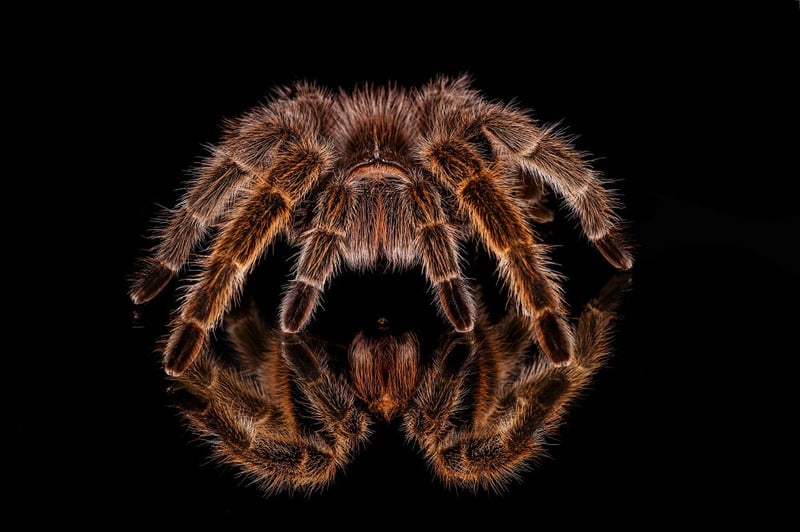
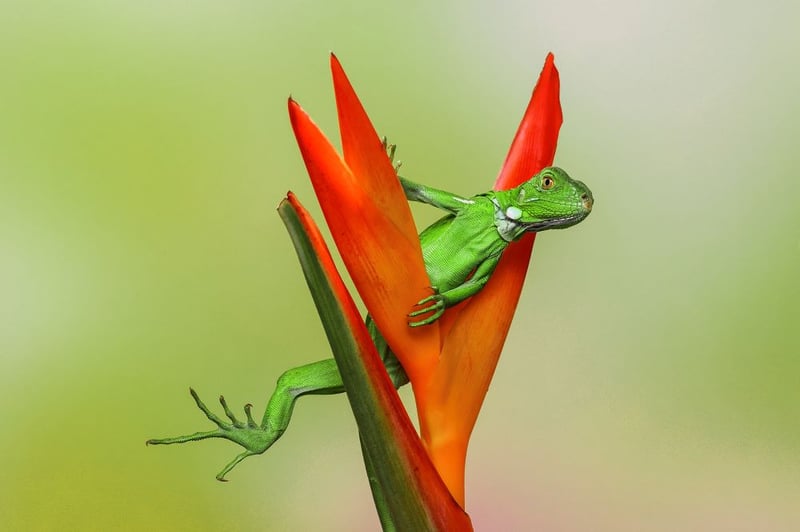
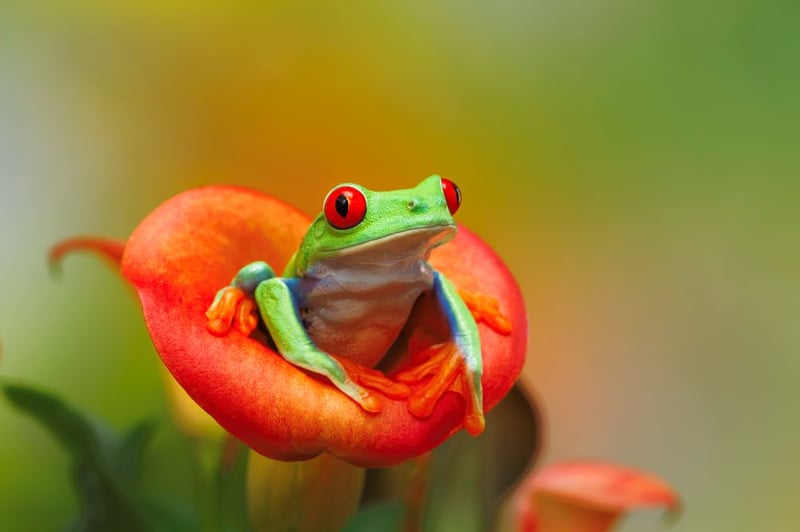
So far we’ve discussed working with natural light, and indeed it is my favorite when possible. Flash can be a great tool with macro imaging as long as you keep some basic principals in mind and know what you want the flash to do. In our indoor macro classes, we exclusively use flash for illuminating dart frog, geckos, lizards, tarantulas, beetles, butterfly wings, etc. In a workshop environment, we are using Full Flash; this means the flash is the only light source, providing full illumination, and full action stopping capabilities.
We simply set our cameras to Manual Mode, 1/200th sec. at F16 or F22 for maximum depth of field on tiny subjects and shoot away.
Note: If the exposure is not correct, the only way to make an adjustment to the exposure is with “Flash Exposure Compensation” or by changing the ISO. Changing the Flash Exposure Compensation makes the most sense to me.
We are mostly using ring flashes or small twin light setups, but flash principals are the same regardless of the type of flash. Using this setup “Full Flash” we don’t need to worry about camera shake while filming handheld. The quick burst of light up close becomes the actual shutter speed, since daylight is not entering the camera. We get great depth of field and no worries about stability or need of a tripod. We are flexible and mobile. The main downside to this setup is that anything in the photo not illuminated by the flash will be black. Shadows can be really harsh, and light from a flash very close to the subject falls off extremely quickly behind the subject.
This strategy can work very well in indoors or out in the field. I often use a larger flash mounted in the camera hot shoe above the lens axis for stalking small creatures.
Flash with macro is extremely effective as a fill light. I use a Canon Ring Lite that encircles the lens, providing even fill light from all directions. Fill lighting differs greatly from full flash described above. When using flash for fill lighting, the camera aperture and shutter speed is set to expose correctly for the natural light, and the flash is set at a minus 2 or minus 1. The flash is not the main exposure, it is set at a minus setting to put out a tiny bit of light that affects only the shadows. On overcast days I shoot fill light at minus two (flash only at minus 2), the natural light is exposed correctly and normally as usual. This combination does not look flashed in any way, and the overall scene looks perfectly natural. In this case we are not depending on the flash to provide the main light source, so if the exposure is incorrect, and the flash is at -2 compensation, then your camera exposure needs adjusting for correct exposure. Fill flash does not provide stability for hand holding, we are limited by whatever natural light shutter speed aperture combination is appropriate for the lens we are using.
-
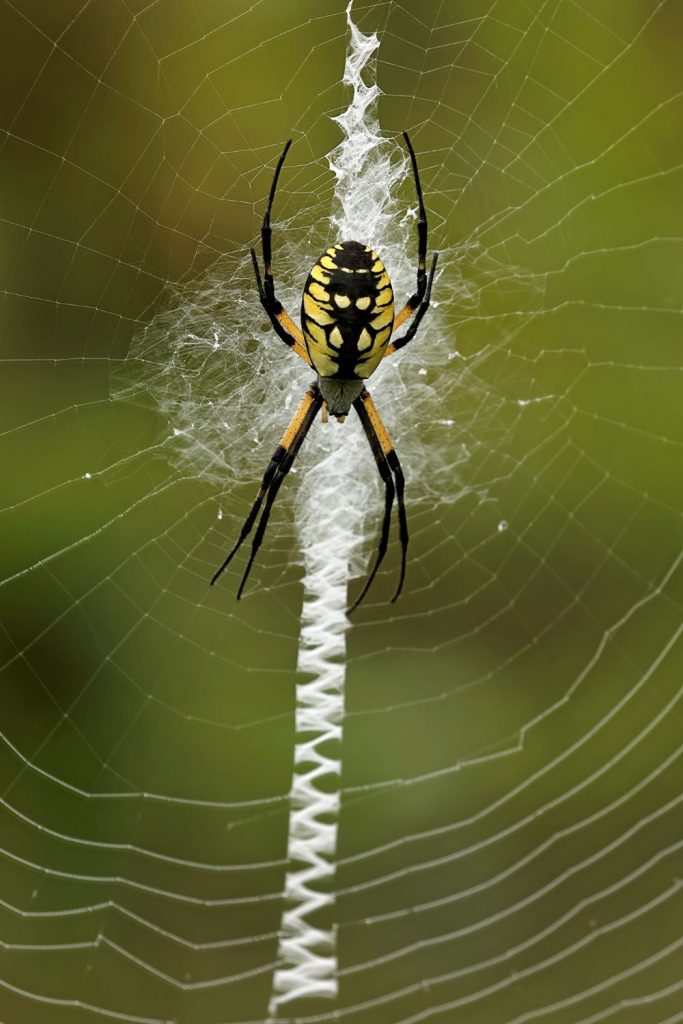
Garden spider with natural, notice dark area around head -
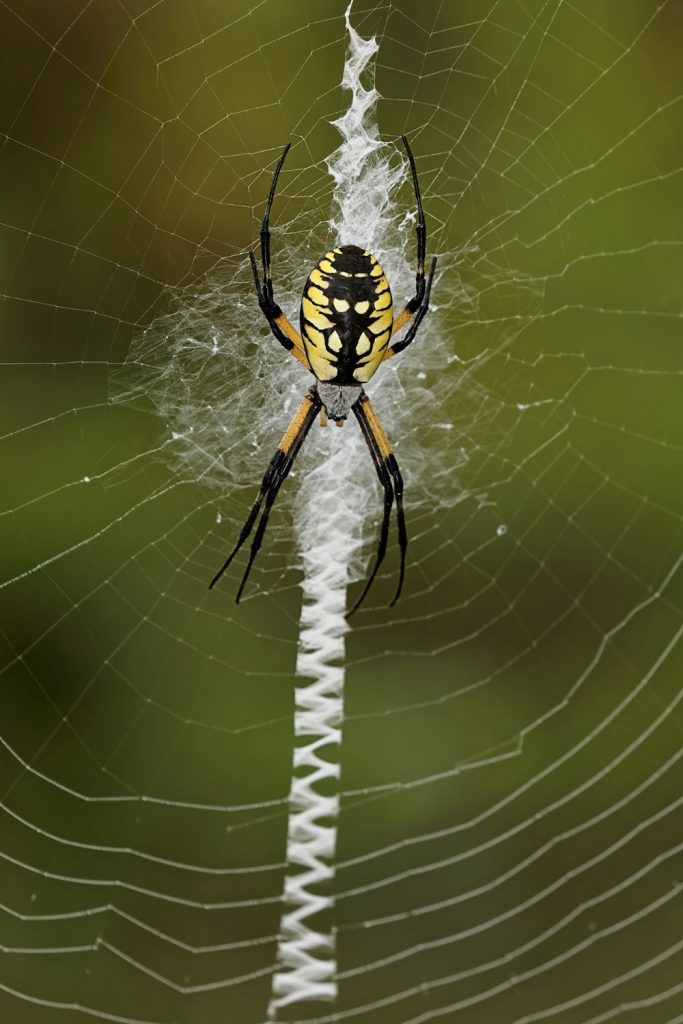
Garden spider with fill flash set to -2 compensation added to natural light exposure
High ISO in the Field
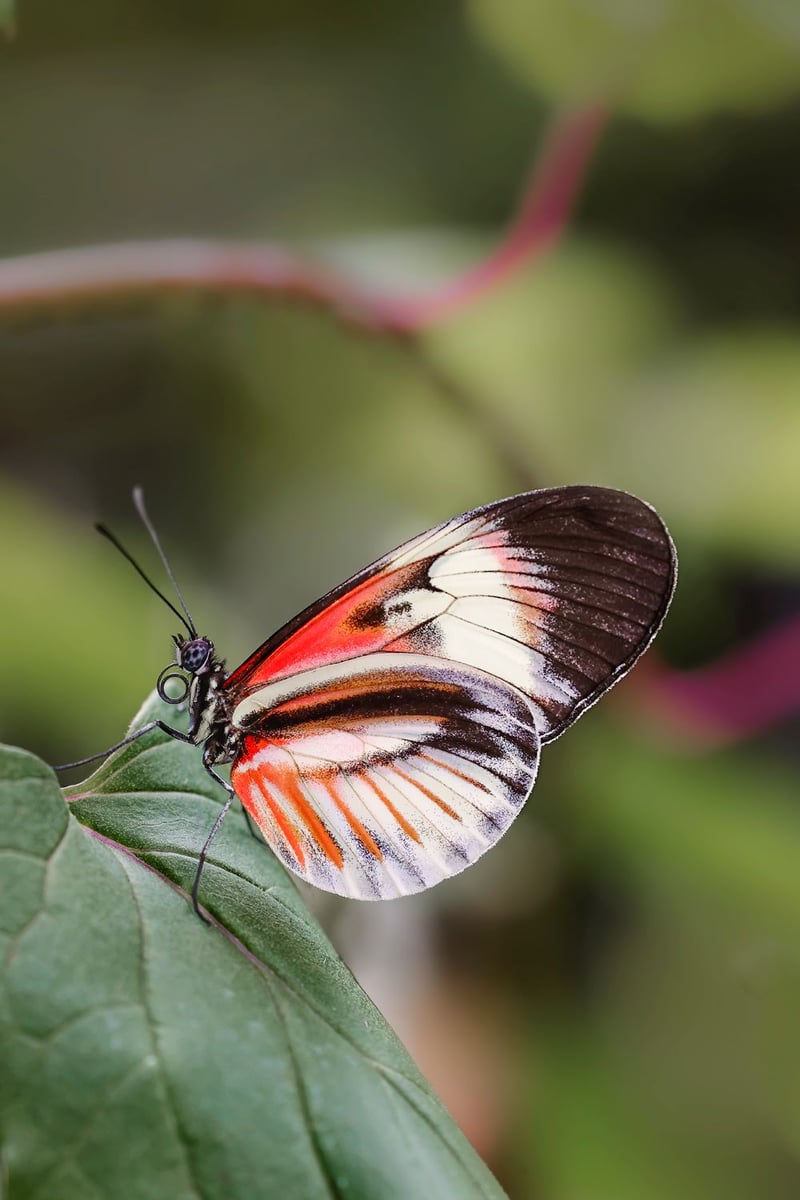
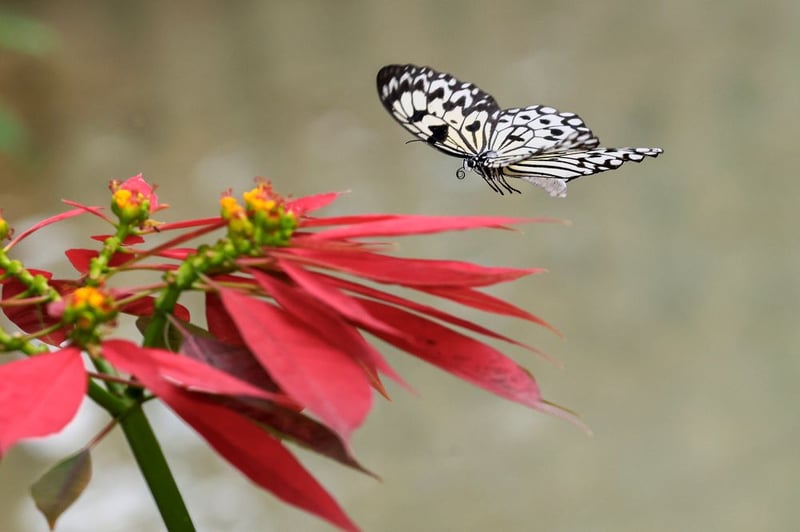
Modern digital cameras have greatly increased our capabilities for working in the field. On the last day of our macro workshop at Butterfly World, I shot exclusively with a Canon 1DX Mark III, set this way: Manual Mode, Auto ISO, 100-400 IS II lens + 1.4x teleconverter + 25mm extension tube and 430 flash mounted in the hot shoe for fill light. This camera is exceptional at high ISO with very little noise. Butterfly World graciously allowed our group to film however, tripods are not allowed. I had no problem capturing razor sharp natural looking images. The camera delivered fast pinpoint autofocusing on static butterflies as well as those flying. Using Manual Mode with Auto ISO, let me dial in a fast shutter speed sufficient for easy hand holding, and the auto ISO function simply adjusted the ISO as needed to maintain the desired shutter speed. When doing this, I set the shutter speed for 1/1000 sec. The auto ISO ranged from ISO 2000-12,600. The flash in the hot shoe was set -1 to -2 for the entire shoot, and nothing ever looked flashed. This is an easy strategy for running and gunning and keeping it simple as opportunities present themselves.
Technique:
Except for a few handheld situations most macro images are going to be made from a tripod, and hopefully it a good sturdy one. Tripods with a non-removable center column are a pain when working very low to the ground. In fact, the center column may limit how close to the ground you may set up. My tripods are without a center column and legs that can splay out flat for ground level shooting.
One of the hardest techniques for beginning macro enthusiasts to grasp, is that it’s often easier to move the camera/lens in and out, rather than focusing with the lens barrel. When doing macro work, everything must be locked down tight and completely solid. There simply is no tolerance for sloppy connections or attachments that are not completely rigid.
Macro and close-up work can be very exacting and demands a lot from us physically. Crawling around on the ground looking through a viewfinder is hard work. When doing macro, I’m a huge believer in focusing with Live View! Live View focusing is being taken right off the image sensor and provides deadly accurate focus that may be more precise than the optical viewfinder. Live view lets us zoom in on the subject to 5x or 10x for very precise focus. Once Live View is engaged, the mirror is also locked up, so there is vibration from the mirror slapping around in the mirror box to ruin sharpness. In conjunction with Live View, use an electronic cable release so we are not touching the camera when activating the shutter.
Fun Software
I’m sure many of you are already avid macro photographers and have created tons of great images. During our time of social distancing many photographers are revisiting past images. This is a great time to experiment with flowers, plants, bugs, and patterns using the creative and wild effects of Flexify 2 software. This Photoshop plug-in offers some very creative interpretations of your original images. There are literally hundreds of millions of possible combinations, so experiment, play around during your down time. I once sold several bizarre twisted images for hospital décor: can you image waking up from anesthesia and seeing a distorted print on the wall!
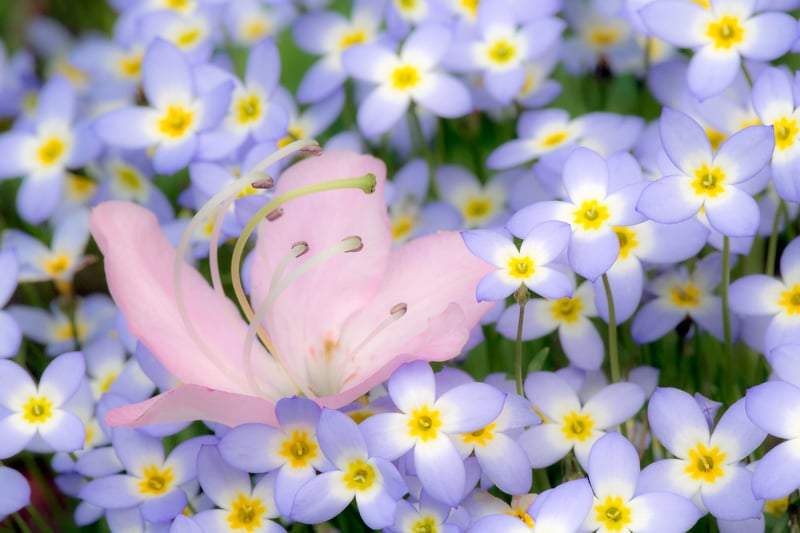
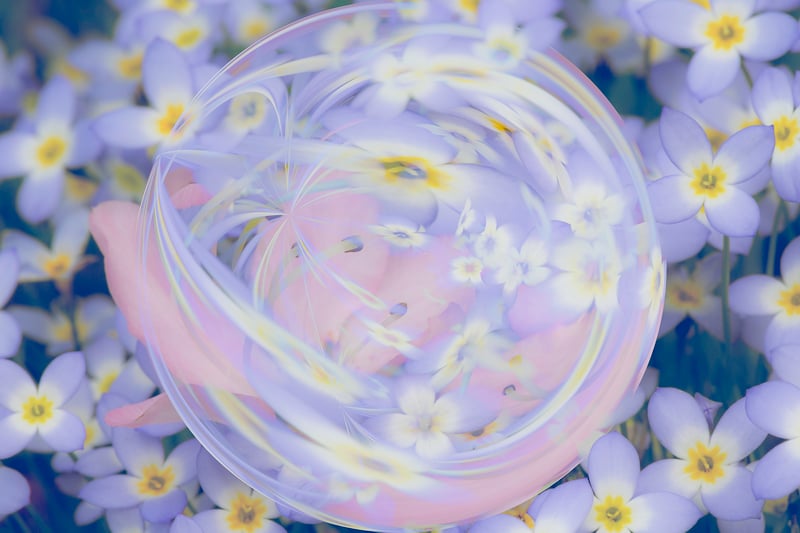
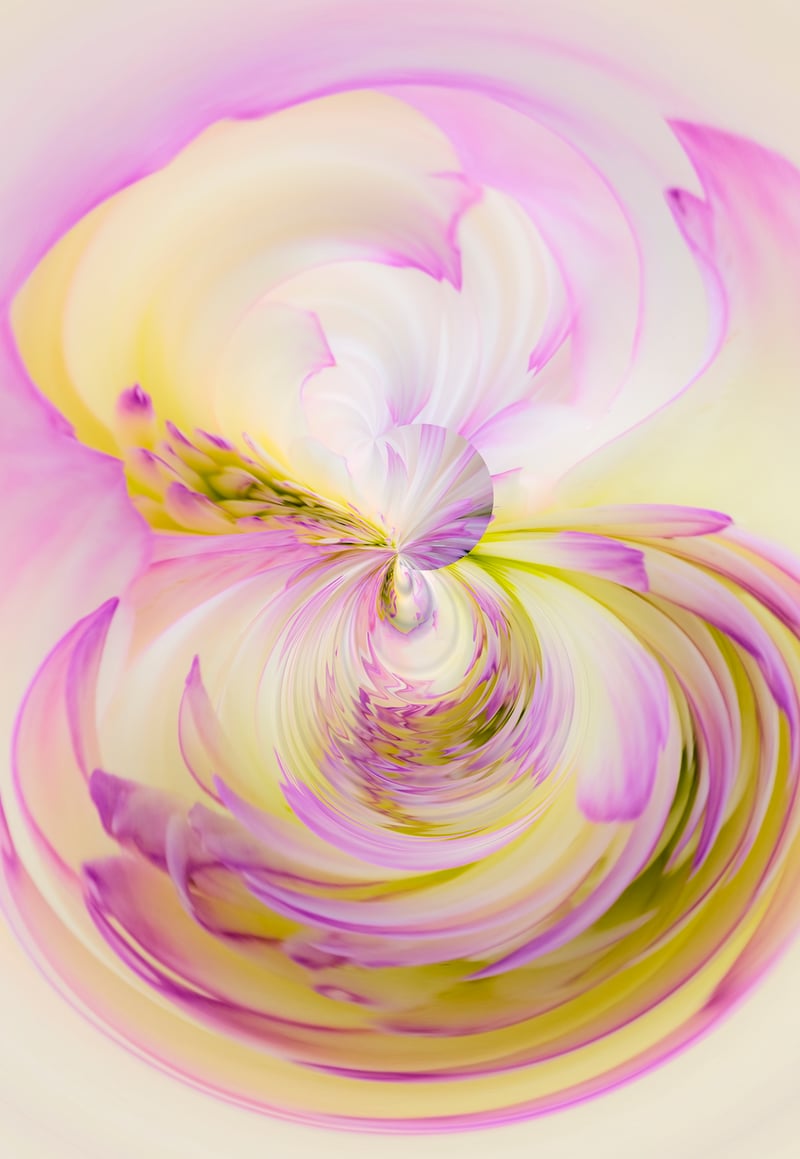
Flood is another Photoshop plug-in and like Flexify 2 created by a company called Flaming Pear. Flood is used to create realistic mirrored water reflections. It’s a fun piece of software to experiment on a variety of images.
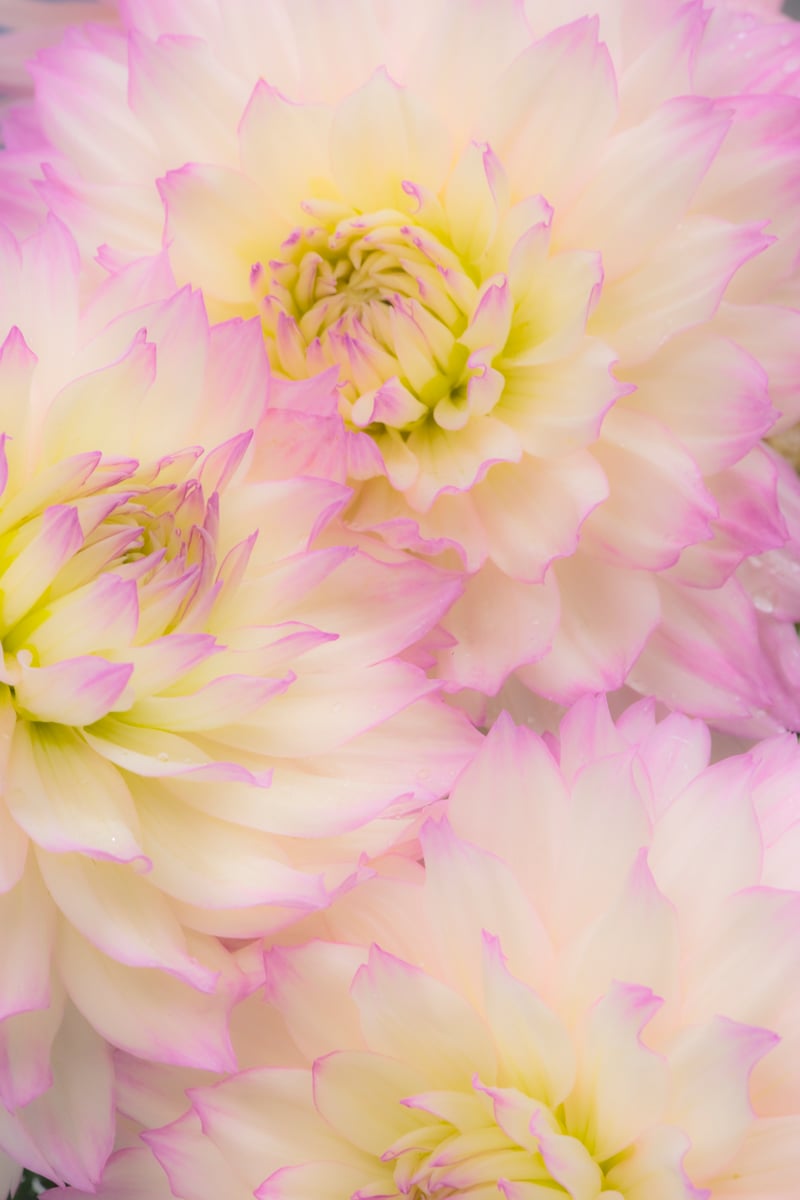
-
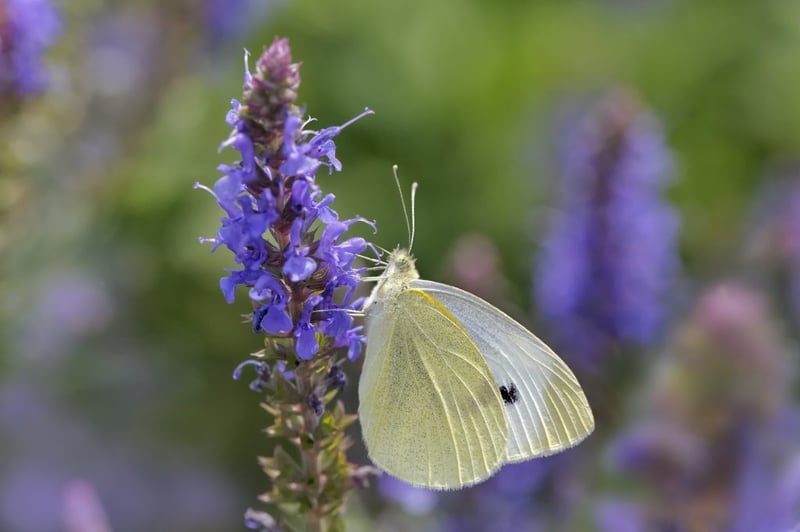
Cabbage White Butterfly, Pieris rapae, Louisville, Kentucky -
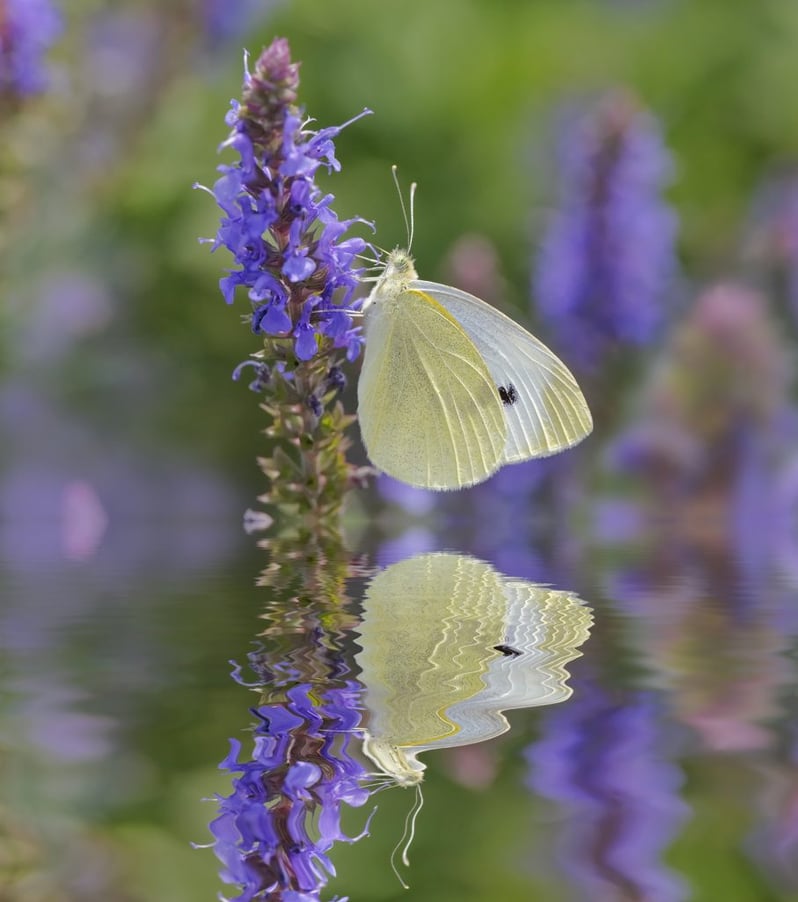
Cabbage White Butterfly, Pieris rapae, Louisville, Kentucky
While on the subject of great software, check out DXO Lab 3. This is my go-to software, which converts raw images into noise free DNG, 16-bit Tif, or jpeg files with no loss of sharpness.
The other more recent contender is Topaz DeNoise AI. It also does a fantastic job of reducing high ISO noise and sharpens images as well if desired. These two software tools significantly expand our handheld capabilities in the field. I have images shot at 25,600 ISO from the 1DX Mark III that are more than good enough to be published anywhere.
It’s a new day, stay safe, and go out and create some new images or explore creative possibilities with some of your existing images.
About Adam

This internationally recognized photographer explores the world through his nature, travel, and wildlife images. Jones’s award-winning photography is widely published in magazines, posters, calendars, books, and in national advertising campaigns for clients such as Canon, Ford, Eddie Bauer, Miller Beer and Honda.
Adam is recognized world wide as an outstanding stock photographer with his images represented by Getty Images, and Danita Delimont Stock Photography. His work has sold for editorial and commercial uses in over 30 countries.
His publication credits also include: National Geographic Books, Time, Life Magazine, National Wildlife Federation, Audubon, Sierra Club, Disney and hundreds of textbooks. In 1995 the BBC Wildlife Photographer of the Year Contest selected Adam’s image from over 19, 000 entries, as the winner in the “In Praise of Plants” category.
Adam’s images are featured in nine coffee-table books.
In early 2006, Adam was selected to be one of Canon USA’s elite group of acclaimed photographers, “The Explorers of Light”. Canon describes the Explorer of Light program as such: The Explorers of Light program is a group of 60 of the World’s best photographers united in their love and passion for photographic excellence. They share a common desire to contribute back to the industry with a willingness to share their vision and passion with others.
Adam is a popular and respected workshop leader and lecturer. Adam teaches photography workshops around the world helping students reach their full potential in the exciting world of digital photography. Adam is noted for his enthusiastic down to earth approach and his ability to communicate effectively with all skill levels.
