Chasing Waterfalls with Steve Schwindt
Chasing Waterfalls – A detailed guide to taking compelling waterfall photos
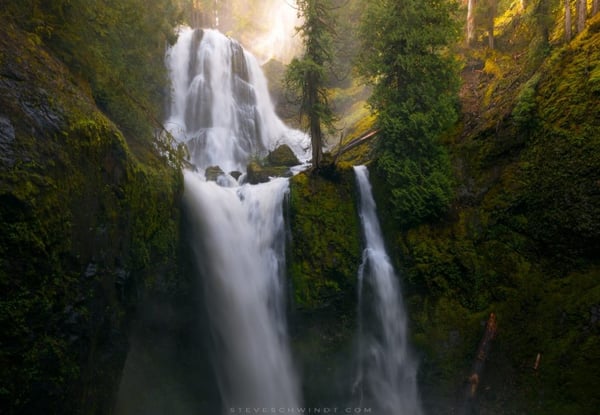
Having grown up in the Portland area, I’ve been very fortunate to have easy access to the countless hiking trails and natural wonders that exist throughout the Pacific Northwest. It’s no surprise then that when I began to get serious about landscape photography a few years back, I focused on the beautiful waterfalls in and around the Columbia River Gorge. Perhaps it’s the fact that I can take my time and spend all day shooting them, or because each one is unique in its own way, but I’ve always been drawn to shooting waterfalls and find myself coming back time and time again.
In this guide, I’ll be sharing what I’ve learned and many of the techniques that I use to take compelling waterfall images.
Gear & Accessories
For shooting long exposures, it’s important to have a steady tripod and an easy-to-use head. In addition to the camera gear, here is my recommended list of accessories that are ideal for shooting waterfalls.
• Lightweight Waders & Rain Jacket. Described in more detail below, these will open up new possibilities for compositions.
• Rocket Blower. A friend introduced this idea to me a while back and I’ve been using one religiously ever since. Mist and spray can be intense when shooting waterfalls, so an air blower will help tremendously with blowing water off your lens/filter. Lens cloths get wet fast and often leave streaks, so I found that these blowers are much more effective.
• Hat. To block spray when using the blower.
• Circular Polarizer Filter. A polarizer filter will significantly reduce the amount of glare on water, which can be very effective for creating strong foregrounds. It also has the added benefit of acting as a minor neutral density filter (usually up to 1-stop).
• Plastic camera sleeve. These are very helpful for keeping your camera body dry from rain and spray.
Weather & Time of Day
One of the great things about shooting waterfalls is that you can do so even when the weather is “poor”. I used quotations on that because just about any weather can be turned into an opportunity for a great photo – waterfalls are no exception. In fact, many people would argue, including myself, waterfalls are best shot on rainy or cloudy days.
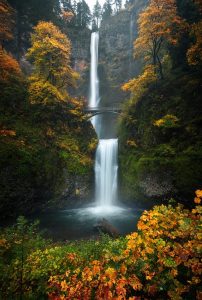
For example, a cloudy day can really help with longer exposures and allow you to take your time as you shoot since the light will be much more consistent throughout the day. Additionally, rainy days can also really add to a scene when there’s fog or other atmospheric conditions. One of my favorite scenes to shoot in general is a waterfall in the Gorge on a misty fall morning. The one time I don’t like to shoot waterfalls is when there’s direct sunlight on a clear day. Not to say that it can’t be done (it certainly can and has its ideal moments), but it can make for some harsh lighting and require using a neutral density filter (I don’t like to stack those on top of a CPL filter). On the other hand, a little bit of dappled light or direct light when used strategically can really have a strong impact on an image.
All in all, there’s no right answer when it comes to weather and time of the day to shoot waterfalls. However, a little bit of planning and a clear vision for the type of shot you’re after will go a long way in obtaining a great image with the ideal circumstances. There are a number of mobile apps (such as PhotoPills) on the market that can help with planning.
Composition
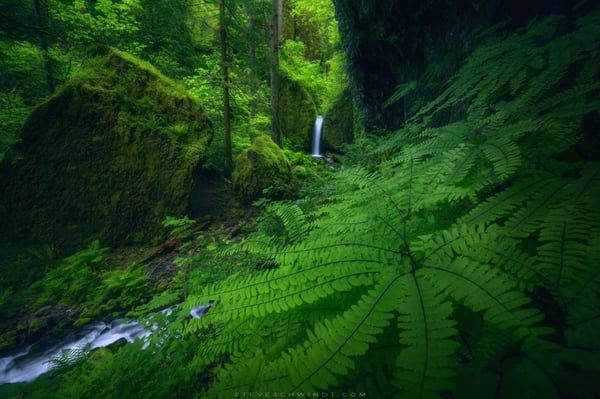
If there’s one thing that you learn from this article, I hope it’s this: don’t be afraid to get your feet wet! You might have a path, a trail, maybe a standard viewpoint or a bridge – but if you limit yourself to the ground, you are limiting your opportunities for great and original compositions.
I almost always wear or carry a pair of waders with me when I plan to shoot waterfalls. Yes, it is extra weight and sometimes a little uncomfortable to hike in, but in the end it’s completely worth it. If you haven’t considered a pair of waders before, see if you can borrow a pair from someone to try out. You will likely be amazed with the compositions you find while moving freely about the water, discovering opportunities to create a truly engaging photograph that brings the viewer to that scene.
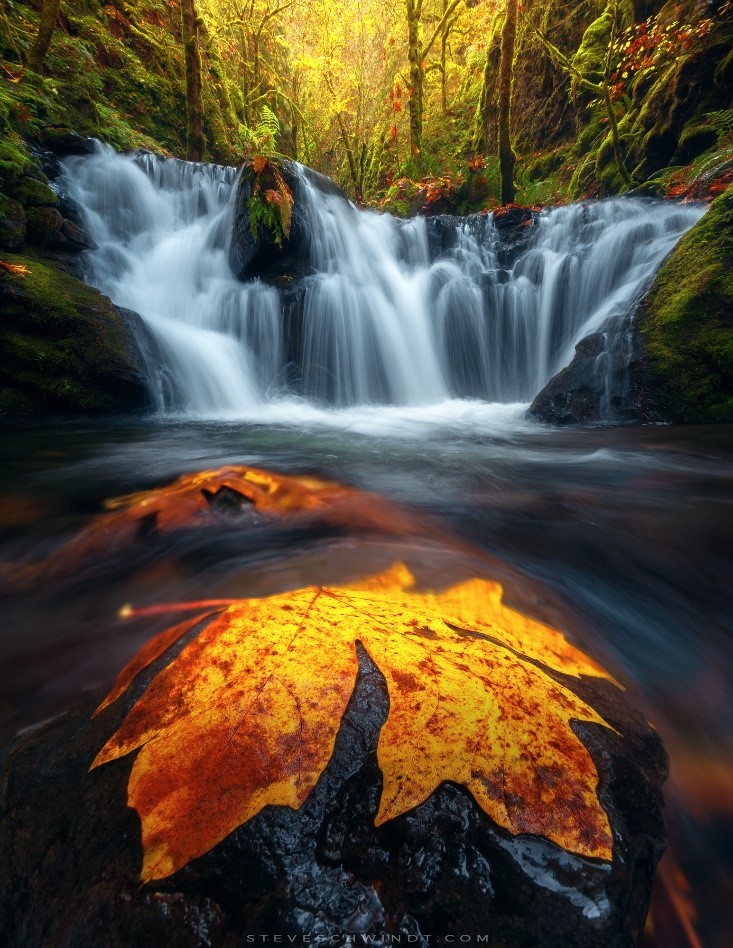
Get low and get close. More often than not I’m shooting as wide as I can at 16mm while being extremely close to my foreground. Described in a little more detail below, I typically “shoot to process” so to speak, treating my shots and scenes as pieces of a puzzle that will be assembled in post later on. By taking multiple exposures with varying focus points, for example, I can shoot strong foregrounds while also ensuring that the entire image is 100% in focus. If you aren’t comfortable with that level of post-processing, you may have to consider pulling up above your foreground more and determining your hyperfocal distance. However, this may reduce your ability to shoot your scene at an ideal aperture as you will likely be stuck near F16 assuming your goal is to keep everything in focus.
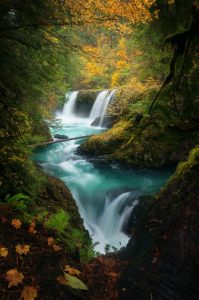
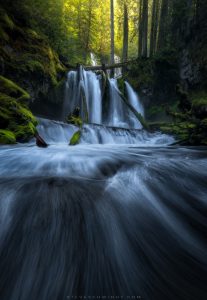
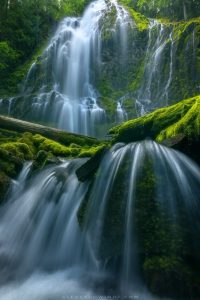
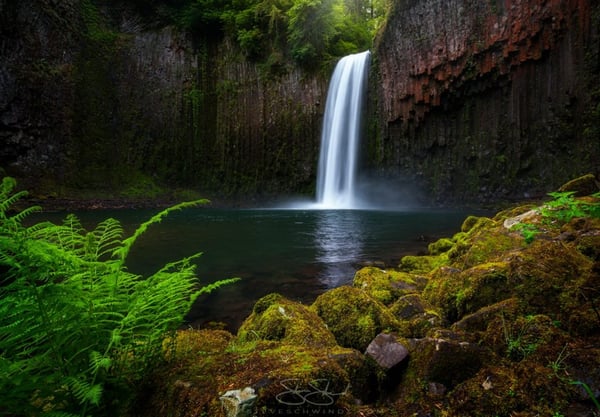
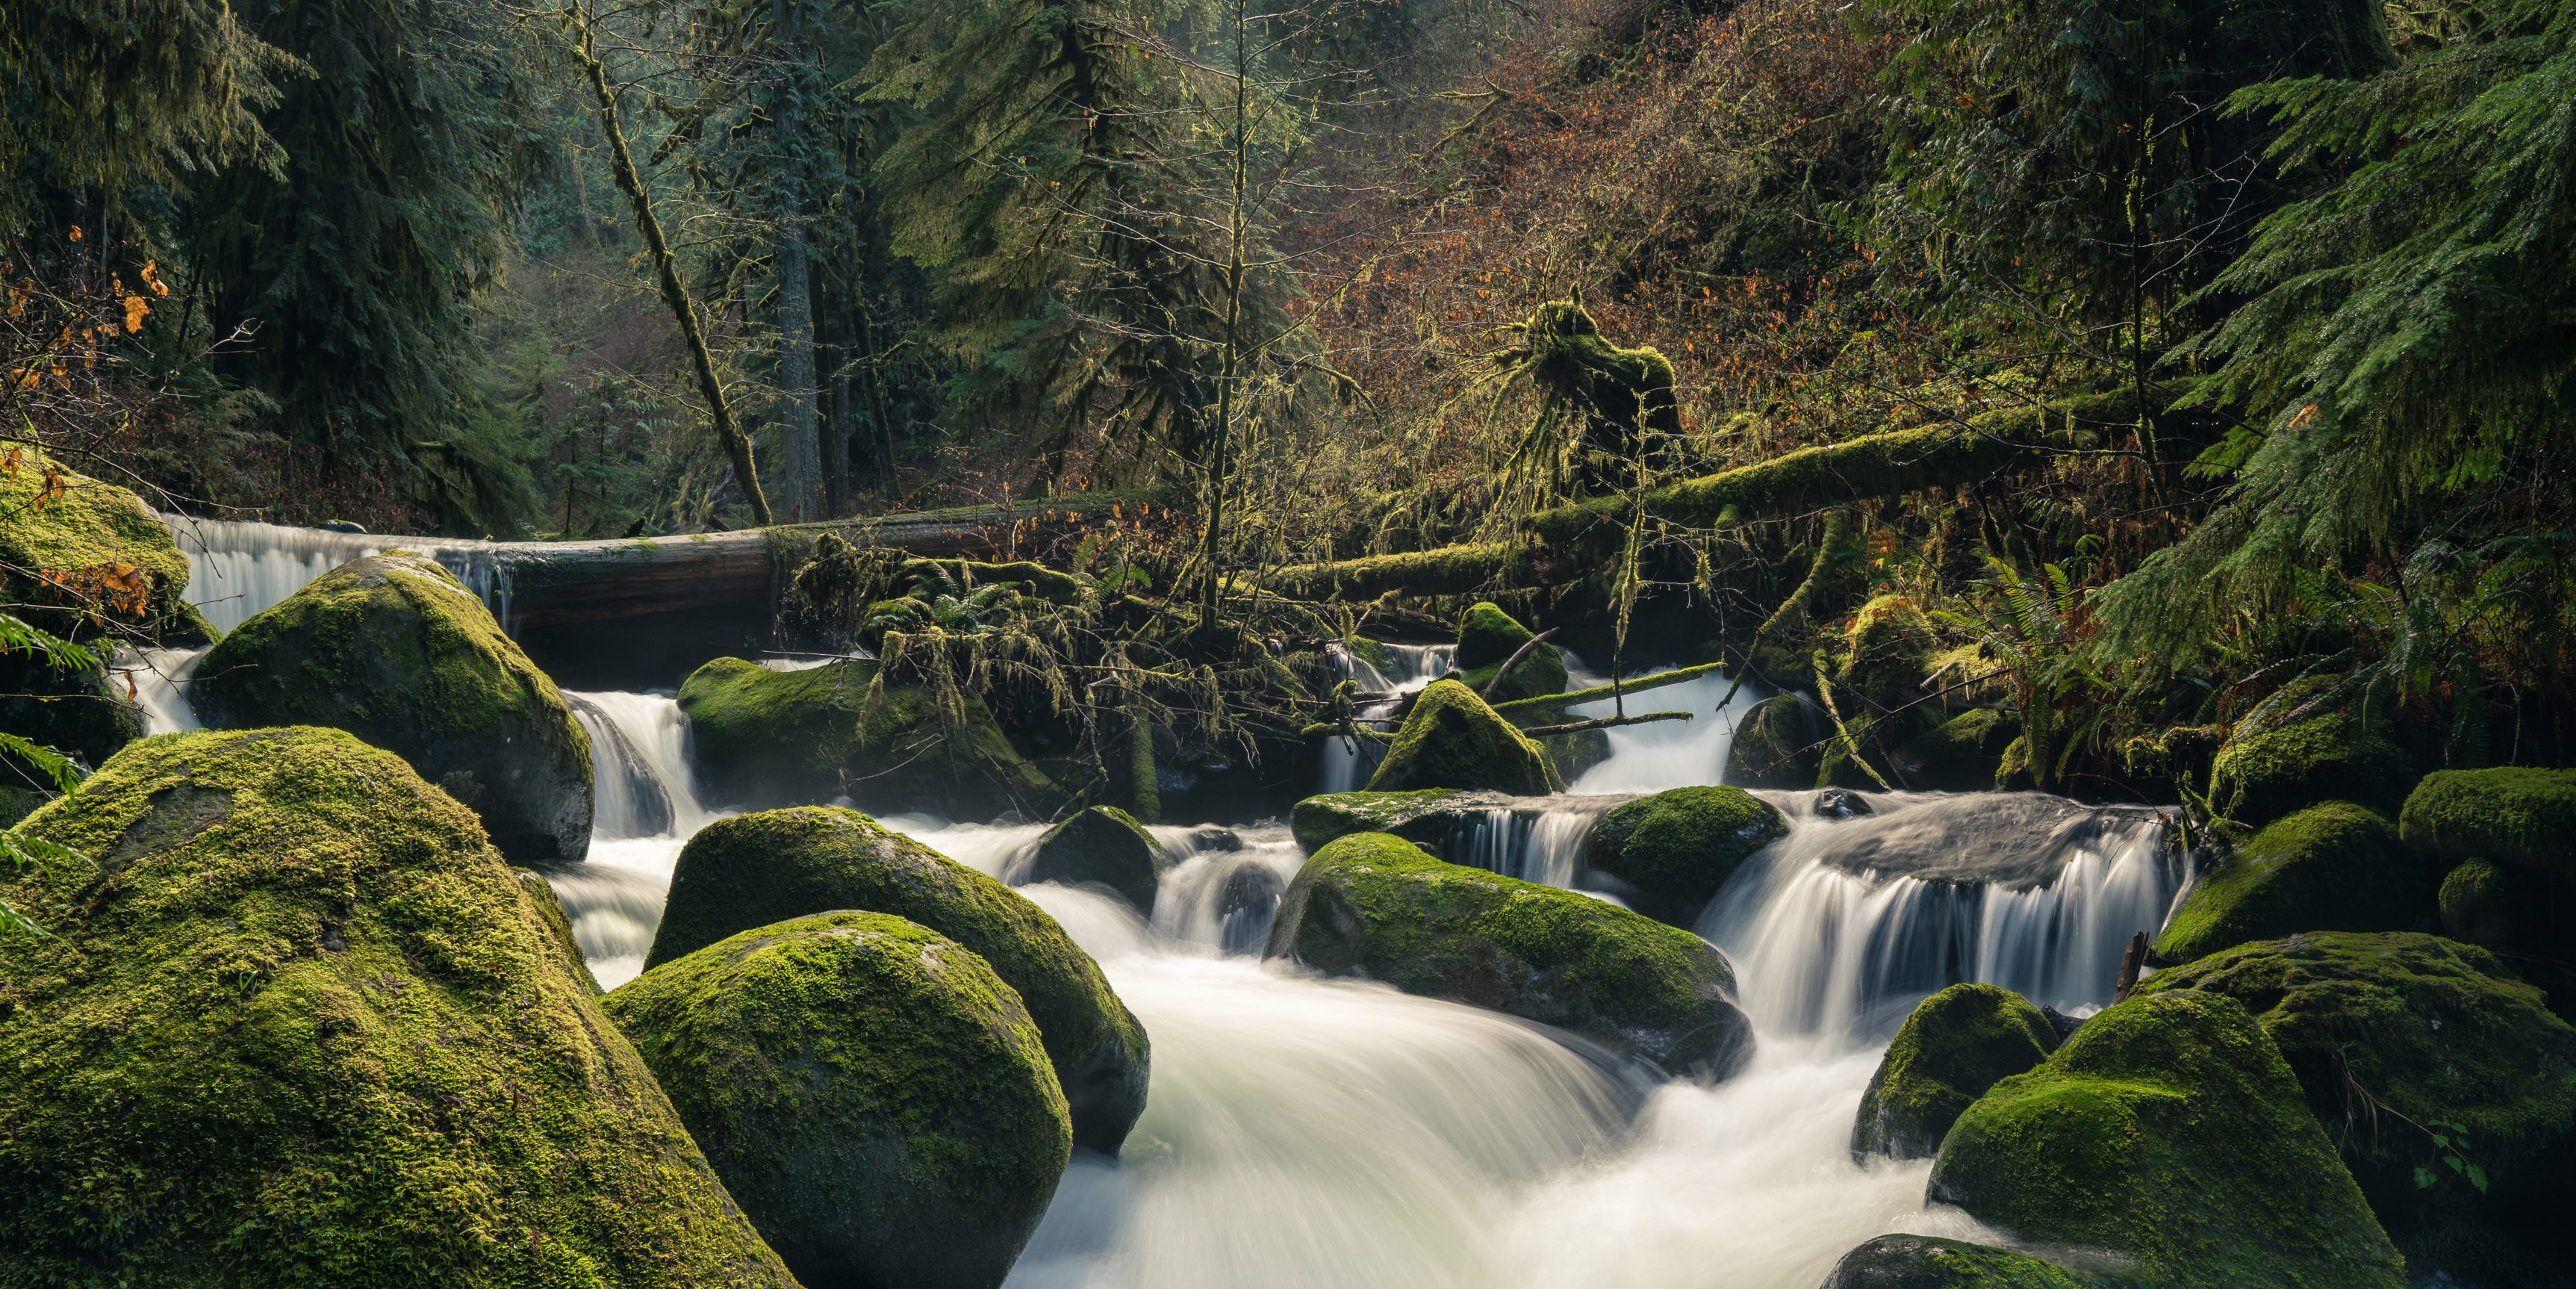
In terms of what to look for in a foreground, I always try to look for something interesting like ripples in the water, rocks, or some kind of foliage. I recommend trying to think about where you want the viewers eyes to go throughout the photo. Leading lines in the water and a relatively smaller waterfall in the background (compared to your foreground) can really help with that. One thing you can do is hand-hold your camera and shoot with a higher ISO (and faster shutter speed) to take some test shots to see what compositions you like and then go from there. We could also talk for ages about composition concepts like the Rule of Thirds but ultimately I think the easiest way to train your eyes for great compositions is to look at a lot of photographs from great photographers – identify ones you like and then go out and practice!
Camera Settings
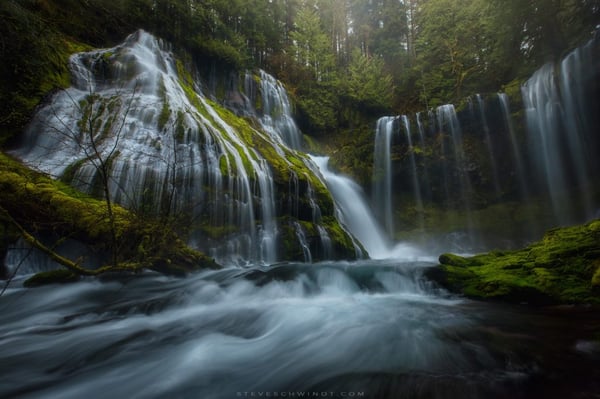
My goal of this article isn’t necessarily to give a complete guide on the Exposure Triangle but it’s worth noting that I always shoot 100% manual. The first thing I look for when shooting waterfalls is the shutter speed, and based on my own personal preference, 1/4 second tends to be the sweet spot. With that said, it will always vary depending on how much water there is and what the speed of the flow is. My overall range tends to be 1/8s – 1s, with 1 second being used more frequently for larger falls at a greater distance vs. water contained in foregrounds.
I usually take a few shots with a few different shutter speeds to see what I like and then move on to aperture from there. My starting point for aperture (for all shots not just waterfalls) is F8, which is a fairly standard go-to aperture for optimal sharpness. From there, I’ll see to what extent I need to change my aperture based on my desired shutter speed. If I can, I try to stay between F8-F11, occasionally going up to F16 if I need to. F16 will reduce the need to focus stack multiple exposures but it also will result in a significant loss of sharpness (due to diffraction) and may be problematic to obtaining your ideal shutter speed.
Lastly, I consider my ISO. By default, your ISO should always be as low as your camera will allow. For me, this is 100. I shoot on a Canon 5DIV which has great dynamic range and handles noise quite well, but only when I feel that the shutter speed is too slow (even at F8), will I consider bumping up my ISO. I try very hard to keep it under 400 if I can.
As a side note, consider playing around with the strength of your circular polarizer filter if you’re using one. Most of the time I shoot at full-strength but occasionally I turn down the strength slightly in order to gain back a little more texture in moving water that otherwise would appear completely transparent.
With the above in mind, I could provide countless examples of when some of those generalities are not ideal depending on the individual circumstances of the scene, but generally those are the settings I try to use. If you aren’t already, consider shooting in Manual mode as it will really help to understand these nuances and provide an incredible amount of control and flexibility over your creative process.
Shooting Process
You have the right gear, you’ve found your composition, and you have your desired camera settings in mind – now what?
As I mentioned earlier, I “shoot to process”, treating my images as puzzles with various exposures that will be assembled later in Photoshop. As such, I try very hard to look around at the scene to determine what potential puzzle pieces I will need to grab. For example, I may like my foreground with a 1/4s shutter speed but the main waterfall at 1s shutter speed. I may need 2 or 3 exposures at different focus points to get 100% clarity throughout the image, or may also need to take a couple of exposures at a higher ISO and faster shutter speed to account for moving trees/leaves.
People often ask how many exposures are needed in focus stacking, but it will always vary as it’s dependent on your aperture and proximity to your foreground. As I tell my clients, the easiest way to learn is to get out and experiment. I have found that for myself, based on my settings and shooting preferences, I typically will focus stack waterfalls with 3 exposures (at F8) – one about 1/4 through the scene, another about 1/2 through the scene, and one on the background where the main fall/subject is. It is a little easier to get away with 1 foreground exposure when it is just water, but if you have rocks with distinct detail, you may need another 1 or 2 exposures to capture all of the detail.
Once I’ve determined my ideal focus points (try to find points with distinct details), I use the live view on my camera and zoom in on those points, manually focusing my lens to the exact point of perfect focus. If you use this method, make sure your lens is switched to manual focus so it does not automatically lose your focus point when you take the shot. Now, imagine being knee deep in water with your camera inches away from rocks and cascading water, all while being sprayed by a massive waterfall some yards away. You have your first focus point that you’ve found in live view and are ready to fire off your first shot, but there’s simply too much water on your lens/filter. This is where the hat and rocket blower trick comes into play.
Using a hat or your hand, cover the front of your lens to protect it from spray and water bouncing up from your foreground. A lens hood is also helpful to have as well for some additional protection. With your other hand, use your blower to blow off the water from your lens/filter. The trick then is to take a shot before water has a chance to accumulate again. You can either use a remote shutter button to fire off a shot as soon as you remove your hat/hand or simply use an in-camera timer. I usually go the timer route (2 seconds) as I don’t like to deal with a remote when I’m standing in water. I watch the timer on the top of the LED display to my body, and when it’s about to fire, I quickly remove my hat.
I repeat this process for each exposure I take. Often times I take multiple exposures at the same focus point in case I get an unwelcome water spot and also because the patterns/lines in moving water will usually differ between shots (having options is never a bad thing). I always work my way out from the foreground to the background and am used to my own shooting process so I typically know what exposures are for what when I pull them up on my computer. When starting out, you might consider using a visual marker like taking a shot with your hat/hand still in front of the lens to signify when you change focus points.
Final Word
The process and techniques described above definitely takes some getting used to and requires at least a basic understanding of post-processing techniques like exposure/focus blending. However, I guarantee that if you work towards mastering these techniques you will become a better photographer, opening up so many additional opportunities to be creative and put your own personal touch on your photos.
Steve Schwindt is a fine art landscape photographer offering private instruction and group workshops throughout the Pacific Northwest. Steve uses a modern approach to photography by “shooting to process” with a heavy emphasis on taking advantage of various post-processing techniques. You are most likely to find Steve crawling around waterfalls in the Columbia River Gorge or hiking in the early hours of the morning to find a beautiful patch of wildflowers beneath a grand mountain. Words and images ©2017 Steve Schwindt. All rights reserved. https://www.steveschwindt.com/
