The Zone System and What it Means to the Digital Photographer
One does not hear much about the origin of the Zone System anymore. Many of us shoot with digital cameras and no longer use a spot meter or full manual exposure mode for that matter. My advice is to take a bit of time and learn why this vital technique, formulated by Ansel Adams and Fred Archer in the late 1930’s, played such a crucial role in their work. Although the technique originated for use with black and white sheet film, the fundamental lessons can be carried through to digital work, and can help you compose for best results today.
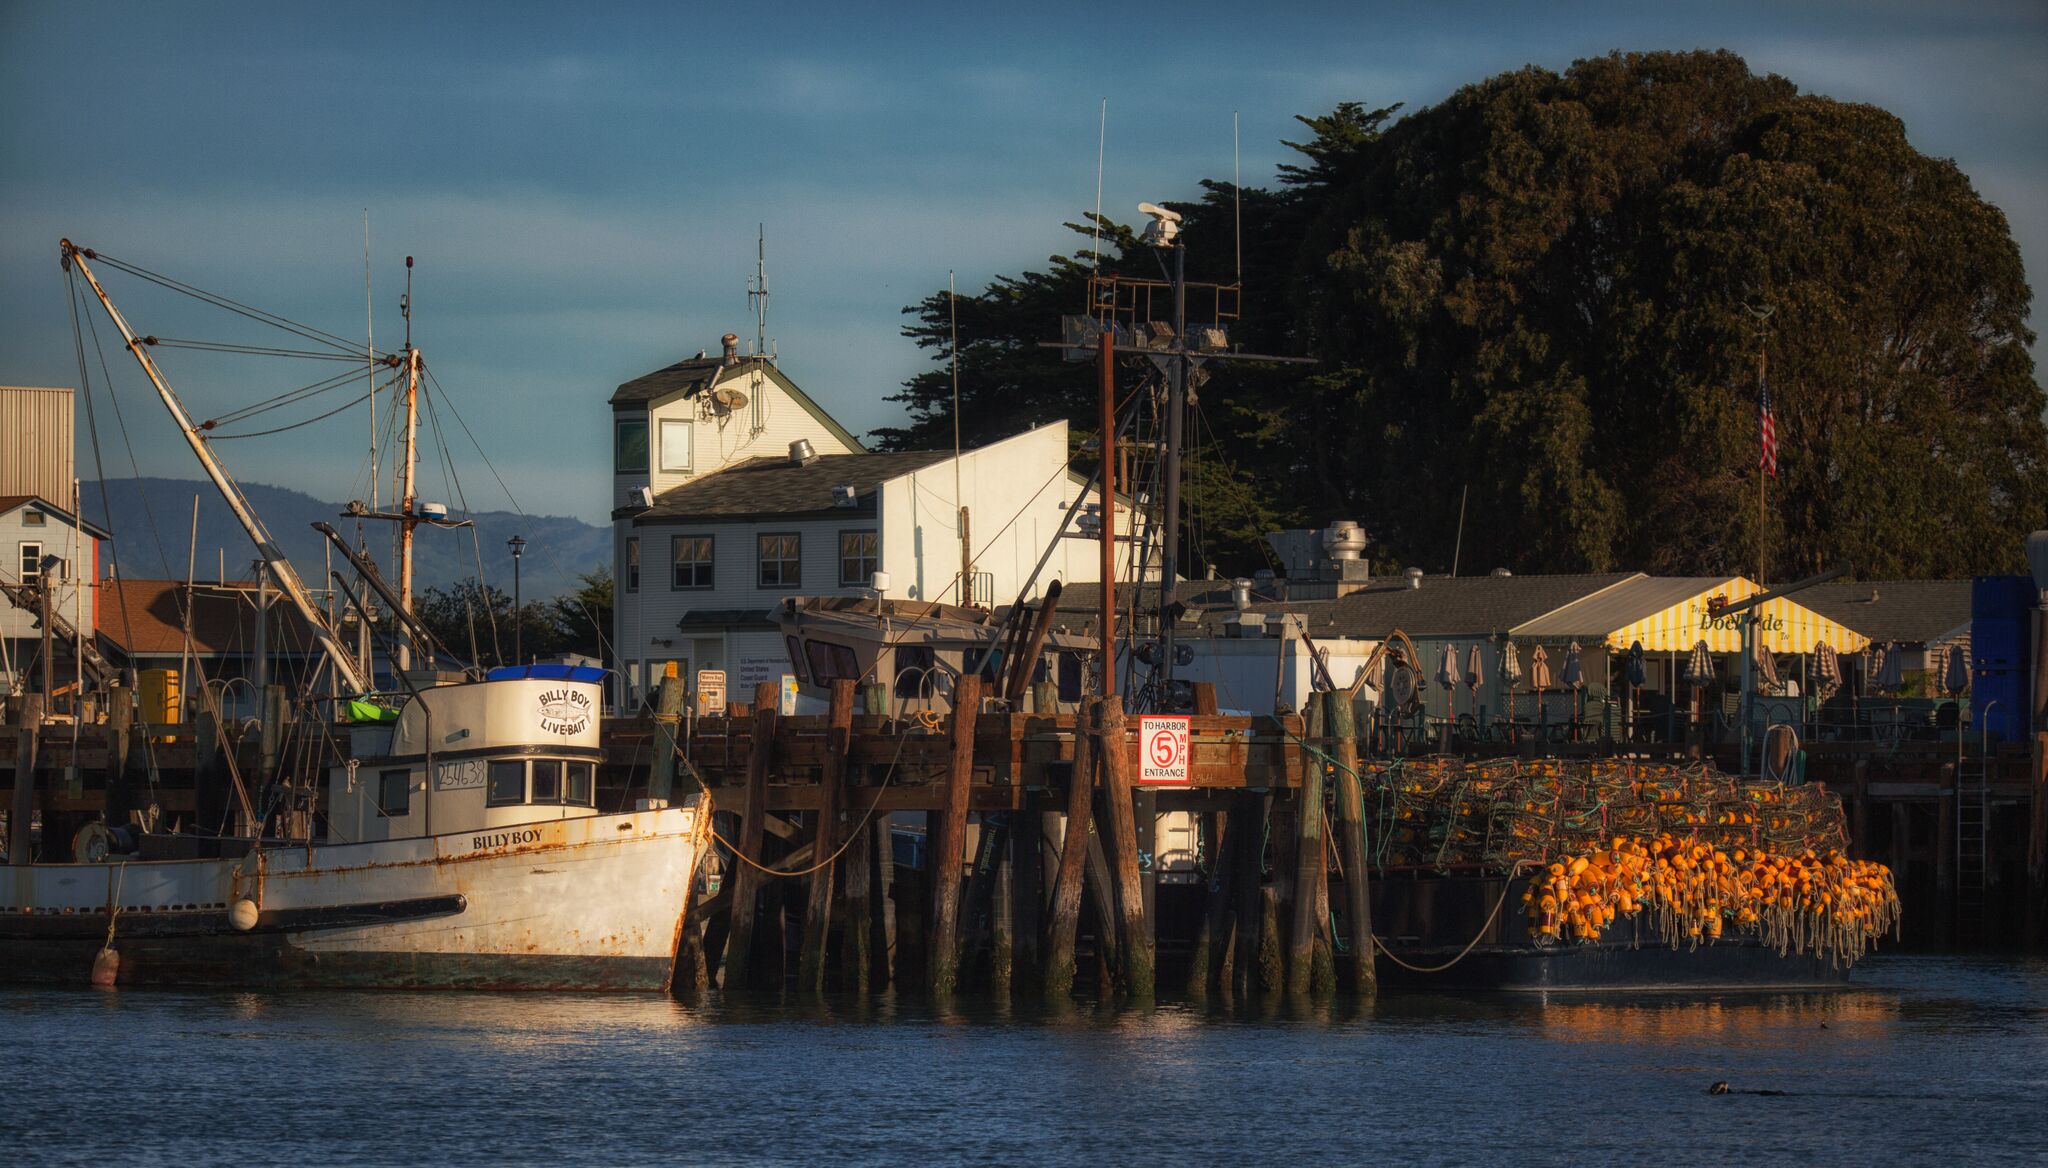
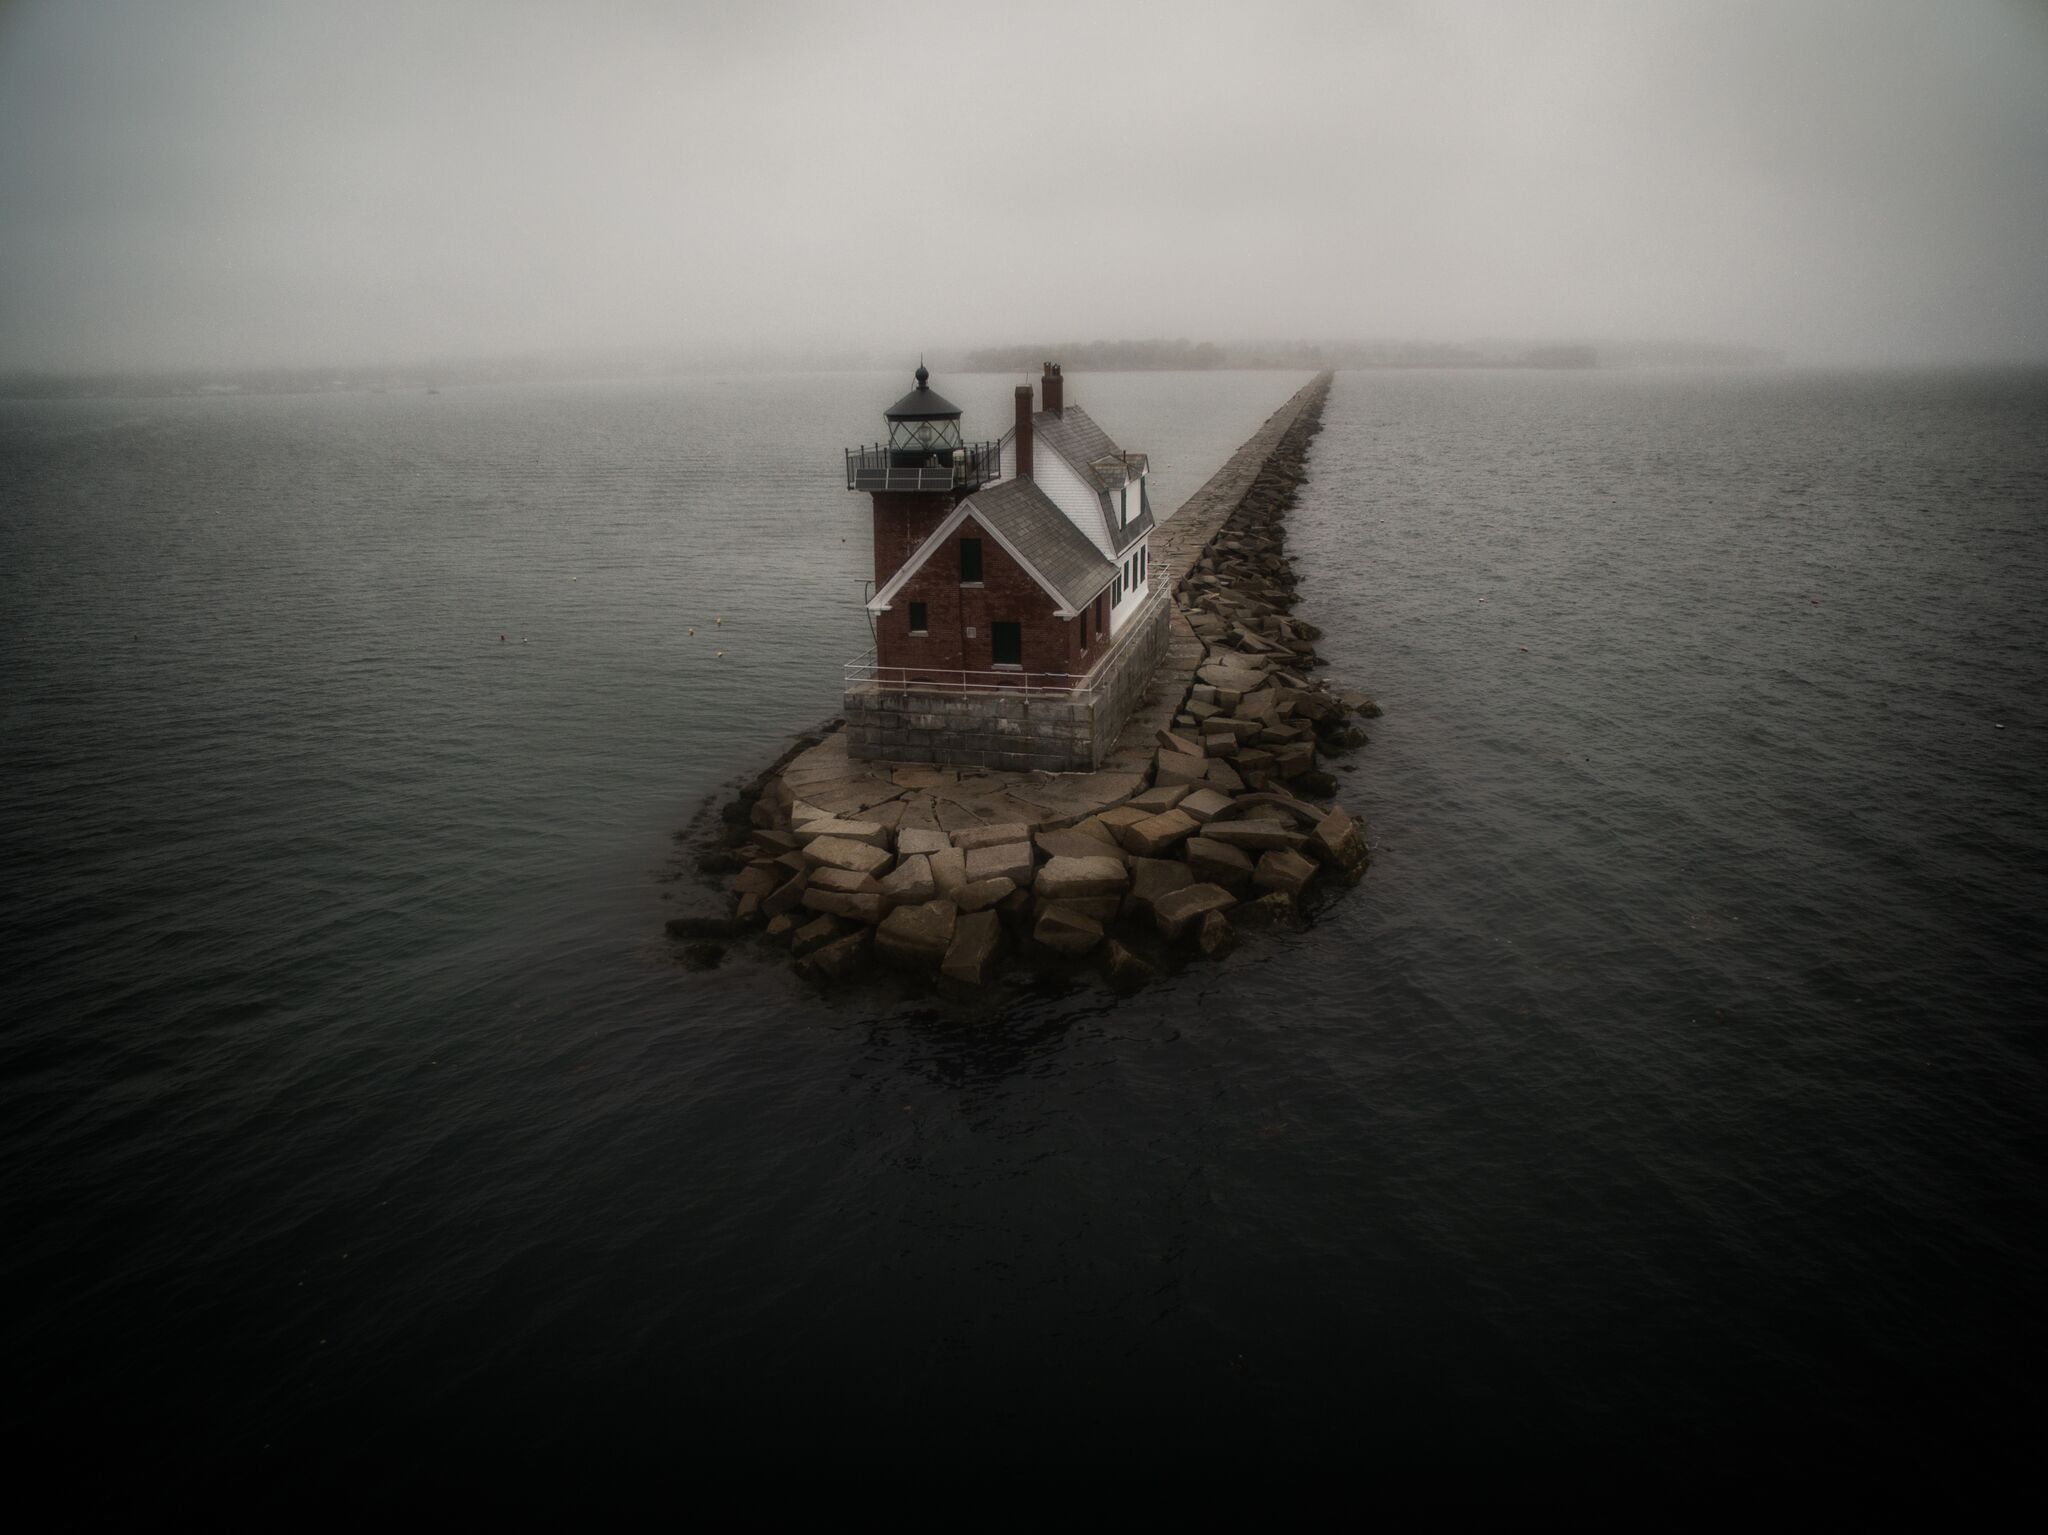
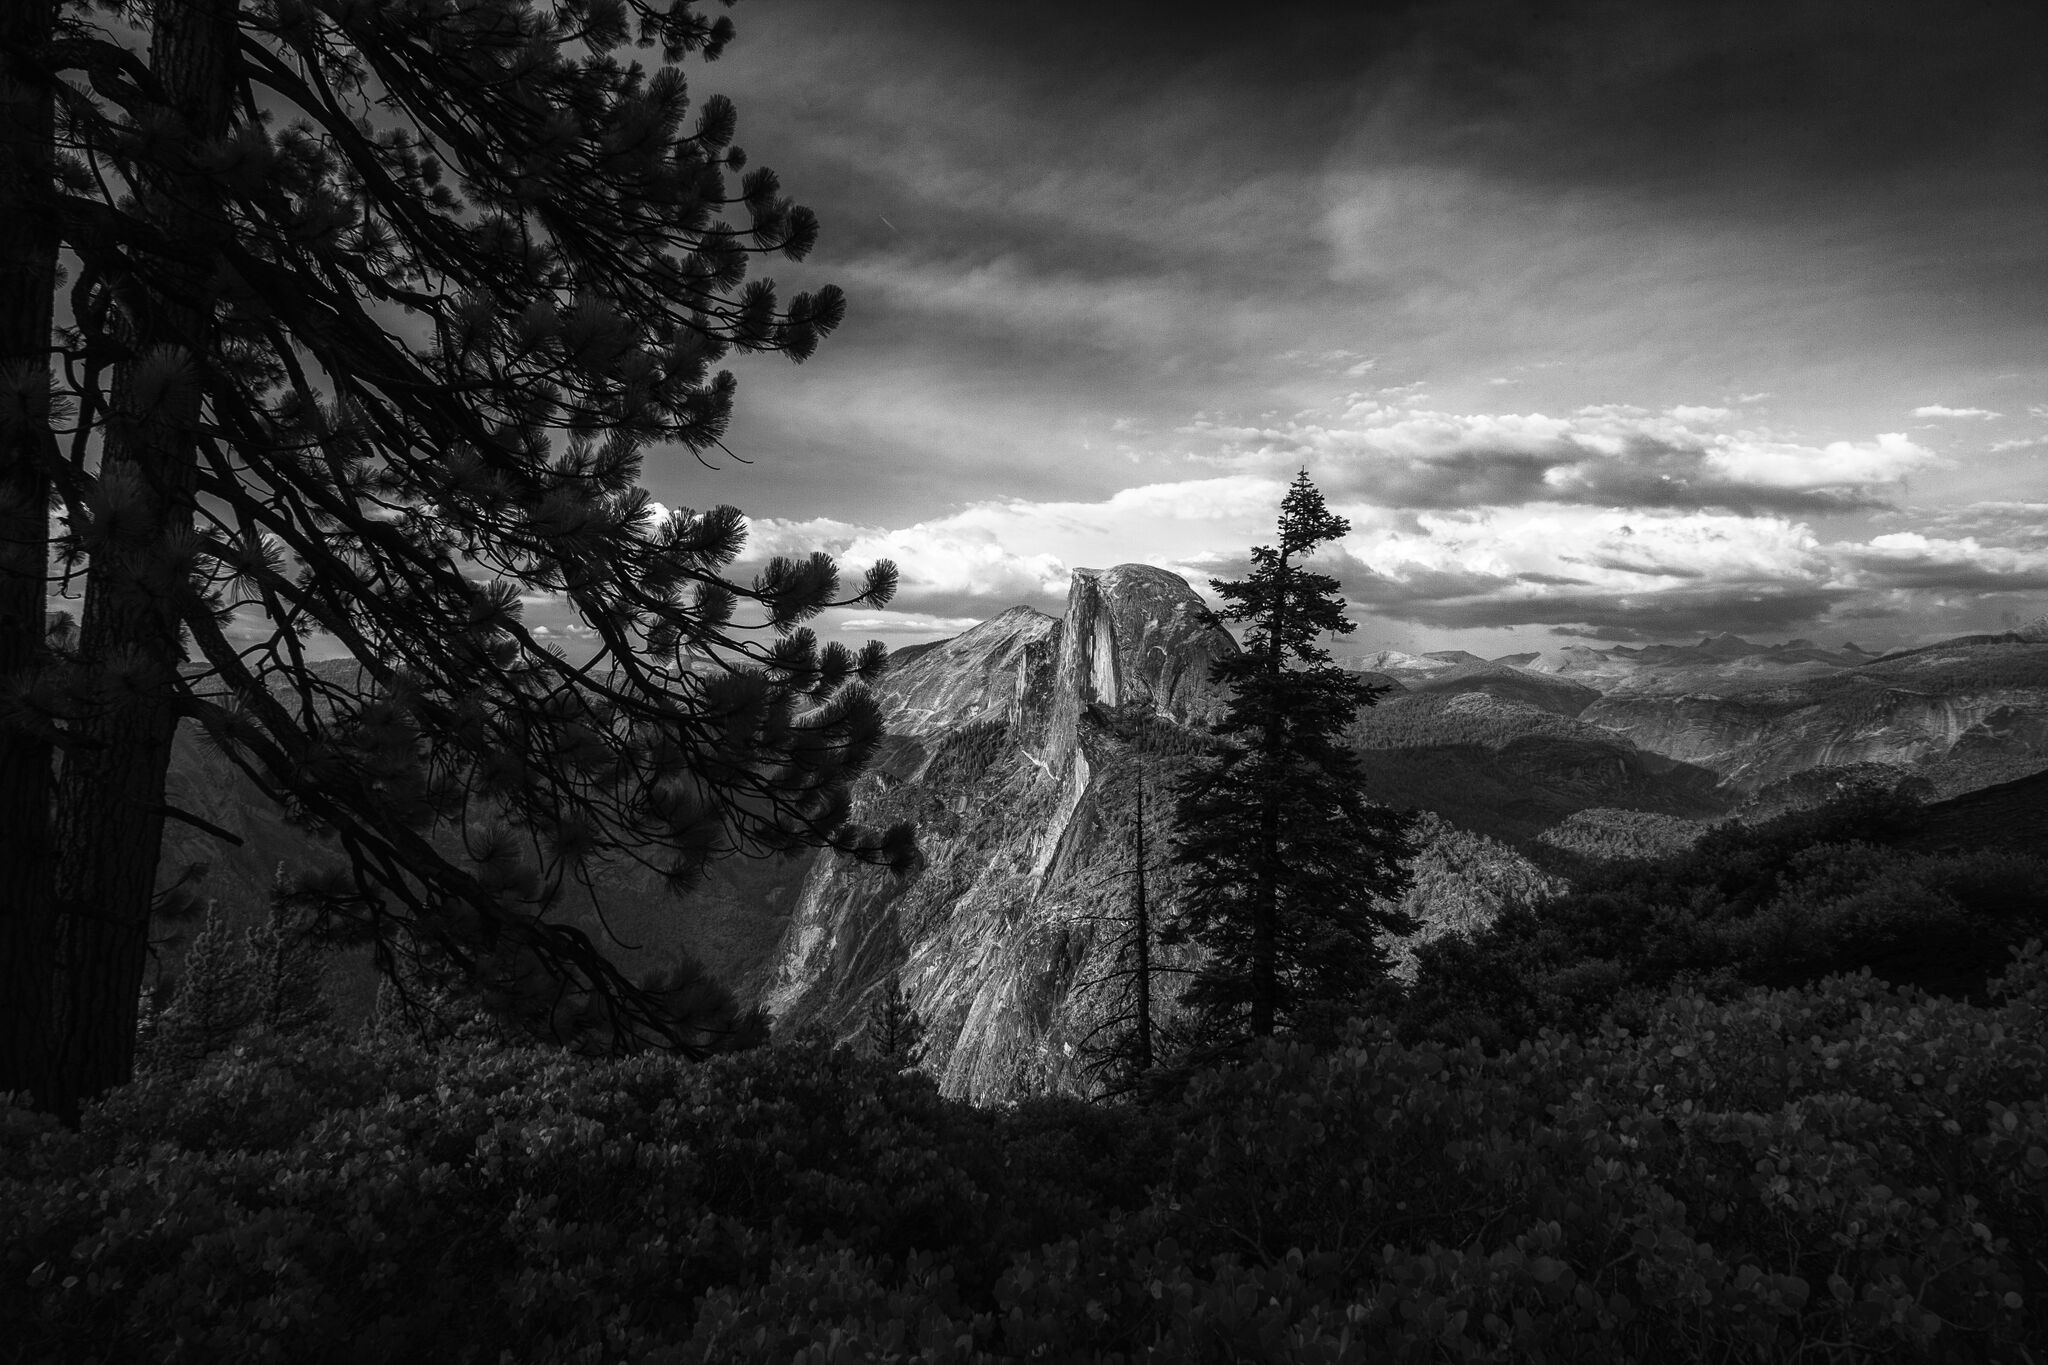
So, let me launch in to my personal take on the Zone System, the key concepts as I see them, and how I use them in my work. When examining Ansel Adam’s amazing masterpieces, one is instantly struck by the wonderful tonal range. It is indeed this range that makes each image so amazingly famous and draws the eye to key elements. We want to control contrast, exposure and tone in our images. Because of the immense power we have to manipulate our individual works of art, with the depth of information contained in each shot and the power of our processing software, we can get lazy and trust our post processing skills for the end result. However, we have so much control with our digital cameras and we should first set about using those controls in camera. The images I have shared throughout this blog tell a story. Each image has been exposed in a calculated fashion to allow me to express my creativity. I assess the various zones prior to capture. Let’s look at the basics of the Zone System so we can understand it a little better.
Ansel Adams wrote a deeply descriptive book detailing the Zone System called The Negative, which can be found on Amazon. It takes the reader on an in-depth journey into the Zone System. For our purposes, I have made up a basic diagram, followed by a synopsis of his narrative concerning the zones.
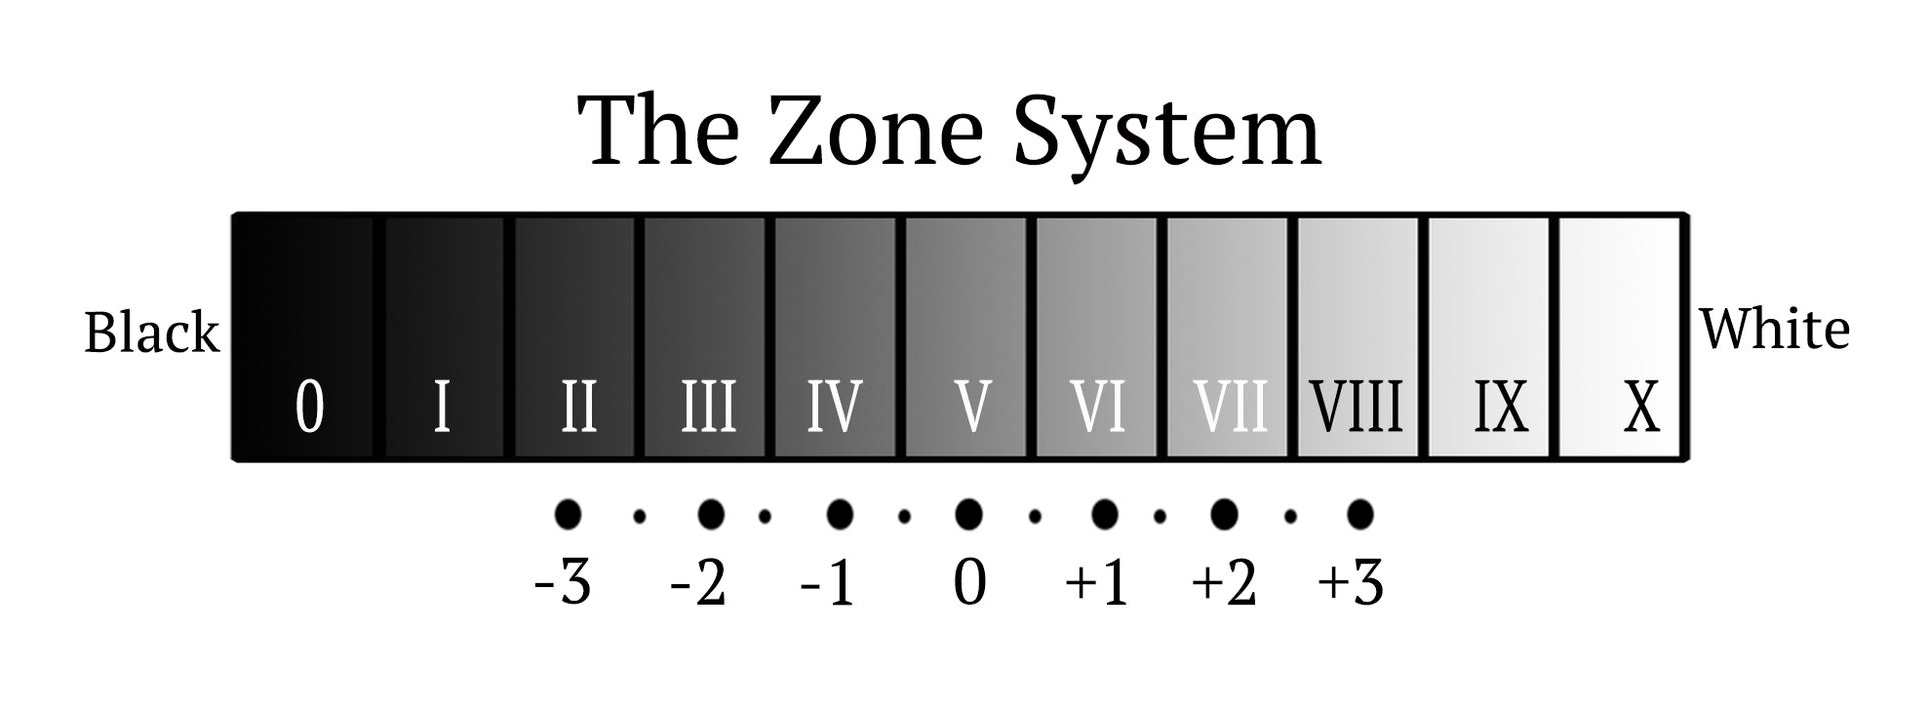

Since we are all connected so easily to the internet, there are also plenty of sites explaining the Zone System in implicit detail. I want this blog to be more about how to have the concept in the back of your mind while out taking images. You will see 11 zones, each allocated a Roman numeral, 0 being black and X (or 10) being white, with various shades of gray in-between. Let me explain the process in photographic terms.
We always want to measure our light values. Your camera meter is looking for common ground. It likes middle gray (or 18% gray – Zone V or 5). If you are photographing an intricate white wedding dress, the meter will be wanting to make the white of the dress 18% gray. It will cause the meter to under-expose. Conversely, if you are photographing something dark, the meter will want to over-expose; want to make the dark object 18% gray (or Zone 5). Therefore, if you leave your meter at zero it is highly likely you will end up with an image that is over or under-exposed. So how much exposure compensation should you apply? Each Zone is separated by one stop of exposure, so this makes the decision-making process easier. Imagine your white dress. The dress is bright and would most likely fall into Zone VIII (8), so you would want your exposure compensation PLUS three stops (from Zone 5 to Zone 8) to compensate for the whiteness.
Many of you may not use external light meters anymore. These meters also meter for middle-gray. However, they have the advantage of reading incident light – the light falling on the subject rather than the light reflected from the subject. Think of this in terms of sitting in the sun in a black coat. Your camera reads the amount of light reflected off the subject. In this instance, the black coat reflects little light. The light meter reads the light from the light source so, therefore not the reflected light. The external light meter is not affected by the tone. Clearly, we are getting into specifics here, but it is important to understand the difference and how it can help get a more accurate tonal image.

So as a digital photographer, if you think Zone System what should spring to mind?
- Consideration of your exposure
- Awareness of the tones and dynamic range in your impending image, would bracketing for post processing be useful?
- Evaluation of accessories that could help, such as filters or fill flash

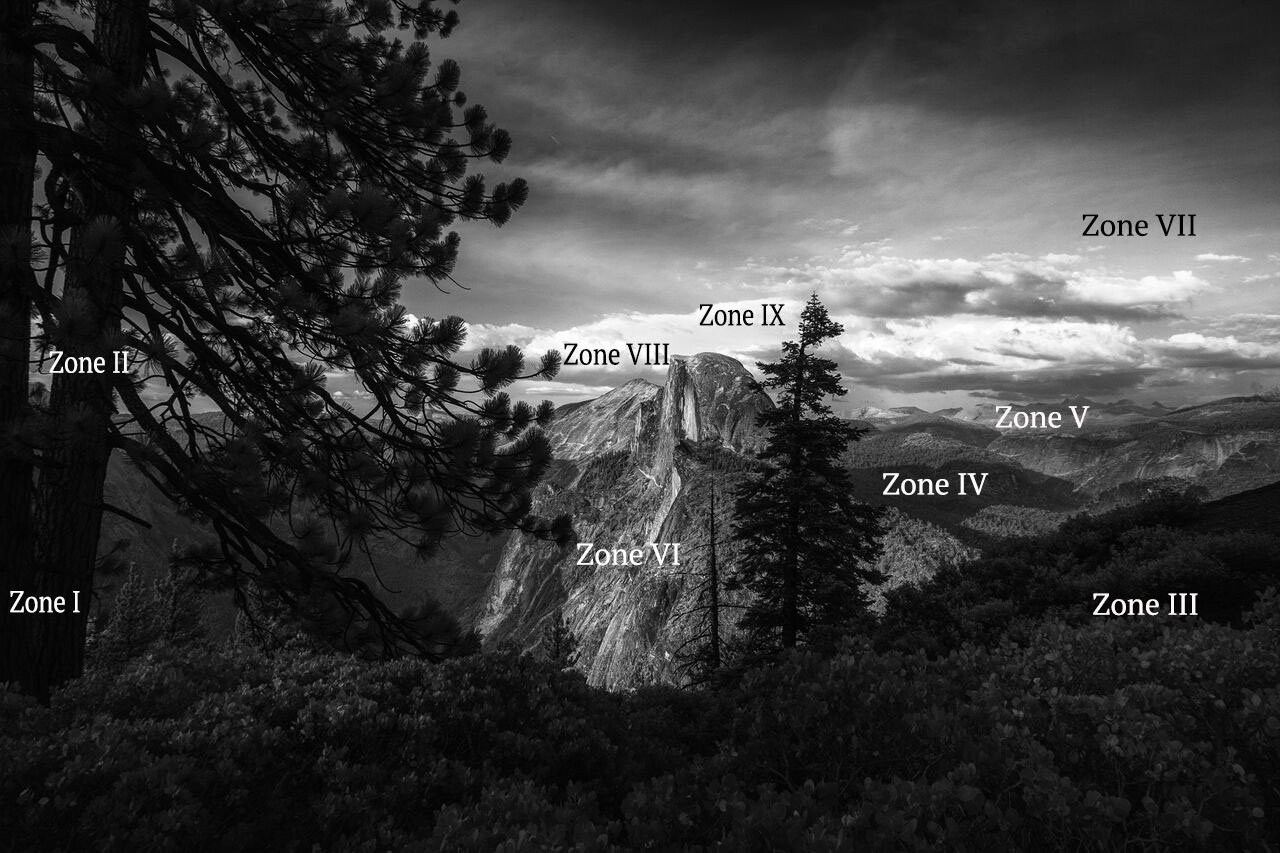
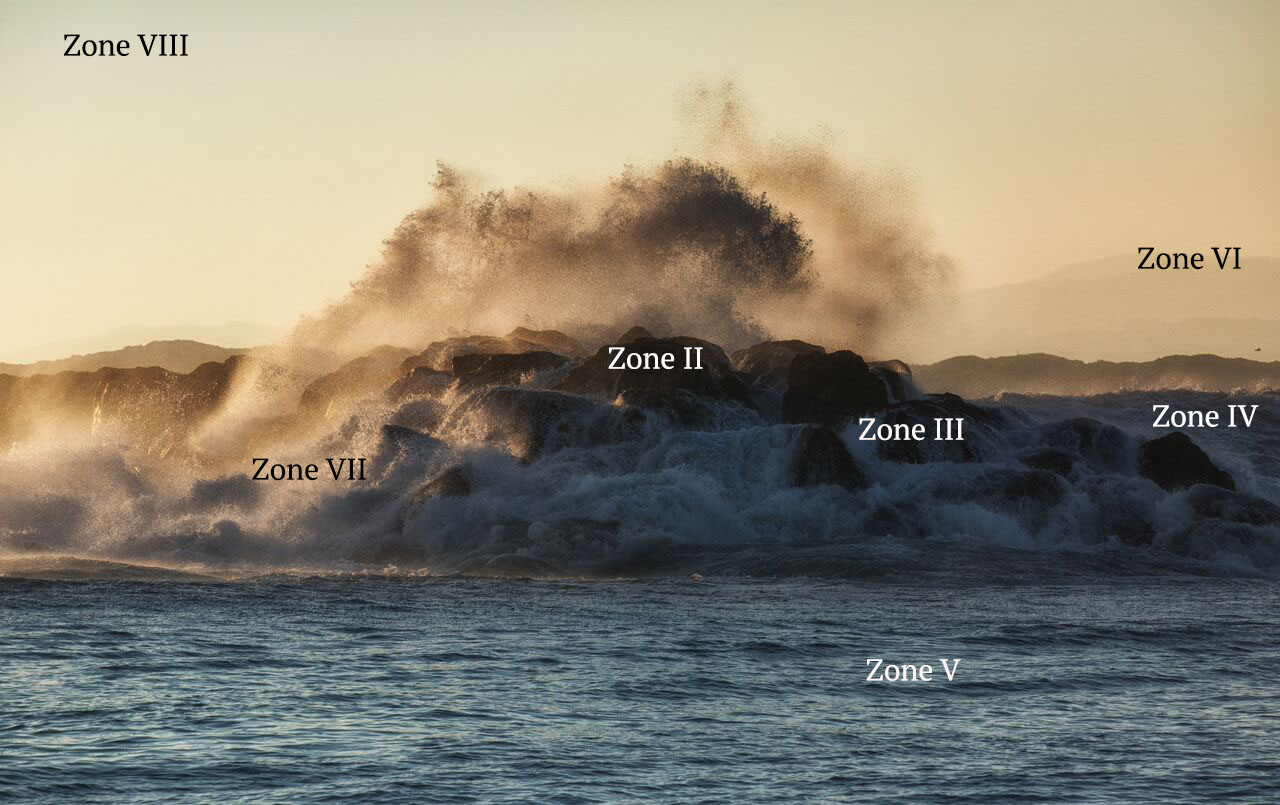
Above all, don’t allow your camera to fool you. There are many instances where extreme difference in lighting in one shot will cause your camera metering to throw out completely incorrect exposure unless you take control. Once you have the ability to look at your potential shot and divide it into different zones you are ahead of the game and more likely to capture what you want. Generally speaking, for digital photographers, concentration should be on zones III (3) through VII (7). The darkest part of your proposed composition falls into zone III while the lightest would fall into zone VII. The natural tendency is to aim for the area with average reflectance, hence collecting the optimum meter reading. It is then up to you whether to over or under expose from there.
Often, we find ourselves in a situation where our proposed image has too much contrast so we have to think about what we are looking for. I am referring to high dynamic range. It may be that bracketing is in order for some serious post-processing, or we can make a decision as we acquire the image. I would vote for protecting your highlights most of the time, unless they are not the focus of the image. Photography is always a choice, and rules are made to be broken, but the key is to know when you are breaking the rules. There are many happy mistakes, but how hard is it to go back and capture that same mistake once more?

Remember, the purely technical base of the Zone System is no longer what it was in Ansel’s day, but we can take valuable lessons from the premise. It is true that the exposure latitude is different depending upon your format. I repeat that I am writing this for the digital photographer and not those of you ensconced in the world of large format sheet film or even 35 mm film. There are many bloggers out there who deal with tonal response with respect to different formats. For those of you using film, I would highly recommend a great blog by Johnny Patience, entitled The Zone System is Dead. His blogs are always thought provoking and, as a photographer, I thoroughly enjoy his work.
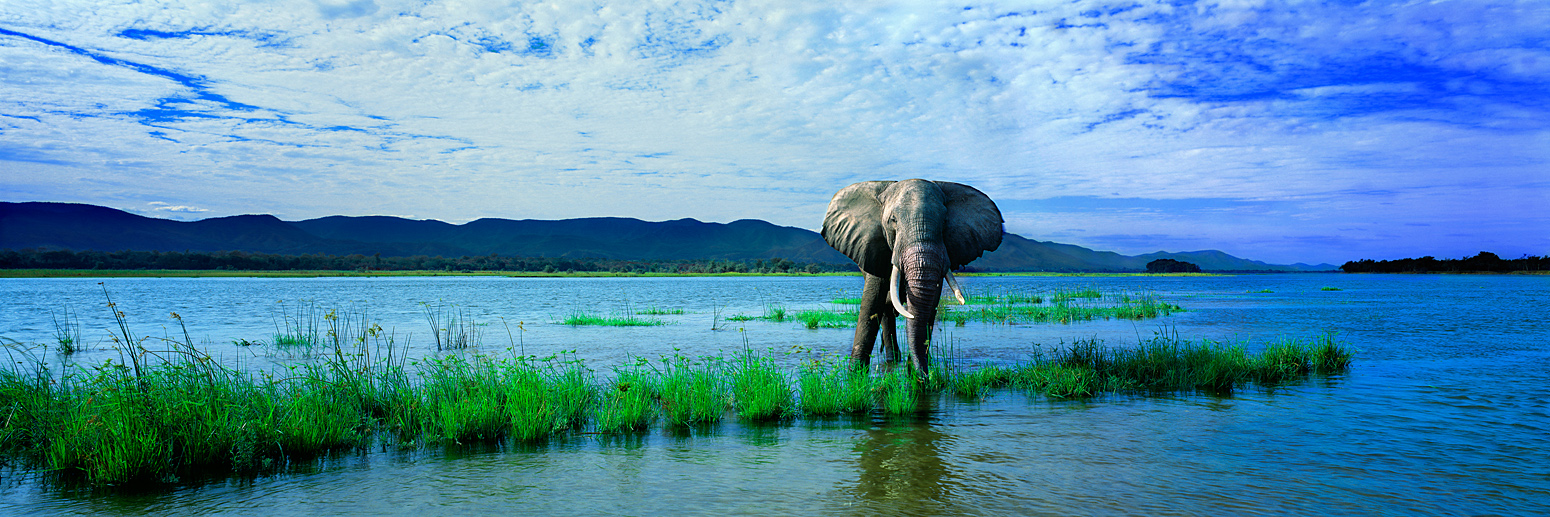
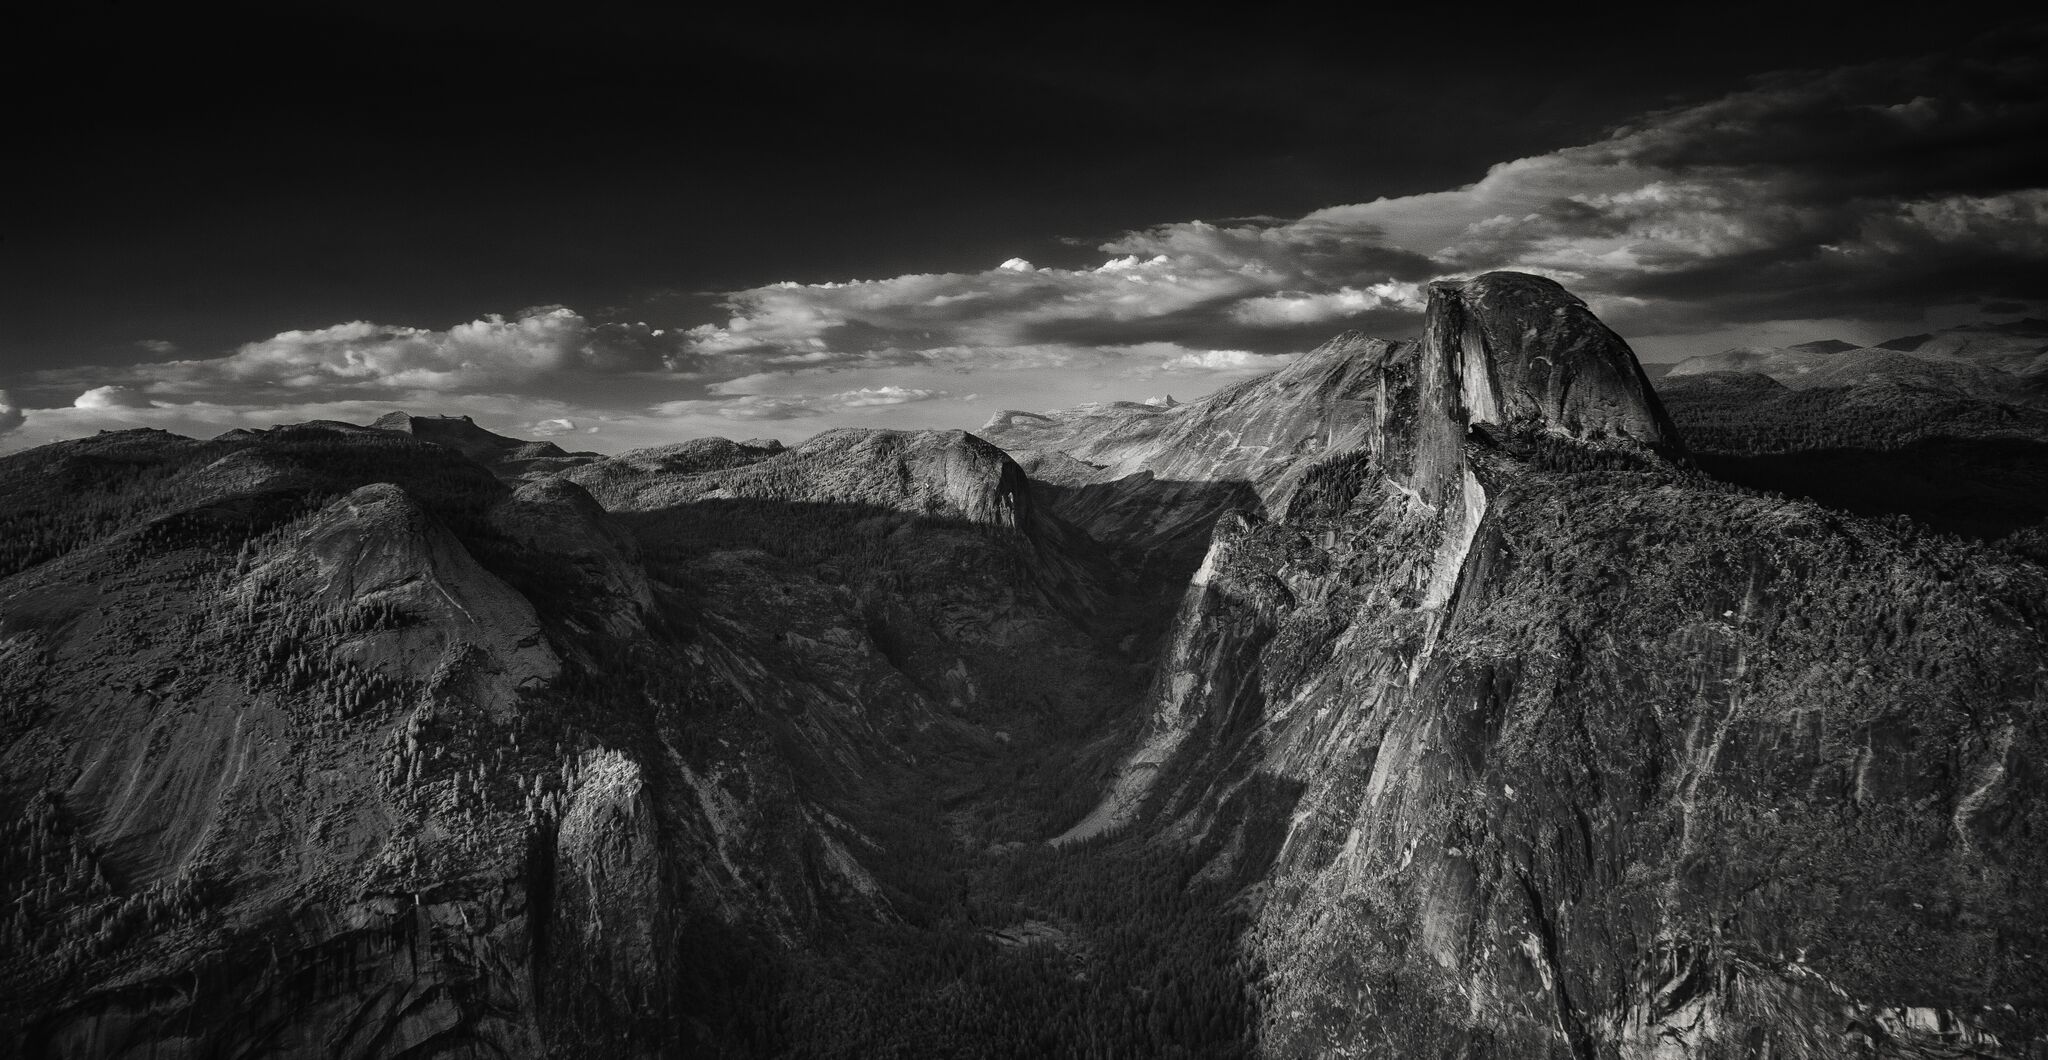
A closing thought concerning Ansel Adams. While on my journey to attempt to recreate something akin to his amazing work, I became enthralled with infrared photography. I found, of course, that much of what I have referred to above needed to be manipulated in post-production, but if any of you are interested, I am happy to chat with you about working with a converted camera. I have a few blogs posted on the Life Pixel site, and have included a couple of images below. It goes without saying that I could not capture any of these images without my tried and trusted tripods from Really Right Stuff!