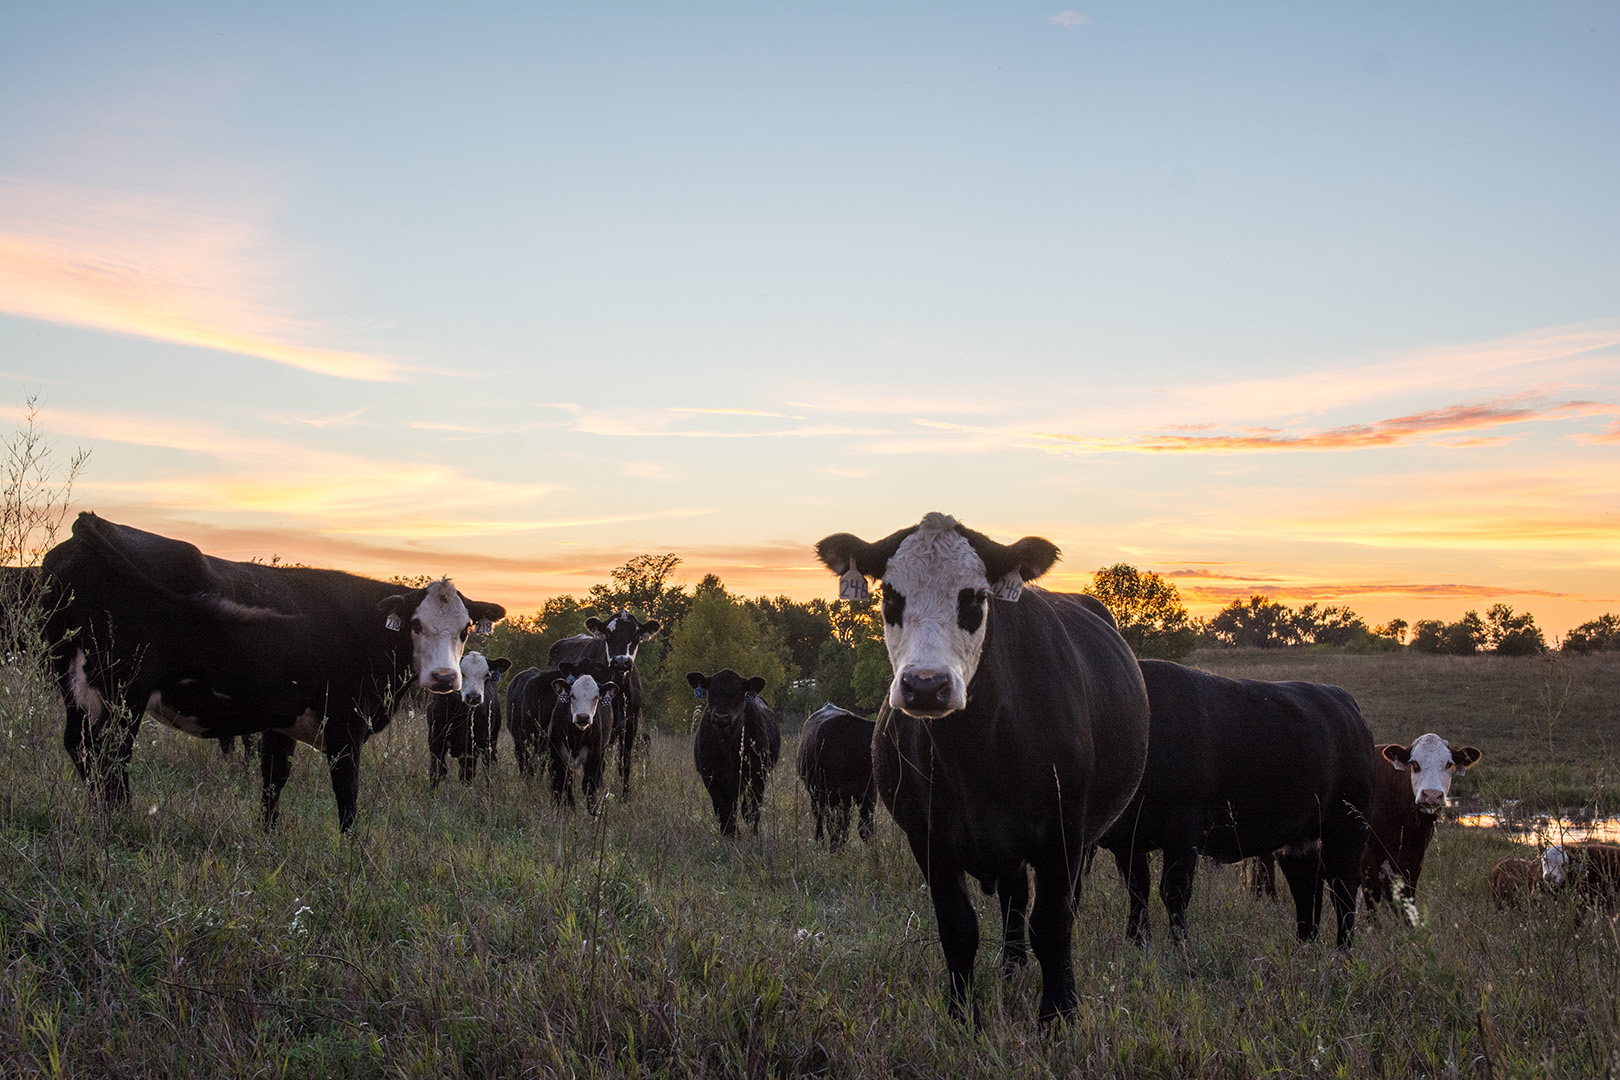
Photo by Joel Grimes
When you talk about stitching images, most people think it applies mainly with static subjects like scenics or landscapes. A few years back, I began applying stitching techniques with different applications that might be a bit surprising and have come up with some amazing results.
So lets look at two primary reasons someone would go to trouble of stitching multiple images. First, and probably the most obvious is the ability to increase your file size, thus gaining resolution. For those of us who back in the film days, worked with large format view cameras, we’re use to loads of resolution. Even now that the pro-consumer digital cameras are gaining more and more mega pixels, there never seems to be enough resolution. Yes, you could go with a medium format camera system, but look at your startup cost; you will easily be into $30-$50K.
Second and often overlooked, stitching allows you to create a lens perspective that literally does not exist on the planet. Even if you have a high resolution medium format camera system, you are stuck with very limited selections of lenses, especially on the super wide end. And for someone like me who loves to shoot very wide, this is a serious draw back.
I once had an architectural photographer friend of mine come to me who was having issues getting a lens wide enough that could fulfill some of his clients needs. I asked him to take me to what would be an impossible scenario to capture using his widest lens and I then demonstrated the Really Right Stuff Pano gear using the Nodal point. I then took the images into Photomerge and seamlessly stitched them together. My friend immediately picked up the phone and ordered the RRS Pano gear right then and there. It is that impressive.
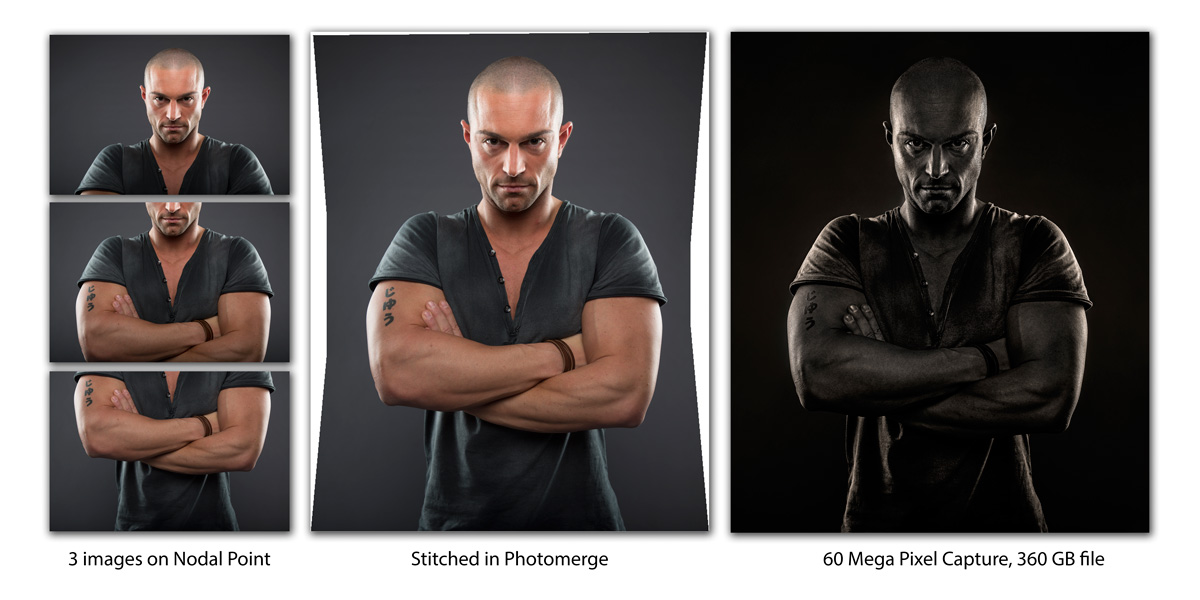
Portrait using 3 stitched images.
A few years back I started stitching 3-4 images together while shooting portraits. I can easily achieve around a 40 to 60 mega pixel capture and if your subject isn’t jumping around, it is not as difficult as you might think to pull off. Now, when a client requests a higher resolution file than what my camera will produce, I just pull out my RRS gear and click away.
Another amazing technique I have recently tested and that really takes stitching to a different level is shooting with a longer lens, for example; the Canon 85mm f/1.2. By shooting the lens around six feet from my subject, and setting the aperture at it’s maximum aperture of f/1.2, I can achieve a depth of field of less than one inch. If I shoot five images starting from head to toe, after stitching the images together, I can achieve a lens perspective of what would be around a 24mm. The shortest DOF you can achieve with a full length portrait using a 24mm f/1.4, is around 18 inches. So again, you create a lens that literally does not exist on the planet!
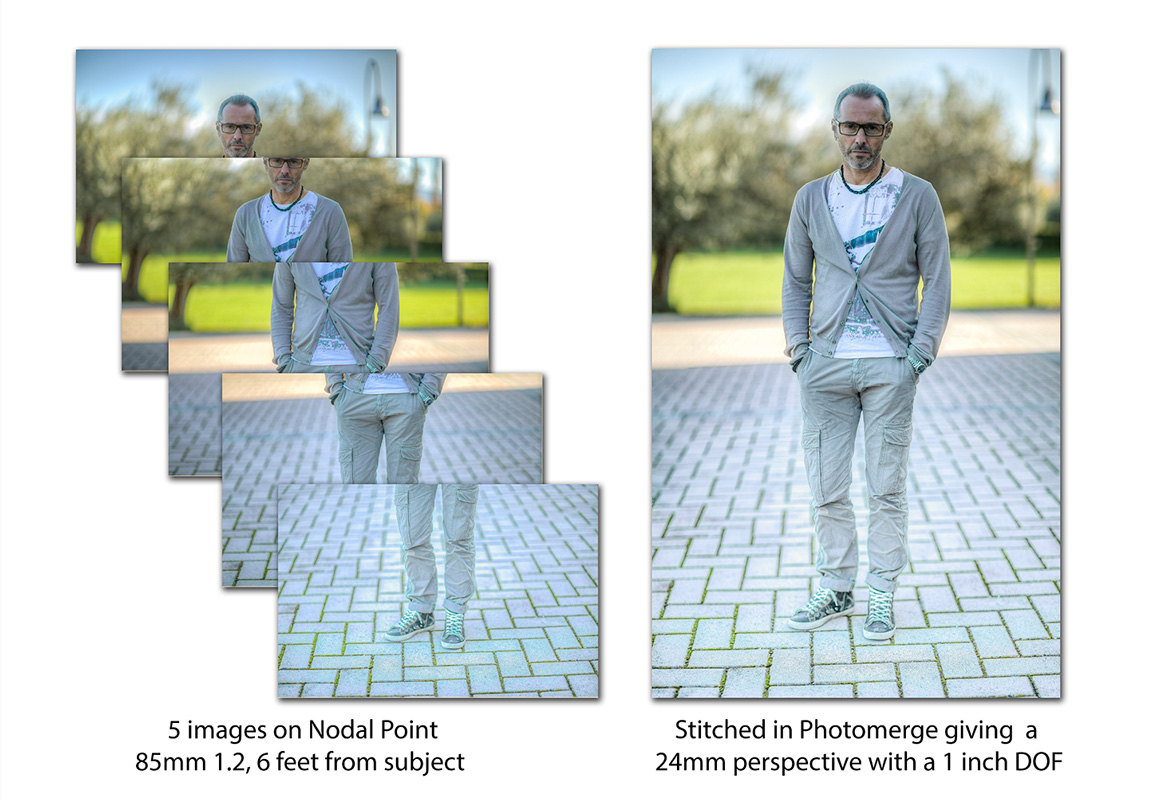
Portrait using 5 stitched images.
So, why go to all the trouble? Well, for starters you can create a look that few will take the time and effort to do. This allows you to stand out from the crowd. It also enables you to solve problems that otherwise would be impossible to achieve. In a nutshell, it gives you more options to fulfill your vision as an artist and fulfill the needs of your clients. Don’t be intimidated by what might seem a bit complicated or difficult to achieve, it really is not as difficult as you might think. For more images and info on some of my stitching techniques you can go to my portfolio (www.joelgrimes.com) or see how I do them myself (www.joelgrimesworkshops.com).