There’s nothing quite like standing under a clear night sky as meteors streak across the sky. Whether you’re a seasoned astrophotographer or just looking to try something new, photographing a meteor shower is one of the most rewarding night shoots you can do.
Shooting a meteor shower takes more than just pointing your camera at the sky. It’s about preparation, patience, and a little bit of technical know-how. Whether you're heading to your favorite stargazing spot or venturing out for your first astrophotography session, this guide will help you get set for success.
We’ll walk through settings, gear, location planning, and shooting technique so you’re ready to capture those meteors.
Planning the Shot:
Before you pack your gear, consider the most important lighting condition of the night sky: the moon. A full or nearly full moon will brighten the sky and wash out faint meteors, so check the lunar phase and aim for a night when the moon sets early or is a slim crescent. A darker sky allows the meteors to stand out.
Use a dark sky map or an app like Dark Sky Finder or Light Pollution Map to find a location far from city lights. The lower the ambient light, the more meteors you’ll see, and capture. Desert areas, mountain overlooks, and remote valleys often offer the best views.
Consider scouting during the day. It helps you avoid stumbling around in the dark later, especially if you’ll be hiking in or moving around rugged terrain. Pay attention to which direction you’ll be facing in relation to your foreground subject and the sky. Planning this ahead of time not only keeps things running smoothly but also increases your chances of capturing a great meteor shot.
You may also want to consider checking the expected weather conditions as you’re planning your shoot. Partial cloud cover could create depth and texture, but full cloud cover will end your astro adventure before it even starts.

Essential Gear for Shooting Meteors
Astrophotography doesn’t require a studio's worth of equipment, but a few reliable tools make a big difference.
- Camera with manual control and RAW shooting capability
- Wide-angle lens (the wider, the better—think 14–24mm range)
- Tripod — A sturdy, heavy duty tripod like the Versa provides a stable platform for time-lapse
- Plate system- a dedicated camera plate and compatible clamp system ensures your setup stays locked in place and secure. Consider a RRS L-bracket for fast, repeatable transitions between landscape and portrait orientations.
- Remote shutter release or external intervalometer
- External battery pack or extra batteries to keep your camera powered through long nights
- Red flashlight or headlamp – Provides enough light for setup and teardown without disrupting your night vision.
- Fast Write memory cards – Helpful for capturing long exposures and continuous shots without lag.
- Comfort items- don’t forget those comfort items like warm clothes, snacks, a chair and water.
Dialing in Your Settings
Meteors are fast, and unpredictable, so your goal is to capture as much of the sky as possible while keeping stars sharp and clear. That means letting in a lot of light, quickly.
- Aperture: Open your lens to its widest possible setting. f/2.8 or lower is ideal.
- Shutter Speed: Use the 500 Rule to calculate the longest shutter speed you can use without star trails. Divide 500 by your lens's focal length (e.g., 500 ÷ 20mm = 25 seconds).
- ISO: Start with ISO 2000–4000, especially with newer cameras that handle noise better. Consider disabling any high-ISO noise reduction settings in camera. This feature can cause long processing and saving times, interrupting your ability to have a quick follow up shot.
- White Balance: Set your White Balance manually to 4000K for a natural look.
- Image Format: Always shoot in RAW to give yourself flexibility when editing.
- Focus Mode: Make sure to set your focus mode to manual. Use live view to zoom in on the brightest star in the sky and focus for sharp edges.

Composition and Technique
Foreground
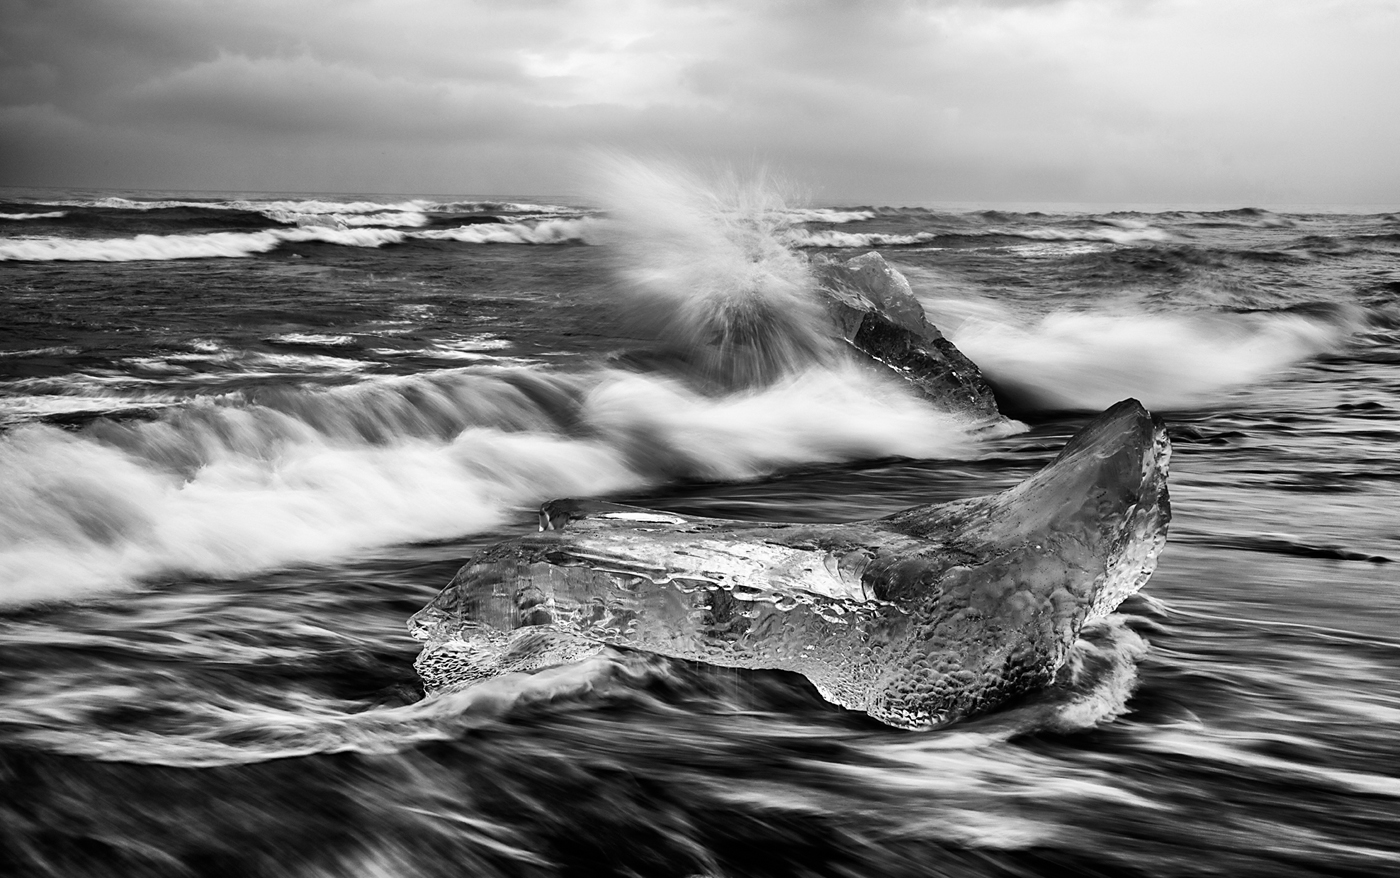
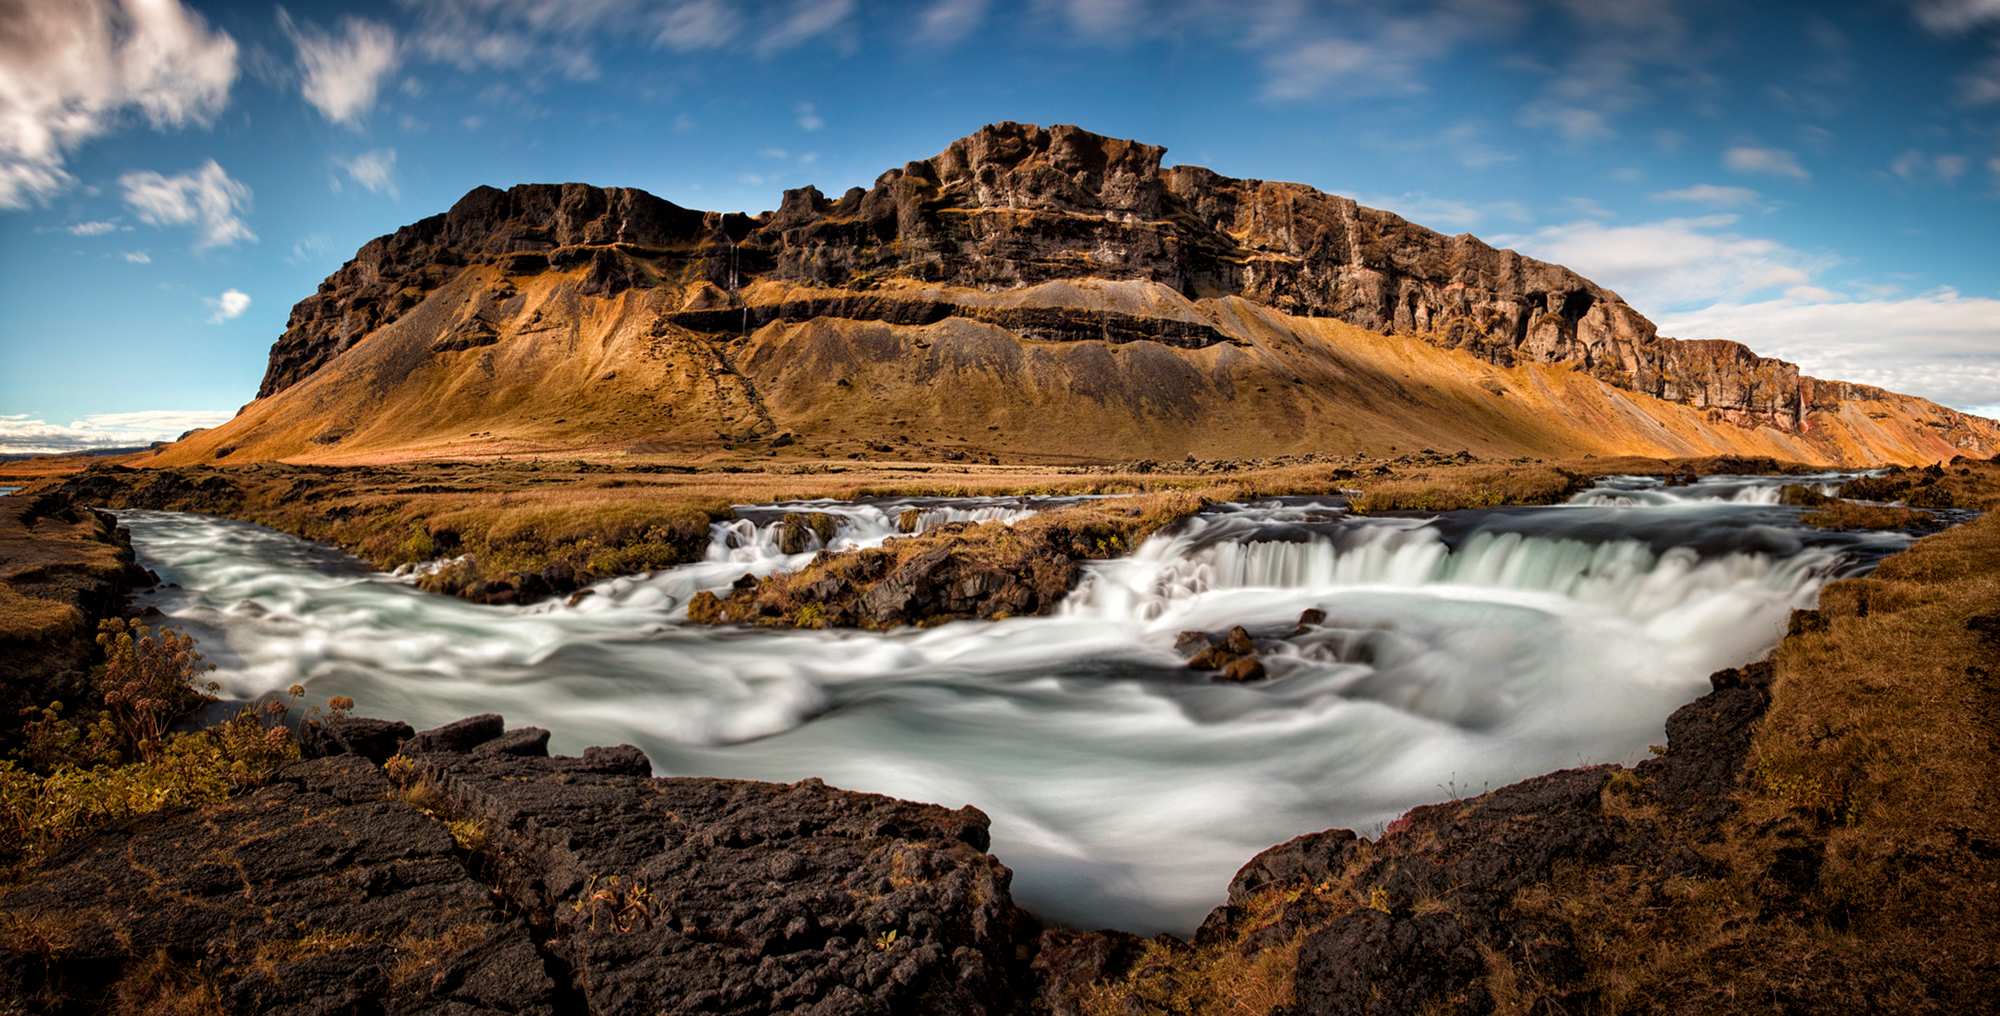
Meteor photography isn’t just about the sky—it’s about context. Including a foreground subject will help anchor your images: a jagged mountain, a lone tree, an old barn, or even a silhouetted person. These elements give your photo depth and storytelling power.
Focus Stacking
You may be asking yourself: How do you get both the foreground and the stars to be tack-sharp in a single frame? That’s where focus stacking comes in. This technique will help you create a final image that’s sharp all the way through without compromising exposure or clarity.
Here's how it works:
After you’ve set up your composition, take one or more exposures focused on the foreground. It can be helpful to do this before it gets too dark and you can still see your scene. Keep in mind the 500 Rule only applies to star exposures, so feel free to use longer exposures or even a flashlight to illuminate elements in the foreground.
Once you’ve captured the foreground, adjust your settings for your star exposures as you had planned. Later, in post-processing, you can blend the focused foreground with the sky exposures to create a seamless, sharp image.
A few tips to keep in mind:
- Keep your tripod completely still between exposures so alignment post editing is easier.
- Take multiple shots of the stars to stack for noise reduction, then blend just one well-exposed foreground image.
Compose your shot using a wide-angle lens to cover more of the sky and increase your chances of catching meteors. Position your camera where the meteor activity is expected to be strongest (the "radiant")—but don’t focus directly on the radiant point. Meteors closer to the horizon can create longer trails and more dynamic lines.
Set your intervalometer or external shutter to capture continuous long exposures. The more frames you shoot, the better your chance of catching multiple meteors strikes, and later, you can composite them for a more dramatic final image.
In Summary
If you're heading out to photograph the next meteor shower, here’s what to remember:
- Scout dark skies and consider the moon’s brightness
- Use a wide-angle lens and shoot with your aperture wide open
- Apply the 500 Rule to avoid star trails
- Manually focus on the brightest star and shoot in RAW
- Set your white balance to 4000K
- Include foreground elements for strong composition
- Bring a tripod, remote release, and lens warmer for best results
We'll be out shooting too and updating this post with edited images after the event. Until then, we’d love to see where you're planning to photograph the meteor shower. Share your tips, gear lists, or photos in the comments, or tag us on Instagram and Facebook so we can feature your work!