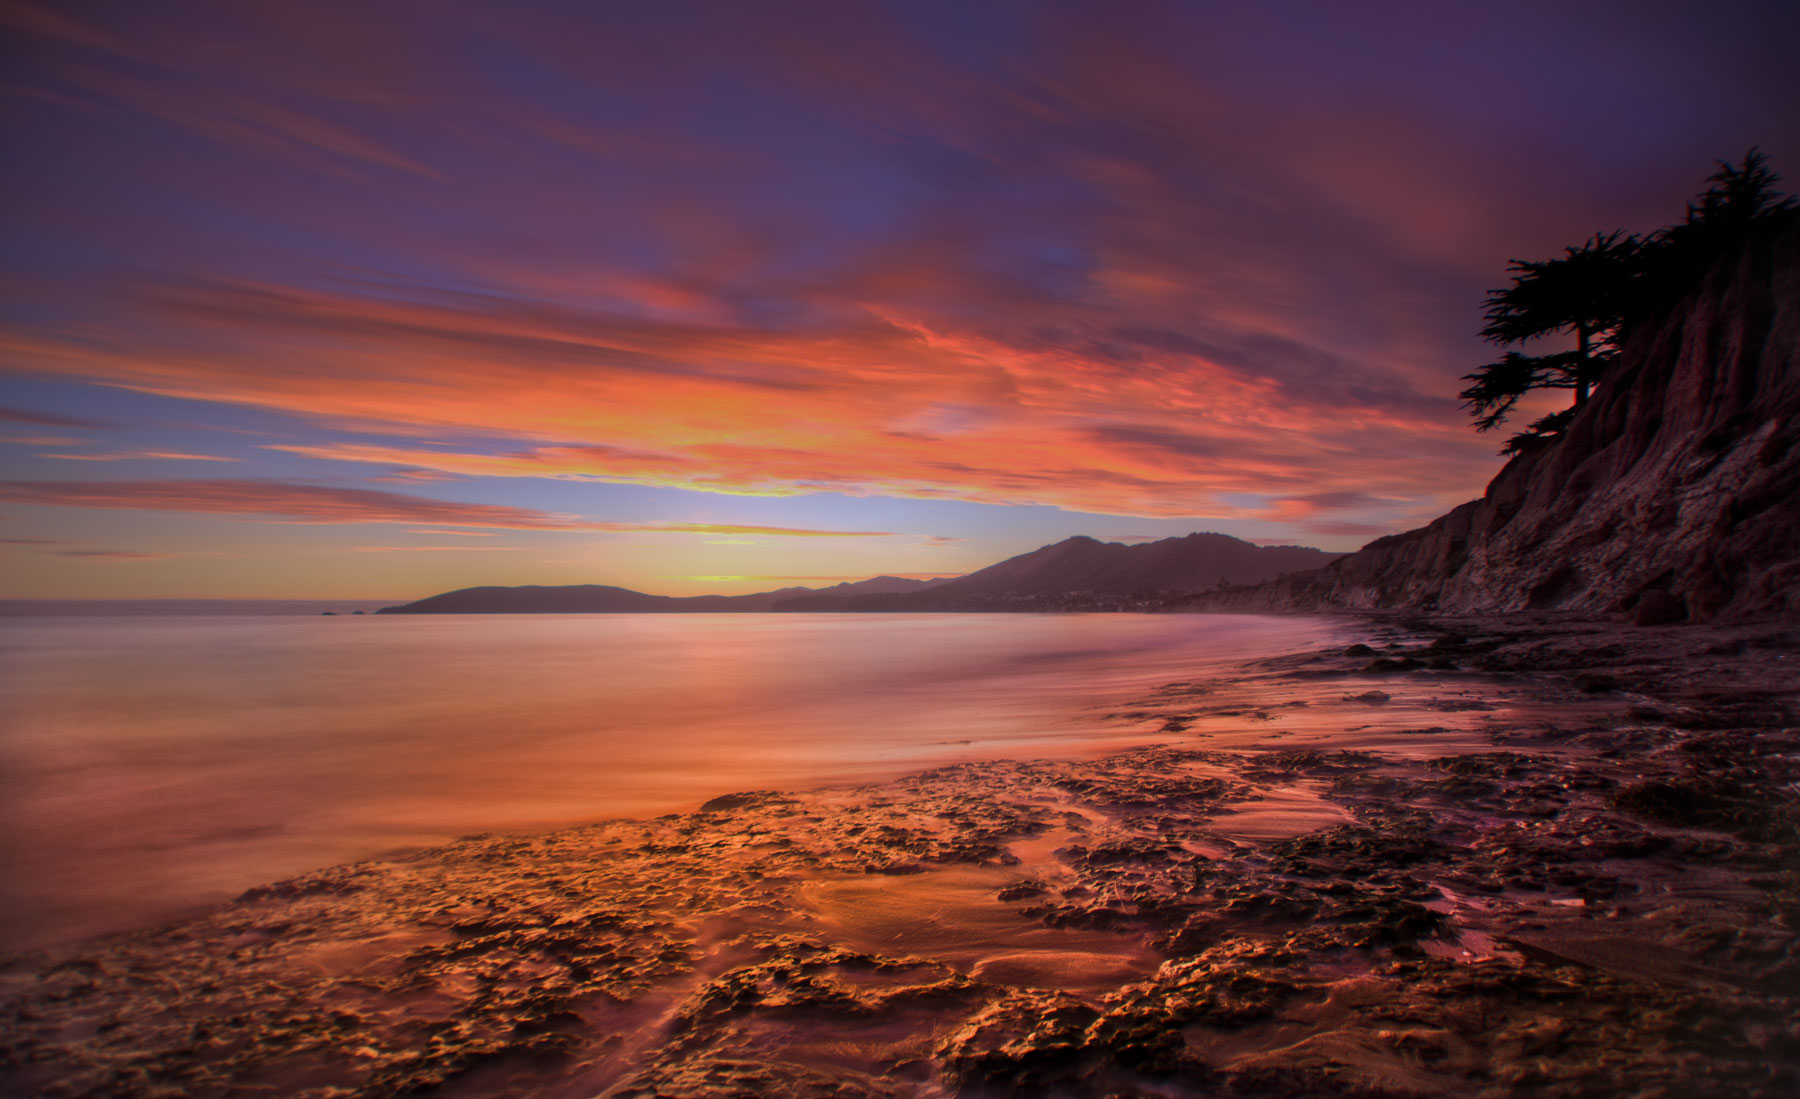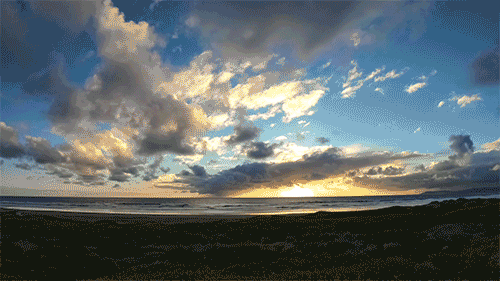
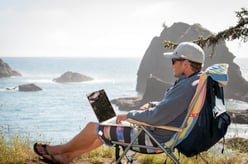
One of my favorite quotes of all time comes from an old Chinese proverb: “The best time for you to start a time-lapse was 20 minutes ago. The second best is now.” I’m not sure if that is the word-for-word translation, but for today’s purpose, we will be using my version to hopefully inspire you to get into the exciting, and often unpredictable, world that is time-lapse photography. This isn’t a step-by-step guide, but more of a brief overview of what I have learned over the years from my experience.
Getting Going
There is no shortage of in-depth guides and tutorials on how to take the perfect time-lapse and I encourage you to seek it all out. However, while having all of this information at our fingertips is amazing, sometimes it can be intimidating and create a perceived barrier to enter. From planning and forecasting for astronomical events to selecting the perfect equipment, subject, settings, time, and composition, there are no constraints on how much time and effort one can invest in planning, preparation, and executing their creative endeavors. It is my goal of this article to break down that barrier to time-lapse and show how simple (and fun!) it can be. Just how a thousand-mile-journey begins with a single step, a beautiful time-lapse begins with a single click — So let’s go.
Basic Mobile Time-Lapsing
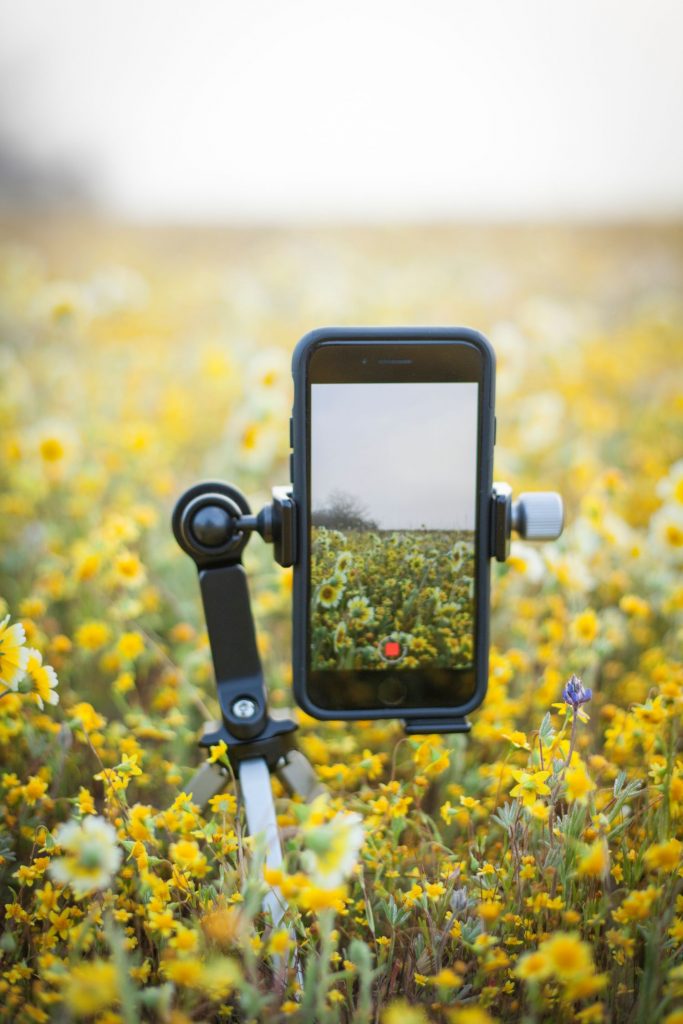
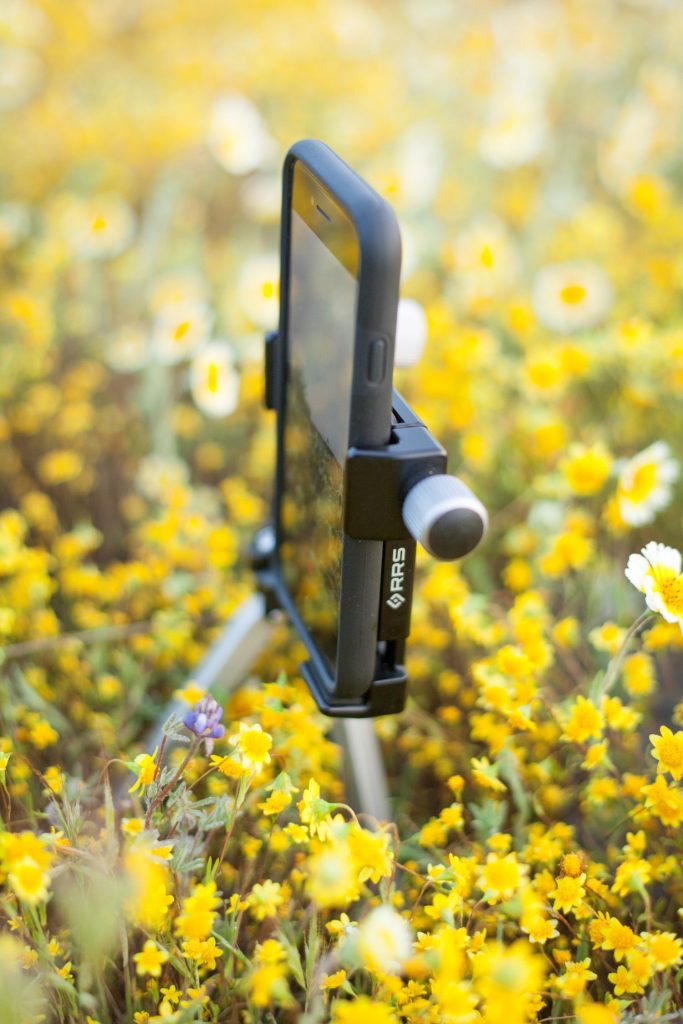
This is the most basic method for creating a time-lapse. Almost every new phone today comes with the capability of producing a relatively high quality time-lapse with just a few button pushes. Due to each phone being a little different, I would encourage you to search for your device’s specific instructions on accessing the time-lapse feature.
Here are a few of my top tips to help make you a successful mobile time-lapse photographer:
• Airplane Mode: This is important! It doesn’t matter what time of day it is, you will get a phone call while time-lapsing and it will end it real quick. There is also the secondary benefits of not having your phone as a distraction and focusing on your photography as well as extending battery life.
• Exposure Lock: Make sure to lock the exposure before starting the time-lapse. This helps to create a better final video by preventing the phone from creating a flickering effect with constant exposure adjustments as the light changes.
• Darken that Screen: After composing the image, locking the exposure, and starting the time-lapse, turn the screen brightness down to maximize battery life.
Intermediate GoPro Time-Lapsing
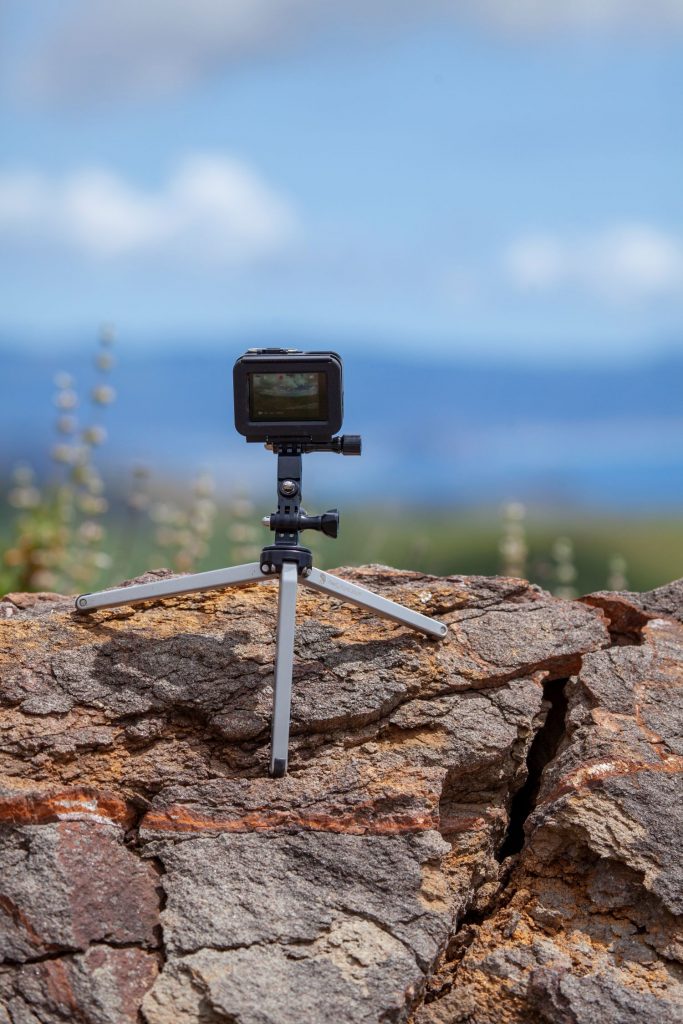
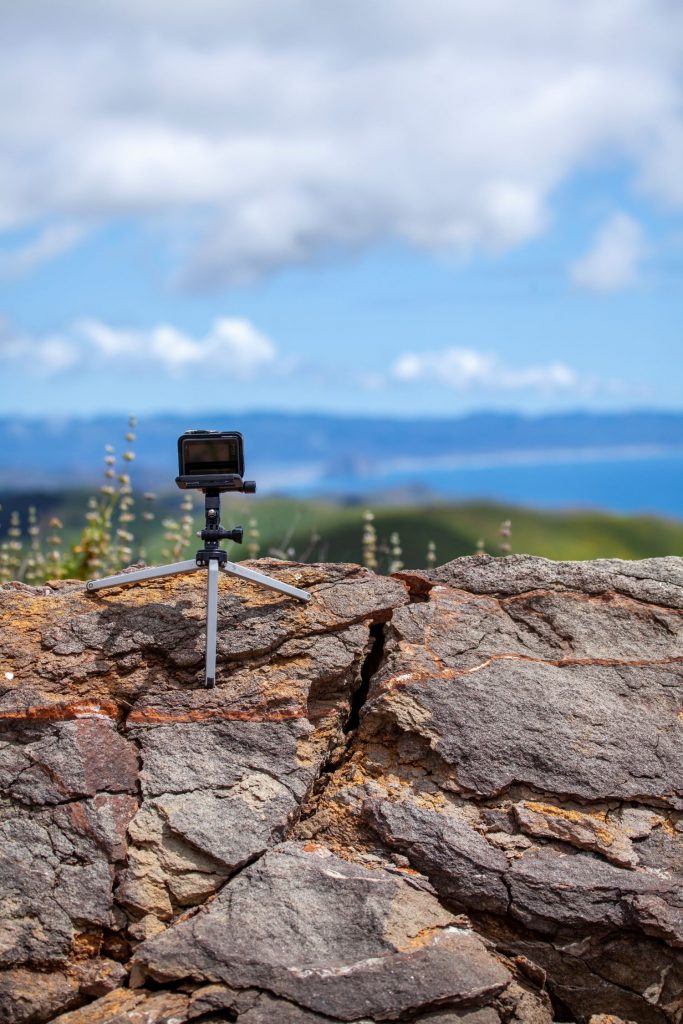
This is getting into a multi-step process of capturing RAW images, editing images, and processing them into a video. The GoPro’s physical size and image quality makes it my go-to time-lapse camera. I have never been paid or sponsored by them; I just really like their product. From simple in-camera time-lapse video creating to moving hyper-lapses — and beyond into more advanced RAW files and post-production, the GoPro has you covered. You can use the camera’s Time Lapse Video mode for the easy method similar to mobile, but I recommend taking advantage of the RAW file format and manual controls that the Time Lapse Photo and Night Lapse Photo offer. Once the RAW images are captured, I batch process them all in Adobe’s Camera Raw and render the video in Adobe Premier.
When time-lapsing with a GoPro, remember to:
• Bring Extra Power: If you are looking to photograph something longer than 15 minutes, I would bring an external battery pack to keep the GoPro fully juiced while time-lapsing.
• Turn ProTune On: This is the equivalent of switching the GoPro to Manual mode and will serve to keep the creative camera controls fixed throughout the duration of the time-lapse, as well as increase the amount of image data captured. Turning ProTune on is required to make the following setting adjustments:
1. Set ISO to a fixed value, as low as the available light will allow.
2. Set White Balance to a fixed value.
3. Set to save RAW files.
• Monitor Progress: If you are multitasking and are not focusing primarily on the time-lapse, make sure you are checking in on the GoPro every now and again. While they are amazing cameras, I have lost a fair amount of time-lapses to the camera software freezing.
• Transition Time: Use NightLapse mode with Shutter set to ‘Auto’ for the easiest way to capture a day to night transitions.
Advanced Time-Lapsing Techniques
When you get comfortable with the intermediate process of shooting, editing, and processing RAW images into a time-lapse video, it’s time to take the next step. This is where the wheat gets separated from the chaff.
Up until this point all of the images were taken using a single, unchanging exposure. That’s great, but what about if I want to time-lapse the transition from day to night? That’s when you have to start changing settings mid-time-lapse and where it starts to get a little beyond the purpose of this article.
If you are ready for what’s next, I encourage you to seek out additional information on the following:
• The “Holy Grail” Time-Lapse Method: You will want to get familiar with this method for time-lapsing significant lighting changes.
• LRTimelapse Software: This software, combined with the Holy Grail Time-Lapse Method is what you need to create extraordinary time-lapses that will smoothly transition from a fire sunset to the galactic core rising above the horizon.
General Tips
• Multi-Task: When you are going to be posted up at a spot for more than 30 minutes, get a time-lapse going. It’s great practice and will help you identify what works and you just might be surprised with something awesome.
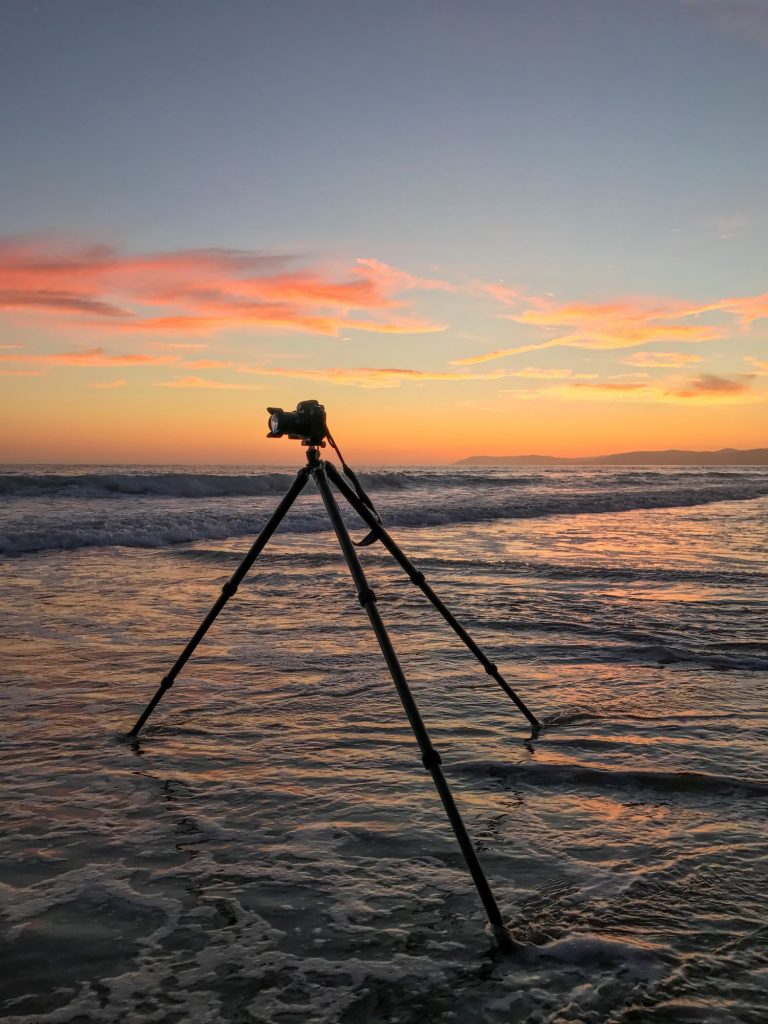
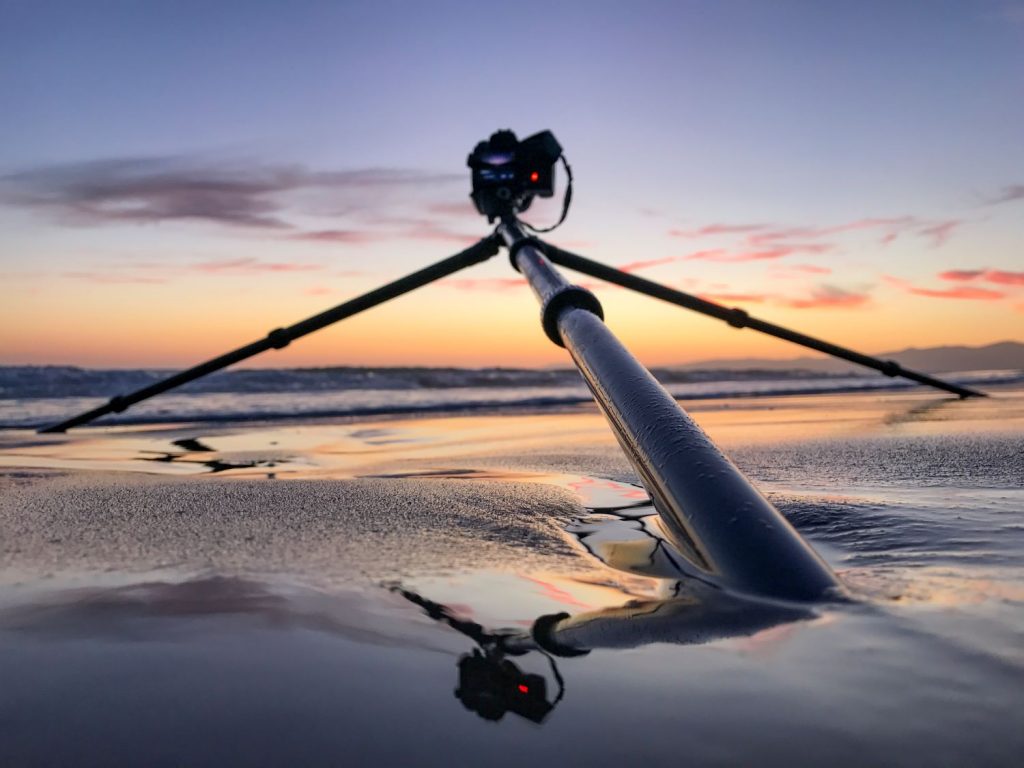
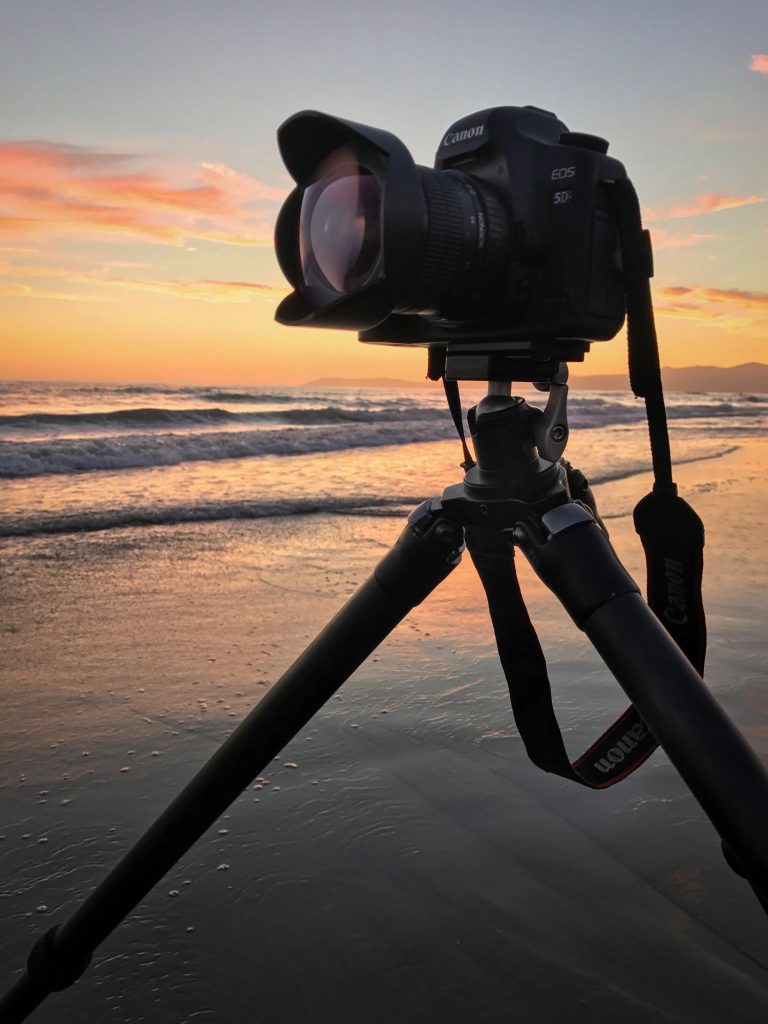
• Stability: Like with long exposure photography, having a good tripod is key. I will often hang my backpack on my tripod for extra weight and stability.
• Picking a Location/Subject: Think of slow movement. Think of no movement. Just how the Hubble Space Telescope’s camera pointed to a dark, unremarkable location in the sky only to reveal the famous Hubble Deep Field image showing thousands of previously unseen galaxies — I challenge you to search out subtle subjects and locations and see what you discover.
• Plan Ahead: Whether it is extra batteries, food, a jacket, gloves, or a book, you should plan on being onsite longer than your typical photo session.
• Resist the Urge to Adjust: If you are time-lapsing a unique event that won’t happen again (think wedding, rocket launch, sporting event, etc.), minutes after starting the time-lapse you will inevitably think of a better setting you should have used or how you could have composed the frame even better. Unless you are advanced, do NOT change any settings or adjust anything on the camera once you start the time-lapse. Doing so will likely hurt the end video and possibly render it unusable. It is almost always preferable to try and make those small adjustments in post. I have failed at resisting the urge to adjust many times; and many times I am left regretting that decision.
• Extra Power: An external battery or extra batteries will be invaluable as you get more into time-lapsing and required for longer ones.
• Shutter Speed: Just like in regular photography, you will want to adjust your shutter speed based on your subject, lighting, and personal vision. I would consider using an ND filter so I can slow the shutter speed down and eliminate elements in the time-lapse that I don’t want included like people or cars.
• Photo Interval: This refers to the set time between individual exposures. I recommend setting the interval to be as low as the shutter speed will allow (i.e. if your exposure is 20 seconds, you can’t have a 10 second interval.
• Hide it: While I will take no responsibility for someone walking off with your camera, I absolutely love hiding my GoPro in relatively safe locations. Most of my favorite time-lapses have come from camouflaging my tripod and camera then hiding it alongside highways, on roofs, and behind or in trees, only to be retrieved at a later time. It is risky, but I’ve been lucky so far. I would recommend some sort of theft deterrent to keep honest people honest, but I’ll leave that up to you.
I hope that I helped introduce some time-lapse inspiration, information, and insights to you. If you have any questions, would like to discuss anything photography, or captured something awesome, I would love to hear from you. Now go lapse some time!
About Jason
Jason Rath is a self-taught photographer and videographer based out of Sacramento, California. Focusing mostly on landscape photography while living on California’s central coast for the last 15 years, he only recently relocated to Northern California and is excited to start exploring the Sierra’s. From land to sea to air–he loves being outside, documenting the beauty that is all around us. He is passionate about enjoying life, sharing excitement, and documenting it all along the way. Currently, he is focused on learning and discovering ways photography can be used to assist in engineering, construction, and agriculture industries. To learn more about Jason’s work go to www.ApertureApplications.com.