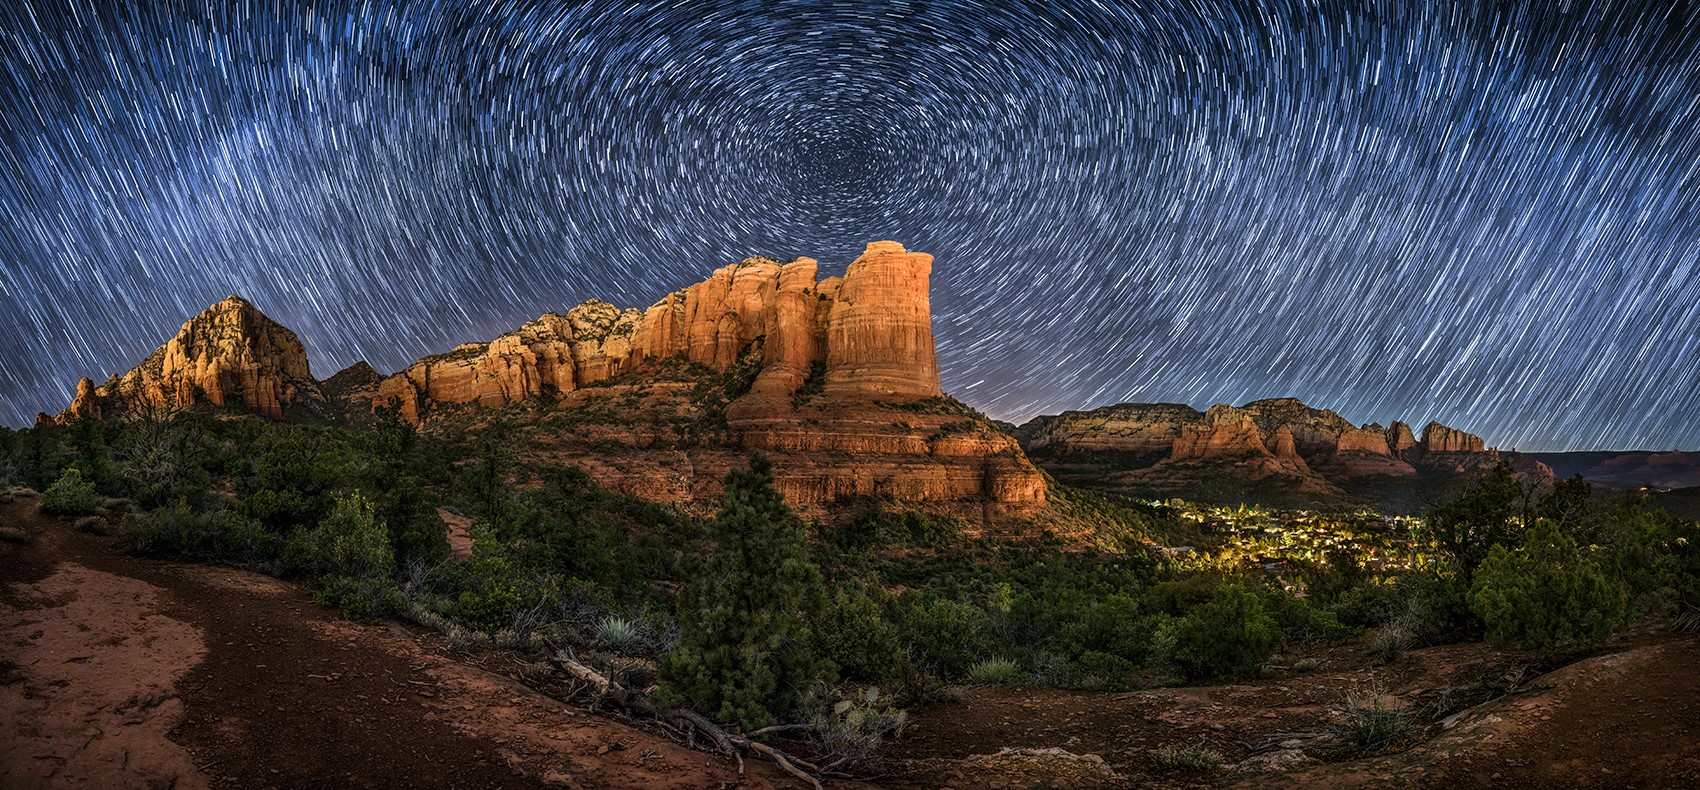
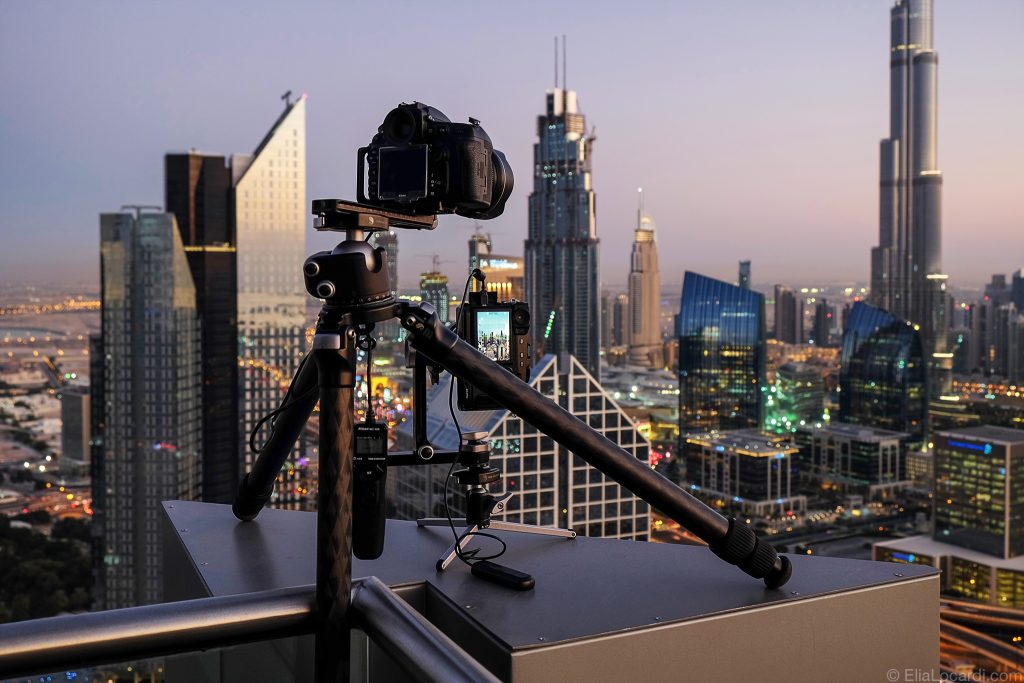
With a wide aspect ratio, panoramic photos have a way of making scenes look very cinematic. They can also be a great way to create extremely high-resolution images for printing. Sometimes they are essential to display the immensity of a scene and create a larger field of view than the typical wide-angle lens. This is something I encounter in the field all the time, especially when shooting from rooftops and trying to capture the entirety of a cityscape.
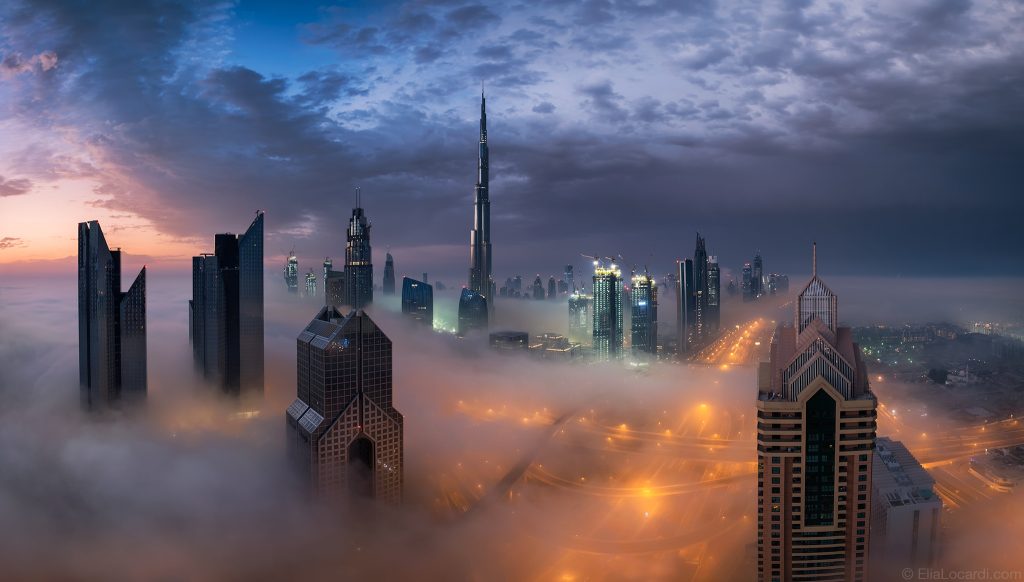
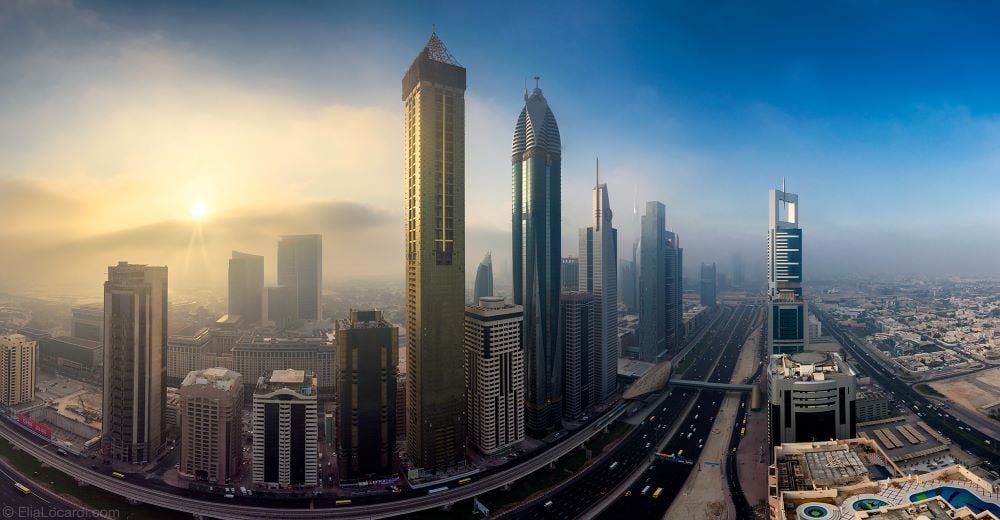
Not only is Dubai a perfect example, the Burj Khalifa is the tallest building in the world, and surrounded by a sprawling array of beautiful towers. Shooting from rooftops can yield a unique perspective but it typically doesn’t allow for much variation. You can’t exactly reposition yourself when you’re standing on a small balcony or helipad, and if the entire scene can’t be captured with a standard wide angle lens, shooting a panorama can be a great solution.
Choosing the Appropriate Gear and Camera Settings
If you own an iPhone, you’ve probably used the built-in panoramic feature where you literally sweep the camera through the air and the software does all the work for you. Well, that’s certainly one way to do it, and to be honest, the results can be pretty great, especially considering the technology exists on a smartphone. Similarly, in professional style cameras, DSLRs or Mirrorless bodies, you’ll find an automatic panorama feature that works in a similar way. Unfortunately, the resulting panoramic image typically won’t exceed the maximum resolution of the sensor. In order to create high resolution panoramic images, capture each panel manually and then stitch it all together later in post-processing.
Regardless of the equipment you’re using or if you’re new to shooting panoramic images, it’s important to understand the basics. You’ll want to make sure to level the tripod and center the horizon in the camera. Try your best to ensure the camera stays consistently level as the camera rotates. Panoramic images are made up of multiple shots all stitched together so when you’re shooting each image, try to overlap each shot by ¼ to ⅓ of the frame. If the horizon remains level throughout the entire shooting process, then the horizon in the stitched panorama should be level as well.
Consistency during the shooting process directly affects the resulting panorama. That’s why working in manual mode is ideal. My recommendation is to set the aperture, exposure, white balance, and ISO all manually to minimize the difference in exposure between frames. This will also help the software stitch the panorama together without any visual seams in the geometry, color, or exposure.
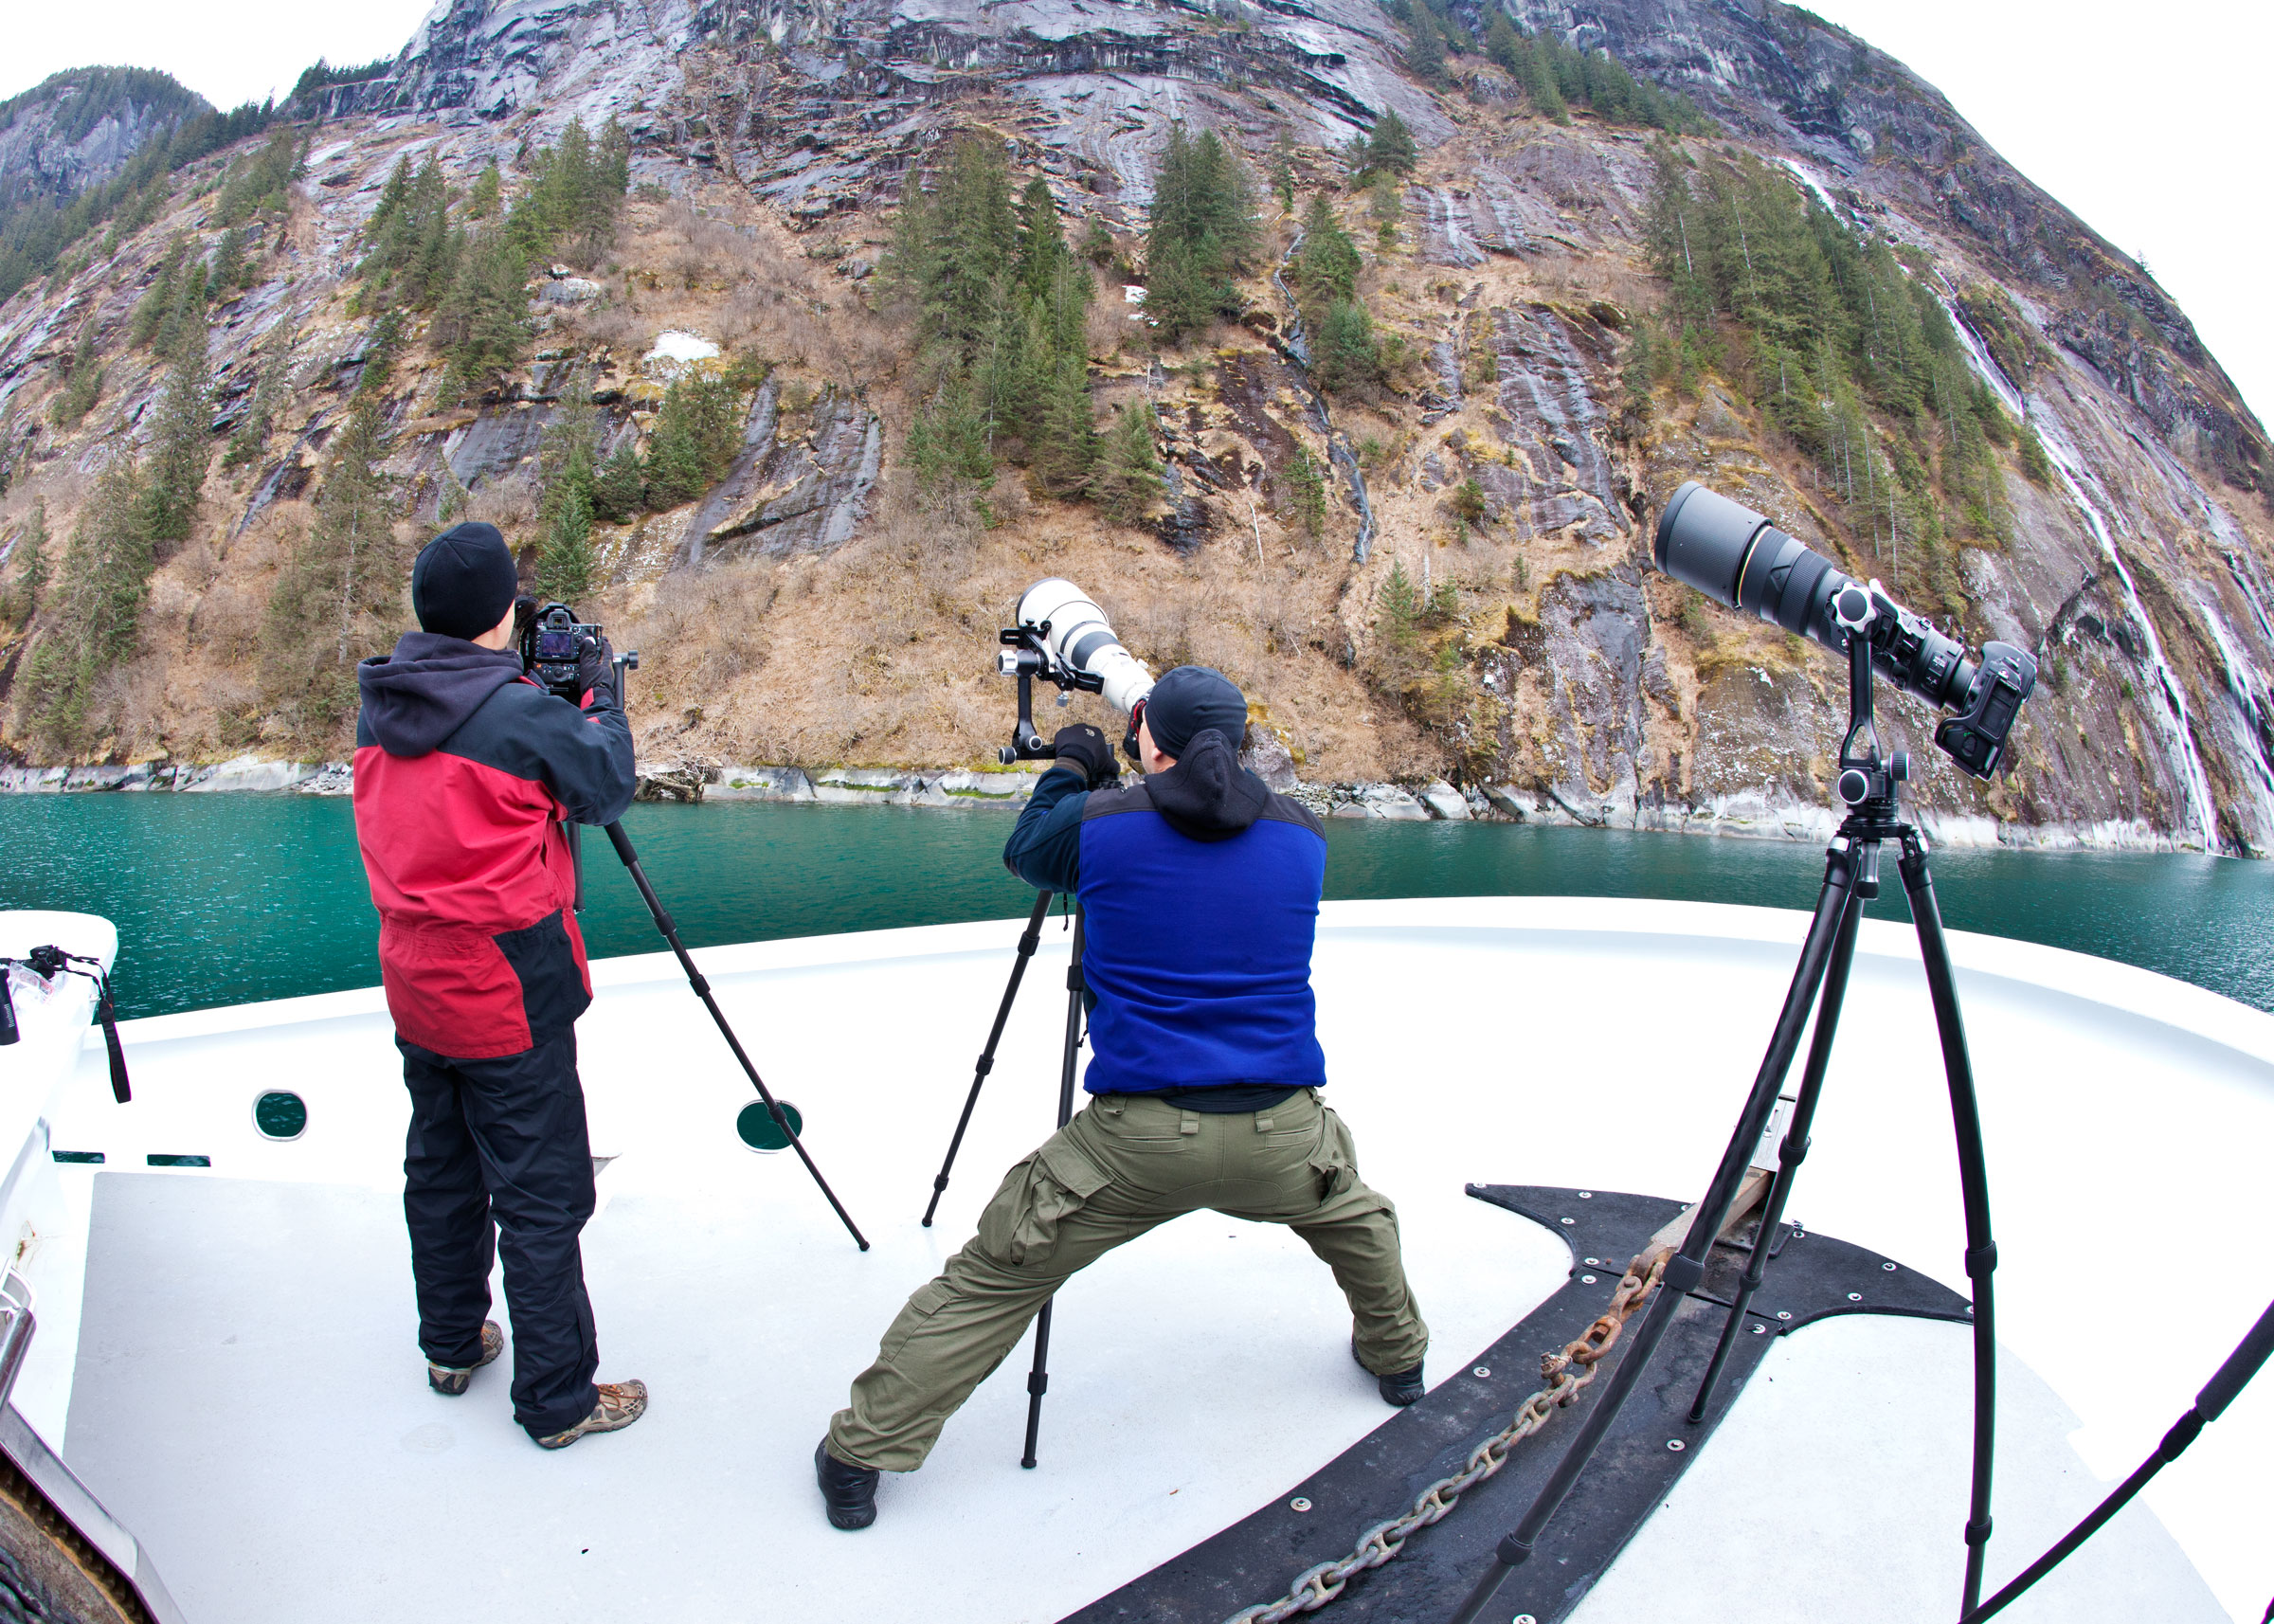
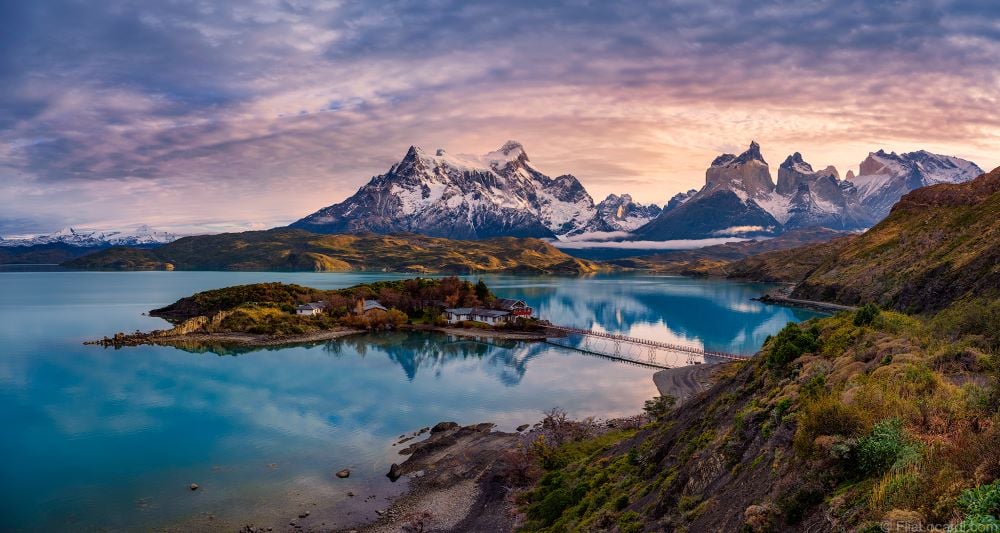
Keeping the camera consistently level as it’s rotating is very important and having the right gear can really make a difference. At the very least you’ll need a steady tripod and a ball head that has a separate control for rotation like the BH-40. If the ball head doesn’t have the ability to independently rotate, a panning clamp like the PC-LR can be a great solution as well. This is basically the minimum requirement in order to create simple single row panos and it’s the gear setup I used on a recent visit to Patagonia. To create this image, I only had to shoot 3 images in order to create the final panorama.
While a ball head and panning clamp can be used in many situations, sometimes a more robust solution is needed. For multi-row panoramas or for scenes that have a lot of parallax, using a panoramic gimbal can assure precision results. It also makes the entire setup and shooting process much more streamlined and efficient. If you’re planning to shoot a lot of panoramas, a high-quality panoramic gimbal is one of the best purchases you can make. All panoramic gimbals are not created equal and choosing the right one is an important decision. It all comes down to the size and weight of the camera gear itself. If you’re shooting with a large or full-size DSLR, you’ll want a full-size gimbal solution like the PG-02. If you’re shooting with a compact mirrorless camera, I would recommend a compact panoramic gimbal like the PG-01. If weight is not a problem, then a full-size panoramic gimbal will be useful in every situation regardless of the camera size because of the increased stability throughout.
Personally, I use both and I pack accordingly depending on which camera I’m taking into the field. I use the PG-02 in tandem with my Fujifilm GFX 100 camera and the PG-01 with my Fujifilm X-T4. If there’s a lot of hiking involved with the project, I tend to favor my X-T4 and PG-01 combination because it drastically cuts down on the weight I need to carry. Since the PG-01 is a true compact pano-gimbal solution, it also allows me to set up and shoot in a variety of tight or difficult situations.
Stitching a Panorama in Adobe Lightroom
Thankfully, these days the software makes creating panoramas extremely simple, especially in Adobe Lightroom®. First, select the raw files, then under the “Photo Merge” menu, choose “Panorama.” After a little bit of processing time, the software very quickly and efficiently does the rest. When you click the merge button, Adobe Lightroom® outputs a new raw file. As long as everything was captured correctly in the field, stitching panoramas can really be that simple.
About Elia
Elia Locardi is an internationally acclaimed professional travel photographer, writer, public speaker and educator who spends his life shooting some of the most beautiful locations in the world. Elia began working full-time in the photography industry in 2009, and since then he has visited more than 65 countries, flown nearly 2 million miles, and collaborated with major companies, brands, countries, NGOs, and tourism agencies on nearly every continent. Using a combination
With extensive on-camera, public speaking, and teaching experience, Elia has established himself as one of the most respected and articulate photography educators and speakers in the industry. He has a unique ability to simplify even the most complex topics while communicating in a clear, friendly, and highly engaging way. He has been invited to speak at some of the largest photography events and stages in the world including, Photokina, Gulf Photo Plus, Photo Plus Expo, Inter BEE, National Geographic Aveiro Festival, and Instagram Illuminate.

In collaboration with Fstoppers, Elia has become well known for developing the most in depth and complete Landscape Photography and Post-processing tutorials available. With dozens of lessons that span over 50 hours of educational content, the Photographing The World series has grown to include 4 complete seasons and has been filmed in North and South America, Italy, Iceland, Hong Kong, Singapore, Cambodia, New Zealand, and Dubai. Specializing in Landscape, Cityscape, and Astrophotography, in this incredibly immersive series of lessons, Elia teaches his entire photography and post-processing workflow from start to finish, both on location in-the-field and in post-processing.
Website: www.elialocardi.com
YouTube: www.youtube.com/elialocardi
Instagram: www.instagram.com/elialocardi
Twitter: www.twitter.com/elialocardi
Facebook: www.facebook.com/officialelialocardi